A running bottle is easy to fill and harder to keep clean in an organised way. A bottle that looks empty after a run may still have drink in its lid, soft walls may touch together, and a valve can look dry outside while remaining wet inside. The answer is not necessarily stronger chemicals or more accessories. First understand your bottle’s construction, then create a cleaning and drying sequence covering every accessible component. This is an equipment-care guide, not laboratory hygiene certification, and does not claim that a visibly clean bottle is in suitable condition under every circumstance.
Map your bottle’s components
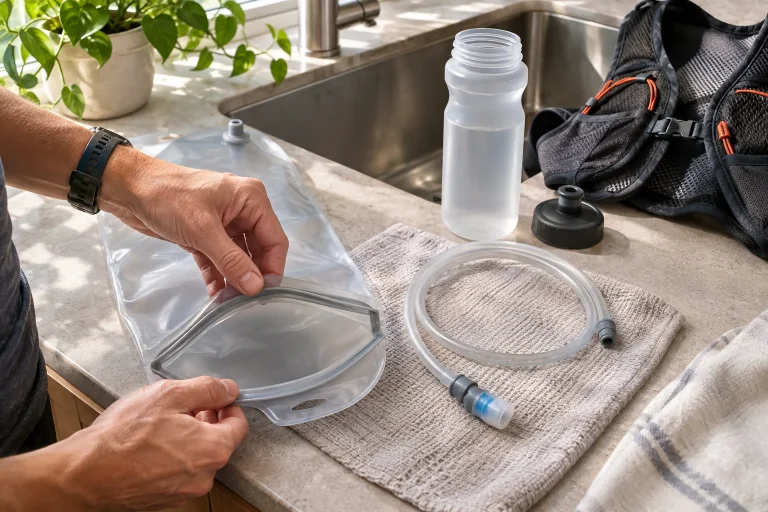
Take it out empty over a clean table. Distinguish more than bottle and cap: it may have a removable straw, silicone drinking valve, twist closure, seal, dust cover or hand strap. Find the manufacturer’s disassembly diagram or video, and separate only parts designed for it. Your own photograph the first time can help reassembly. The aim is to see where drink travels, which surfaces are accessible and which part has a separate cleaning restriction. An assembled cap is not necessarily one piece.
Do not treat a narrow-necked soft flask, rigid sports bottle and hydration reservoir with a tube as identical objects. Even within one brand, dishwasher suitability can vary. The official CamelBak care page , for example, discusses sports bottles and other bottles separately. This illustrates why “my brand is dishwasher-safe” is insufficient. Model, component, placement and permitted programme all matter together. Note the rule for your own product rather than generalising from memory.
Follow the drink’s route when cleaning
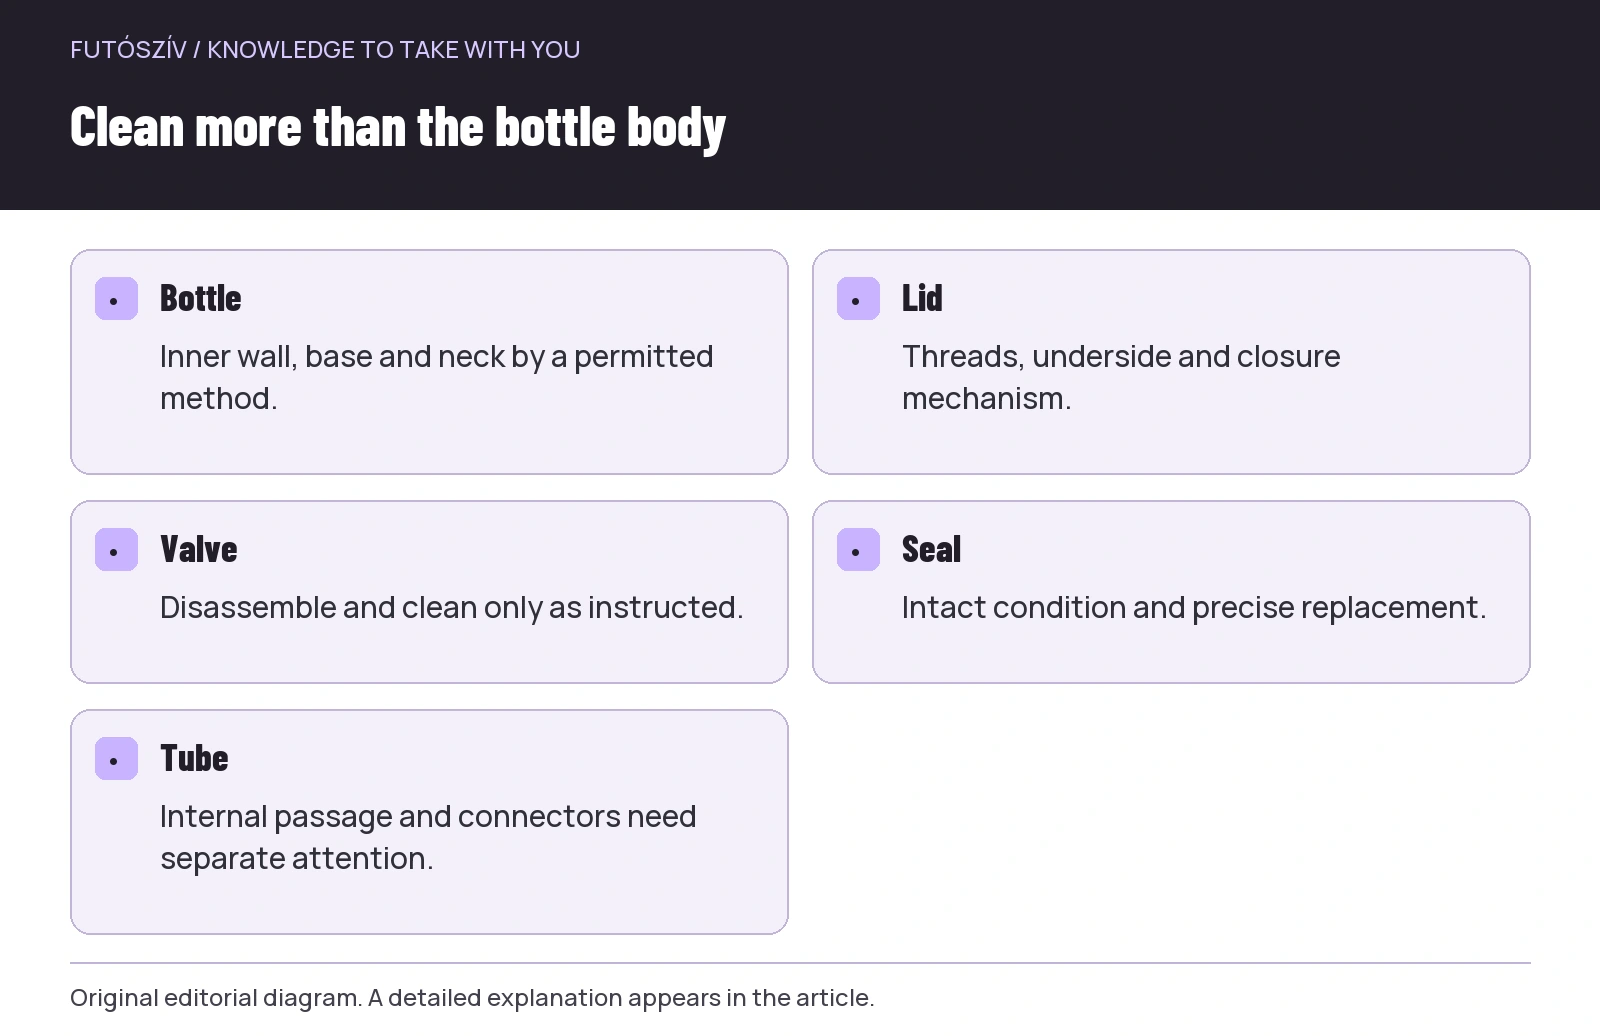
Imagine the filled bottle in use. Drink touches the inner wall, underside of the lid, thread area, then the drinking part and possibly a tube. Simply running water into the bottle’s centre does not necessarily treat all those surfaces appropriately. Disassembly and cleaning specified in the instructions serve access to hidden parts. Inspect cap grooves and beneath the drinking part too; the visible opening does not reveal the whole internal passage. This map makes a consistent routine easier.
Do not omit the outside. Hands, vest pockets and trail dust may contact it during running, and opening the lid takes your hand near the drinking part. Cleaning the outer wall and grip surfaces belongs to the system, but not by placing a dirty exterior beside an already cleaned valve. Set up a used side and a clean side at the sink. This needs no elaborate equipment: two clear places and organised hand movements help avoid mixing parts back together.
 Enlarge diagram
Text version of the diagram
- Bottle
- Inner wall, base and neck by a permitted method.
- Lid
- Threads, underside and closure mechanism.
- Valve
- Disassemble and clean only as instructed.
- Seal
- Intact condition and precise replacement.
- Tube
- Internal passage and connectors need separate attention.
Do not seal leftovers in your bag after running
At home, take the bottle out of the vest or bag. Empty it, then rinse and wash according to its instructions instead of topping old leftovers with a fresh drink. With sports drink or other flavoured beverages, do not wait until residue dries into the thread. The Osprey reservoir-care guide also emphasises rinsing after use, especially with sugary drinks. Washing specified for your bottle may still be needed; rinsing and full cleaning are not interchangeable terms.
If travel prevents going straight home, know beforehand where you can empty it appropriately and at least begin dealing with it. Do not regard a half-full bottle forgotten for days in a closed car as kit prepared for the next session. Give the used bottle a position in the bag where it does not leak onto clothes. Retrieving it should be the first action at home, rather than leaving it inside a vest thrown into laundry. Cleaning then becomes part of closing the run instead of a separate task forgotten later.
Brush size and valve integrity
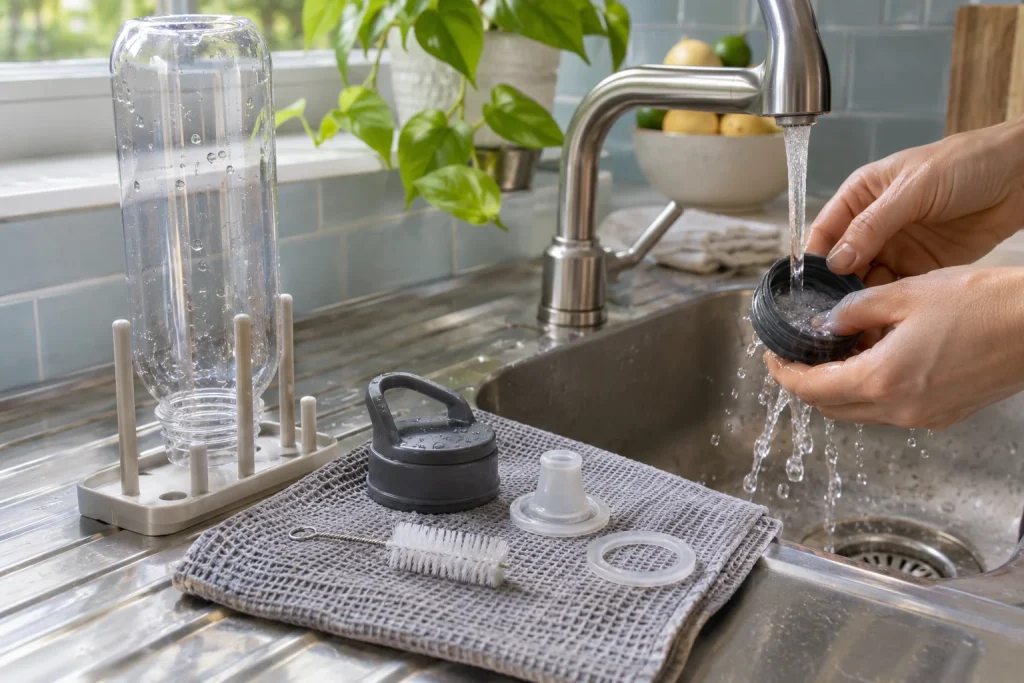
An appropriate bottle brush can reach the inner wall and corners without being forced inside. Check whether it fits through the neck, the shape of its end and suitability for your material. A long tube brush is a separate tool; a short bottle brush cannot reach the same passage. Clean and dry the brush after use too. A consistent bottle-care system does not leave cleaning tools waiting as a wet, compacted bundle. Choose an approved tool instead of abrasive scrubbing or a sharp metal implement.
A narrow slit in a silicone drinking valve is not necessarily an opening for passing a brush through. For some valves, CamelBak specifically warns that forcing a brush can tear silicone. Take this seriously alongside your own model’s instructions. Do not enlarge the opening because drinking or cleaning feels difficult. A damaged valve can leak and is not functionally identical to the original component. If disassembly is uncertain, seek product-specific help; prying at random is not a saving.
| Component | Typical inspection point | What should you look for in the instructions? |
|---|---|---|
| Bottle body | Base, corners and walls sticking together | Hand washing, reversibility and dishwasher permission |
| Lid and threads | Grooves, lid underside and closure | How far can it be disassembled, and how rinsed? |
| Drinking valve | Silicone cover, internal passage and damage | Is it removable, and which tool is permitted? |
| Seal | Seating, deformation or absence | Is it removable, and how is it replaced? |
| Tube | Full length and connectors | Detachment, tube brush and separate drying |
| Hand strap | Moisture in fabric | Must it be removed, and can it be washed separately? |
Cleaner is not a universal recipe
Use an agent permitted for the product according to its own directions. A soaking ratio described for another bottle or a home disinfecting recipe cannot transfer without checking. Do not mix cleaning agents or randomly increase concentration or soaking time. Required rinsing at the end is as much a task as washing itself. A strong scent does not prove an appropriate result, and cleaner taste is not a desirable accessory on the next run. Manufacturer and chosen cleaning-product instructions together define exact conditions.
The official HydraPak cleaning guide also addresses the system component by component. Some reservoirs turn inside out; do not assume other products do. The same applies to freezing, hot water and dishwasher heat: an internet trick is not automatically compatible. If your instructions exclude a method, do not use it simply because someone applies it to a similar-looking bottle. Material and bonded or welded construction are not always visible from outside.
Airflow is decisive in drying
The bottle’s exterior may look dry sooner than its interior. Look inside and inspect the base, neck and cap parts too. Soft walls can meet, so find the drying method permitted for the product: perhaps a purpose-designed support or manufacturer-recommended position. Do not randomly stuff it with paper or force it apart with an object that could damage it. The aim is accessible inner surfaces and moving air, not forcibly widening the opening. Piling wet components together hinders drying that you can check.
The cap, valve and tube may each need separate drying space. Do not infer whether droplets remain in a narrow tube from touching the bottle’s exterior. Disassemble and reassemble in the order instructed; if a valve fits only in one position, check this after drying too. Do not speed drying with a hairdryer, oven or radiator without explicit permission. A restriction on high heat differs from the product being conveniently washable in warm water.
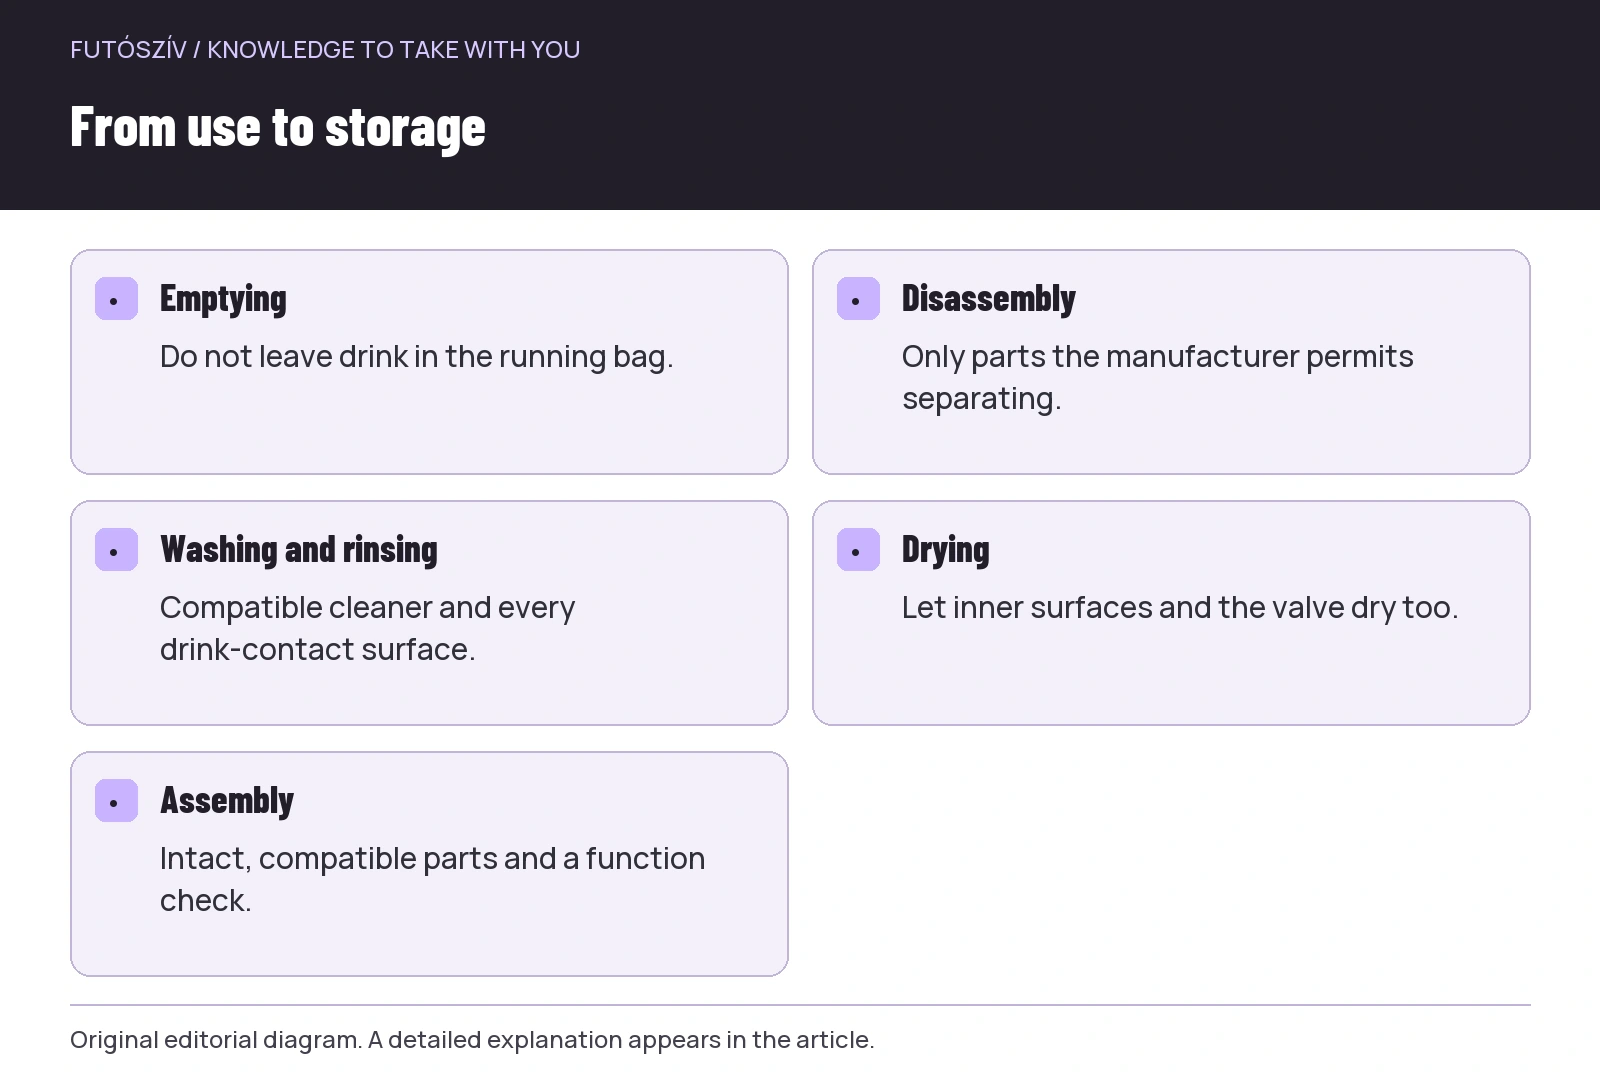 Enlarge diagram
Text version of the diagram
- Emptying
- Do not leave drink in the running bag.
- Disassembly
- Only parts the manufacturer permits separating.
- Washing and rinsing
- Compatible cleaner and every drink-contact surface.
- Drying
- Let inner surfaces and the valve dry too.
- Assembly
- Intact, compatible parts and a function check.
How can this fit in a small kitchen?
Designate a genuinely ventilated, clean place where components do not mix with unwashed dishes. Small pieces can go in a suitable, cleanable tray or basket that prevents loss without enclosing them wet. If dishwasher use is permitted, place small components according to instructions too: do not let them migrate near a heating element or into the machine’s bottom. Inspect after washing rather than assuming the programme name automatically dealt with every part.
With several bottles, keep caps and bodies identifiable as pairs. Similar threads do not prove lids from two models are compatible. A small compartment or simple label can prevent mixing, but do not stick unknown material onto drinking surfaces. Make the system clear to other household members too: what awaits washing, what is drying and what is usable. This helps particularly if several people run and different bottles share the counter. Do not mark cleanliness through a particular smell or by screwing the lid on.
Odour, discolouration and damage are different
Persistent smell, visible deposits, cracks and deformation are different phenomena. Inspect the bottle body and drinking valve separately, since a replaceable part may be the source. If permitted cleaning cannot remove visible contamination, do not conceal it with fragrance or a stronger drink. Seek manufacturer guidance or replace the unsuitable part or product. Visual inspection is useful but cannot promise microbiological safety; do not dismiss a suspicious state simply because “I cannot smell it now”.
Inspect weld lines in soft walls, thread integrity and seal position. Check a slow leak at home with clean water in a manufacturer-permitted way, rather than filled with sports drink inside a running vest. If fitting a new valve, check correct seating on first filling. Do not glue or melt damaged drink-contact areas at home. A replaceable component can preserve a usable bottle, but only with an appropriate compatible part; repairability is not the same as repairing at all costs.
A use-based routine rather than a rigid calendar
A short session with plain water and a long run with sports drink can leave different residues. Organise tasks according to product instructions, drink and condition. Do not create a universal internet rule about how many runs the same rinse is “definitely enough” for. Regular inspection does not replace dealing with the bottle after use, and occasional thorough cleaning does not automatically compensate for a drinking part neglected in between. Have a clear sequence and apply it consistently to the actual situation.
Five useful closing questions are: has all leftover drink gone, have I treated every component permitted for disassembly, have I rinsed the system properly, has the part going into storage dried completely, and does the assembled bottle function without damage? If you do not know an answer, continue there. At the next departure, you then retrieve equipment of known condition rather than hurriedly seeking an unwashed cap. Good bottle cleaning works chiefly because bottle, lid, valve and drying form one manageable process.
Sources and further reading
- CamelBak – Care and Cleaning
- Osprey – How to Clean Your Hydration Reservoir
- HydraPak – Hydration Reservoir Cleaning Guide
How Futószív articles are prepared: our editorial guidelines.