When choosing between a hydration reservoir and bottle, nominal capacity is only one piece of information. Consider how you retrieve the container or reach its mouthpiece, check what remains, refill and clean every component afterwards. The system works together with your vest, drink and hand use. A good choice therefore fits a complete sequence of tasks, not one product label.
This guide provides an independent framework for choosing and using equipment. It is not our own product test or a brand ranking, and does not determine individual fluid needs. Manufacturer pages named are examples for their own models, not instructions applying to every other device. Follow your product’s requirements for filling, cleaning, drying, temperature and replacement parts. If two instructions cannot be reconciled, do not resolve them with an improvised method.
First define the whole system
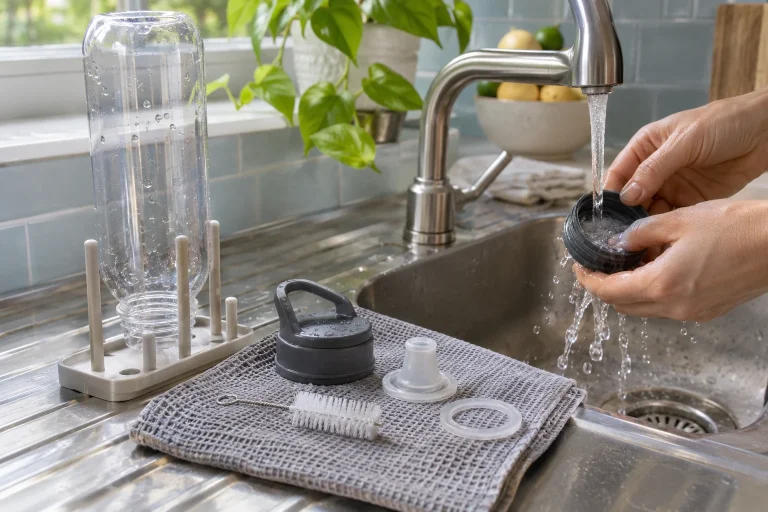
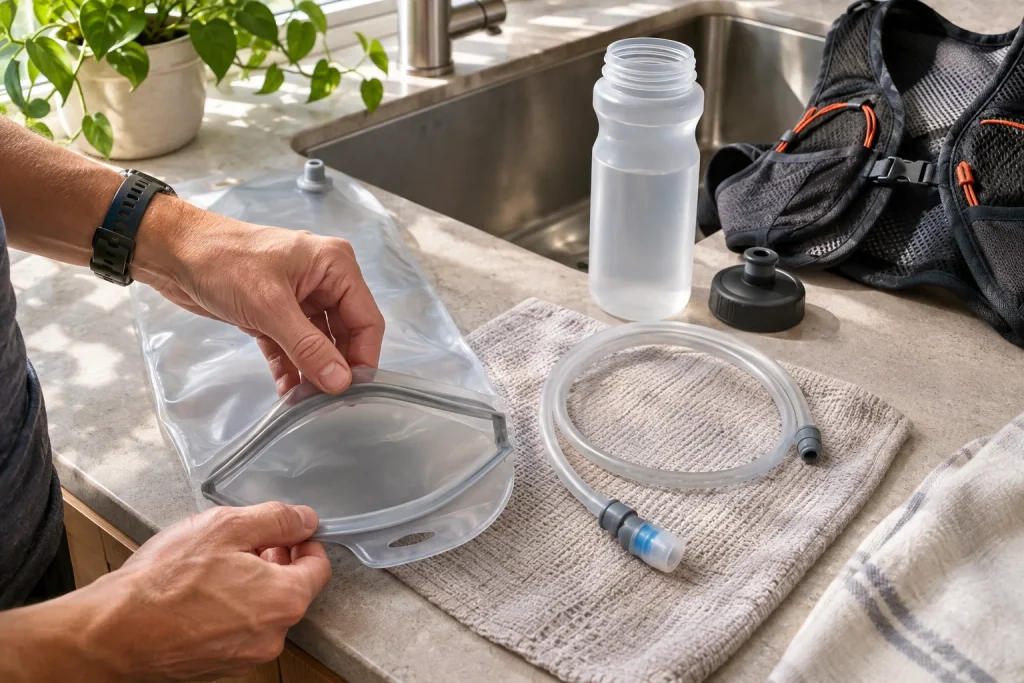
Alongside a bottle may be a cap, seal, valve, straw and protective cover. A reservoir can include a sliding closure or screw opening, connectors, a longer tube, valve and mouthpiece. Complexity does not follow the product name: a multipart bottle cap may also need careful disassembly. List parts touching drink or mouth, then check the manufacturer’s care instructions for them.
The European Commission food contact materials information includes containers and food-handling equipment in this category. Specific intended use and conditions therefore matter, not simply plastic or metal construction. Do not replace appropriate material use with your own material ranking. Choose identifiable equipment suitable for the intended task.
Access has a complete cycle
For a bottle, check retrieval, opening or valve operation, drinking, closing and replacing. For a reservoir, consider reaching the tube, securing the mouthpiece, required open and closed states and putting everything back. Do not try only one sip while sitting calmly. Securing afterwards is part of the task too. A swinging tube or partly replaced bottle may create access problems next time.
Adapt the trial to your movement situation. With gloves, layers or accessories, check access wearing them. If one hand has limited use or assistance is needed, try the sequence in your own circumstances. A manufacturer’s ‘easy use’ label does not replace this. A safe stop can form part of the solution; every drinking operation need not happen at running pace.
Filled equipment may fit differently
An empty soft bottle may slide easily into a pocket while becoming difficult to replace full. A reservoir’s shape and occupied space in a rear compartment change with contents too. Try equipment in a state matching intended use and account for other vest contents. Bottles and reservoirs do not float alone: jackets, mandatory equipment and other items may need space beside them.
Do not automatically derive necessary use from maximum filling. Capacity is technical information; amounts planned for carrying and consumption are separate decisions. If supplies needed for your own plan do not fit appropriately, reconsider the system or refill options. Leaving your needs uncertain to match nominal product specifications is not a good solution.
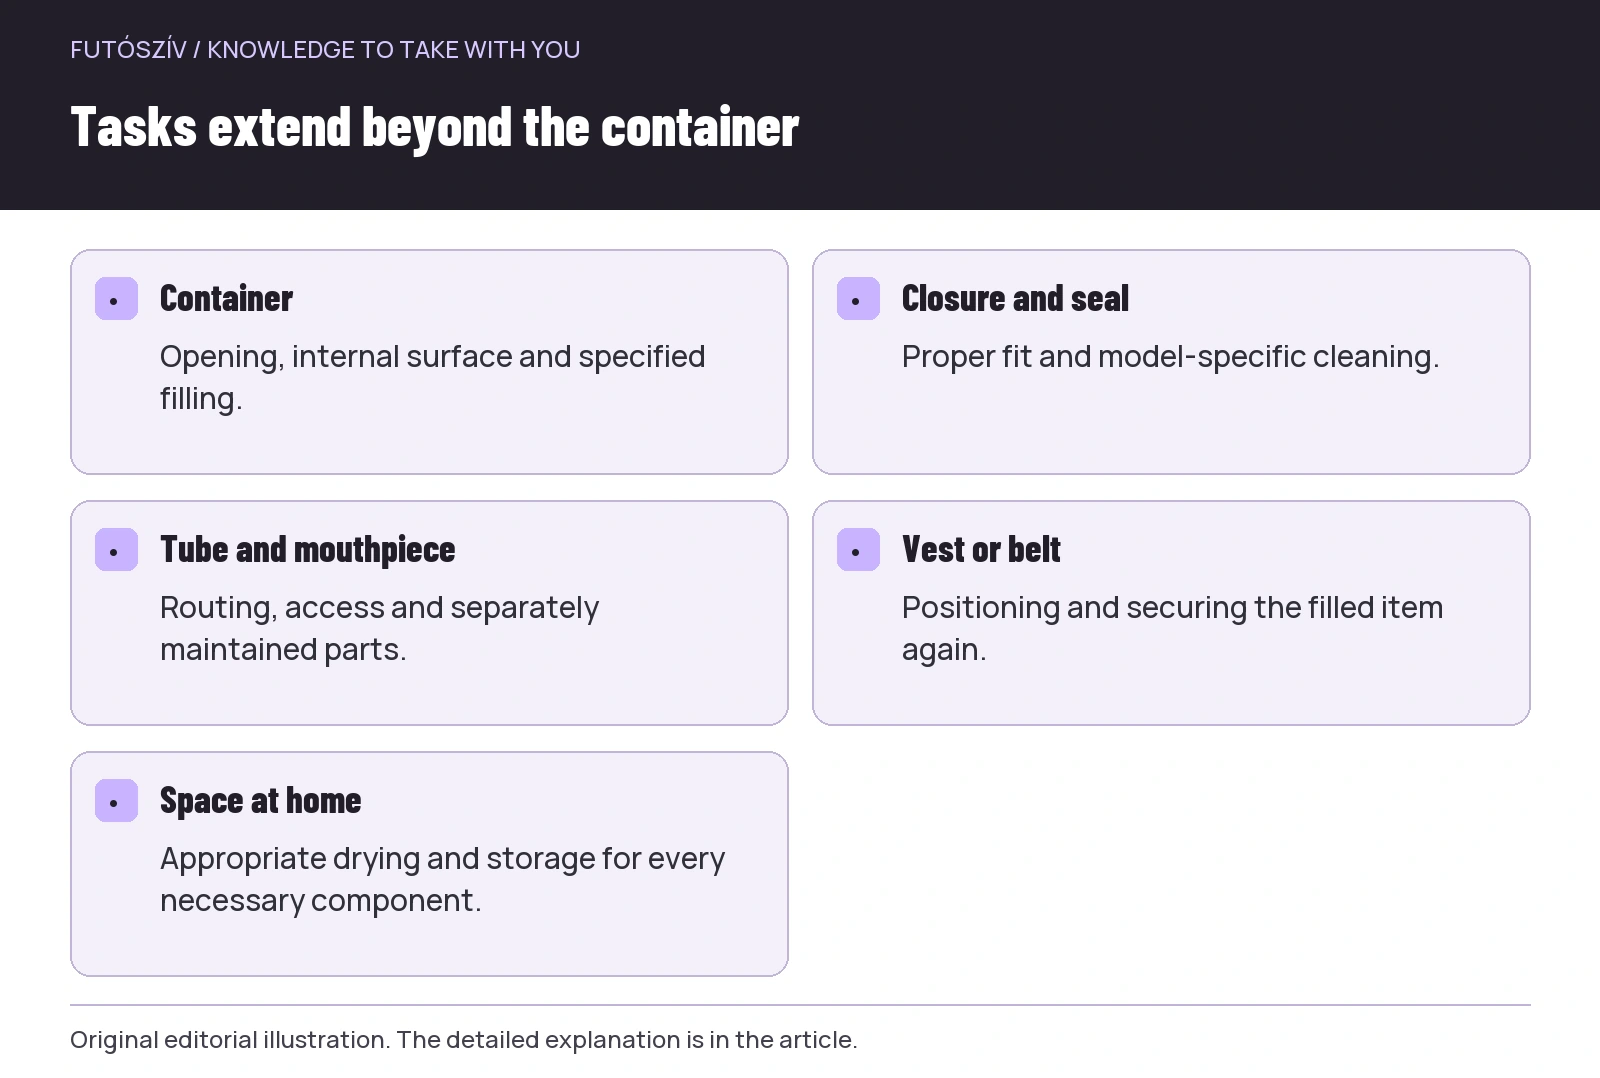 Enlarge diagram
Text version of the illustration
- Container
- Opening, internal surface and specified filling.
- Closure and seal
- Proper fit and model-specific cleaning.
- Tube and mouthpiece
- Routing, access and separately maintained parts.
- Vest or belt
- Positioning and securing the filled item again.
- Space at home
- Appropriate drying and storage for every necessary component.
Checking remaining supplies is a separate skill
A clear bottle may make the level easier to see, but shape, markings and reading method affect interpretation. Directly checking a reservoir in a rear compartment may require stopping and accessing it. Neither format automatically becomes an accurate consumption meter. Spills, transfers and other uses are separate events, so initial and final levels do not always equal consumption.
Ask how, during your own run, you will notice in time if planned access for the next section is unresolved. Every sip need not become a technical measurement, but have a workable checking method. Discovering an empty container suddenly is not solved by the theoretical visibility advantages of another system. Build a clear way of using your own equipment.
Match the opening to refill locations too
Wide and narrow filling openings may require different operations at a tap, jug or race station. A bottle cap needs somewhere to go; a reservoir’s open closure and tube do too. Think through what comes out of the vest, what you hold and where you close it. Unpacking the entire bag for a refill is a separate organisational consideration. Even a wide opening does not automatically offer convenience everywhere.
For drinks prepared from powder, consider product and container instructions together. Total equipment capacity is not measured water volume, and an open drinking cup may not suit mixing. Preserve identification and storage requirements when transferring ready-made drinks too. Choosing a reservoir or bottle depends on its contents and the further work required after use.
Every used component counts during cleaning
The HydraPak cleaning guide for its own reservoirs describes different steps by model group and care for tubing and mouthpieces. It also describes turning several reservoirs inside out and drying fully. Do not generalise this to every reservoir: internal designs and supports do not all come apart identically. The particular model’s instructions explain what can be disassembled and cleaned by which procedure.
Check whether necessary tools actually exist at home. Can you reach internal surfaces, the full tube and valve parts requiring care? Is there space to dry components as intended? Clarify this before purchase or first use. Home maintenance belongs alongside running convenience; suitable condition for next time does not happen by itself.
Dishwasher instructions may differ between components
A manufacturer describing one container as dishwasher-safe does not automatically prescribe identical treatment for every other model, tube, cap or valve. Placement, temperature limits and disassembly can form part of instructions. Do not handle your equipment from a forum statement about another product. If unclear, ask the manufacturer using the precise model name.
Choose and use cleaning agents as instructed too. A familiar household substance does not necessarily suit every seal, valve or internal coating. Mixing several products or arbitrarily increasing quantities is no justified shortcut. We provide no universal disinfection recipe for drinking systems. Follow equipment-specific care and appropriate drinking-water use rather than chemical guesswork.
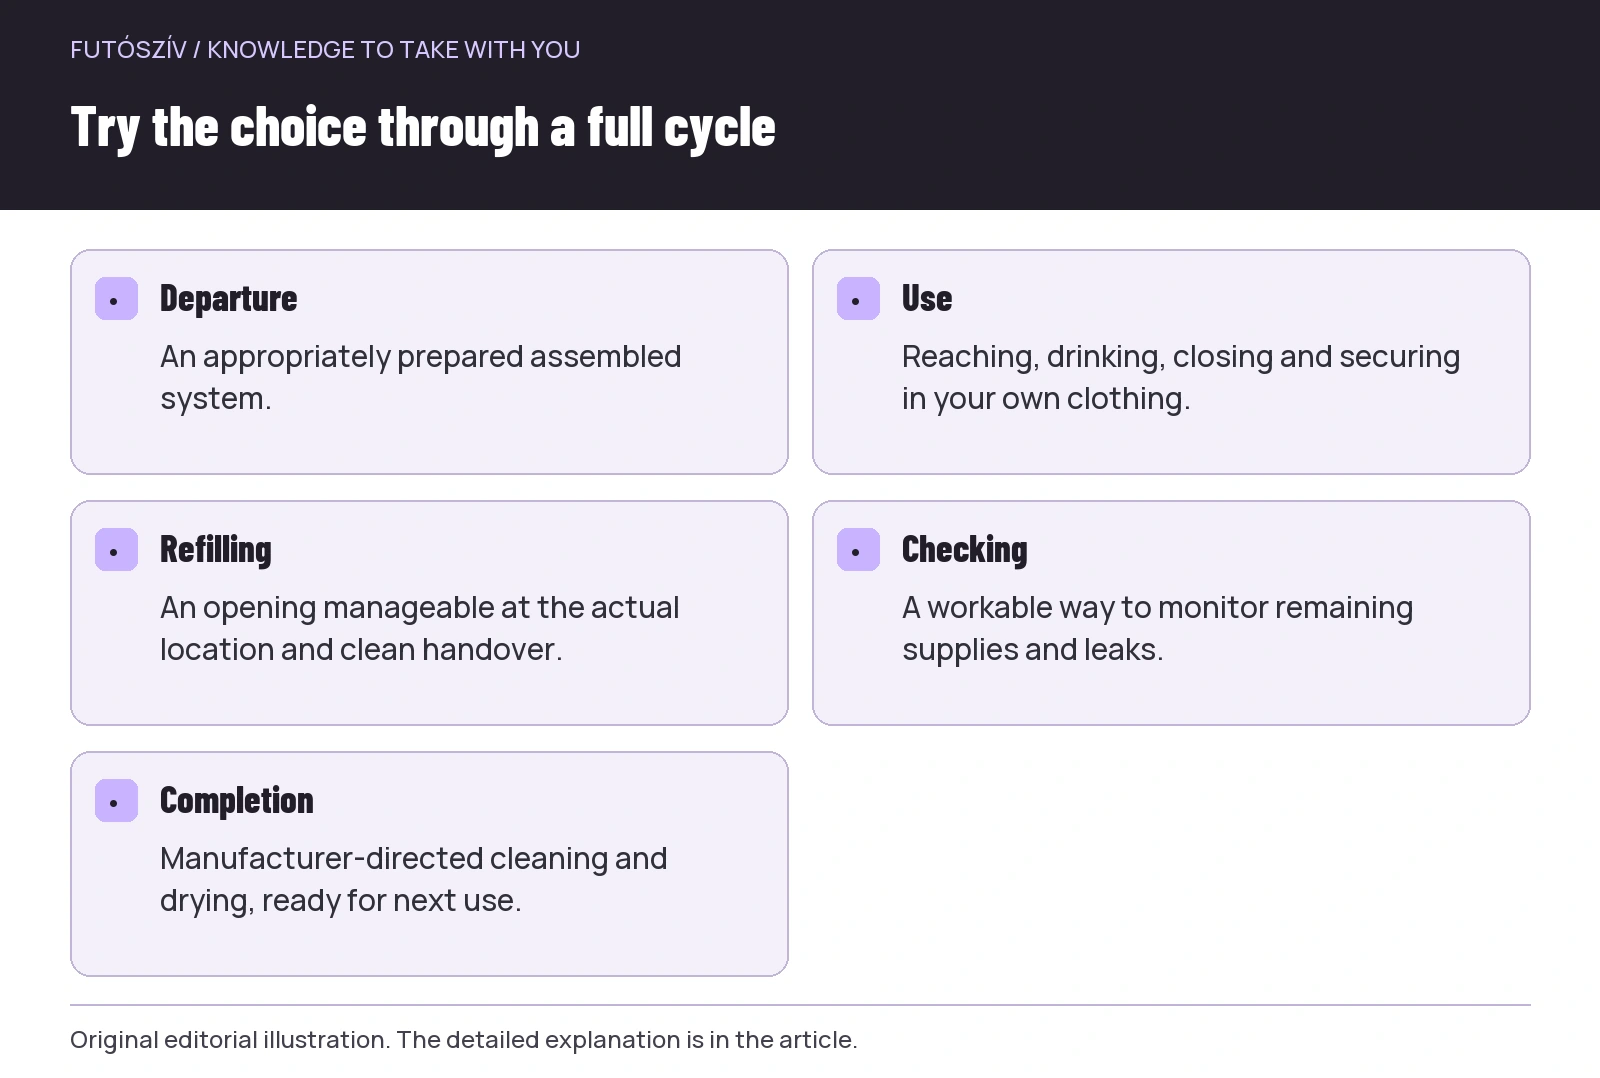 Enlarge diagram
Text version of the illustration
- Departure
- An appropriately prepared assembled system.
- Use
- Reaching, drinking, closing and securing in your own clothing.
- Refilling
- An opening manageable at the actual location and clean handover.
- Checking
- A workable way to monitor remaining supplies and leaks.
- Completion
- Manufacturer-directed cleaning and drying, ready for next use.
Full drying needs access and time
A narrow tube or closed fold is harder to inspect than an open container. Check how your instructions specify drying and storage. Hiding a folded damp system is not completing the task. Frequent running also needs enough time and appropriate space for necessary equipment care. If that is repeatedly impossible, it matters to the choice.
Designate a clean place for components where they do not mix with small screws, keys or household objects. Before disassembly, know which model each belongs to. Similar-sized seals and caps are not necessarily interchangeable. Reassemble under your own instructions, followed by checks required for intended use. Cleaning ends when the next state is clear too.
| Consideration | Check for a bottle | Check for a reservoir |
|---|---|---|
| Access | Retrieval, cap or valve, replacement | Tube routing, mouthpiece and reaching the closure |
| Refilling | Opening, clean place for cap, securing when full | Removal from compartment, handling closure and connectors |
| Overview | Level visibility and limits of shape and markings | How to check remaining supplies in the rear compartment |
| Cleaning | Body, cap, valve and seals | Reservoir, tube, mouthpiece and model-specific internal parts |
| Storage | Required drying and organising components | Accessible drying and appropriate tube/container positioning |
Keep leak troubleshooting model-specific
The CamelBak care page discusses, for example, dirt in cap threads and displaced seals as possible causes of leaks in its own reservoirs. This is not a general diagnosis for every item. The lesson is to pay separate attention to closure, fit and component condition. Do not address unfamiliar damage by tightening harder or applying unsuitable glue.
Try filling somewhere you can perform the intended checks. If liquid wets clothes or equipment, consider further use conditions alongside the amount lost. Have a failure plan: an appropriate alternative or changed run. Carrying both systems provides backup only if both work for you and each is suitable. More components may also mean more preparation.
Choose within three personal use situations
First is a familiar, easily interrupted loop with planned access arranged. Consider how much to carry and where under your own plan. Second is a longer section between checked options, where actual capacity, access and monitoring may have different weight. Third is home care after frequent use: can every necessary cleaning and drying task fit your routine?
You do not need one score for everyone. Simply note that a tube system seems easier for your movements but drying remains unresolved, or bottles are easier to clean but cannot be replaced full in your pocket. These are specific open tasks. Decide after addressing essential barriers, rather than starting from an imagined universal winner.
A good system is ready for the next run too
Choosing between reservoirs and bottles works when you understand running and home operations together. You can reach the container, check closure, refill, monitor supplies and appropriately clean and dry every necessary part. Your experience can clarify these specific questions. It need not become a brand ranking for all runners: what matters is the chosen system working throughout your task.
Sources and further reading
- HydraPak: How do I clean my reservoir?
- CamelBak: Care & Cleaning
- European Commission: Food contact materials – General information and contacts
How Futószív articles are prepared: our editorial guidelines.