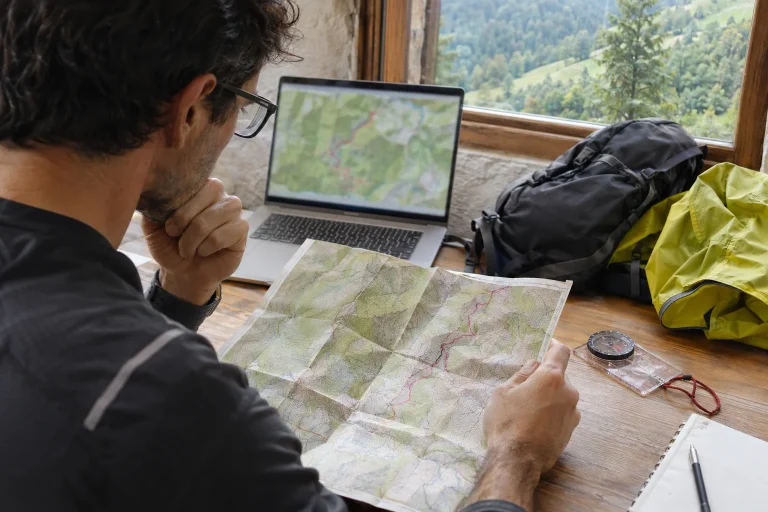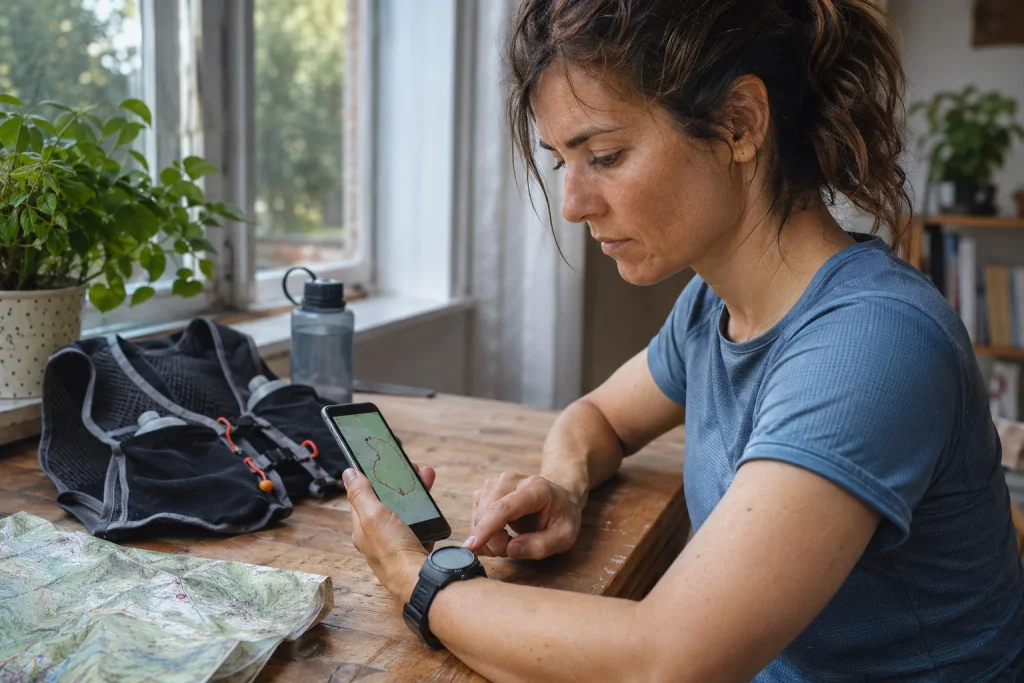
Downloading a GPX file looks quick: open the run’s page, press the button and send it to your watch. Yet a successful upload does not tell you whether the correct route has reached your wrist with the right direction and intelligible detail. Particularly on trails, it matters to understand what happens between the source, the planning app and the watch. This article provides a checking sequence that goes beyond technically transferring the file to examine whether it is actually usable. It does not declare a route safe merely because a digital line can be drawn along it, and it does not replace knowing the location’s current rules.
Know the file’s source and version
If preparing for an event, look for the organiser’s official route for the relevant year and distance. An old filename circulated on social media does not prove that the course is unchanged. Record the download date, event and distance. If the organiser later announces a change, do not try to replace the new file by renaming your earlier import. Download and check the updated version. A diversion, start location or mandatory direction in the pre-race briefing may not appear in an older track.
For a leisure route, also check where the recording comes from. It may be an edited plan, a previous outing or a line assembled from several parts. An old run’s data does not necessarily mark a path usable today, and may contain the uploader’s own detours. Read the route description alongside the file: surface, difficulty, seasonal restrictions and access are often explained in text. Do not treat a file of unknown origin as an expert-checked recommendation simply because it appears on a popular platform. Interpreting the source is the first step of importing.
Are you importing a route or a completed workout?
Several services offer both options, but they serve different purposes. A planned route can be used for later navigation; a completed activity becomes a past entry in your log. The official komoot import instructions also discuss the two purposes separately. If you accidentally upload the file as a workout, you may not find it where you look for routes that can be sent to your watch. Before pressing save, check the selected type and which list it will appear in.
The file extension does not resolve this decision either. A GPX can contain a line and points, but not necessarily all the planner’s notes or navigation instructions. For example, komoot explicitly states that its GPX export transfers the route geometry; it does not package its own map, voice guidance and points added during planning as a complete service. This concerns that particular export’s operation. For your own source and receiving system too, examine what actually entered the file rather than drawing conclusions from the format’s name.
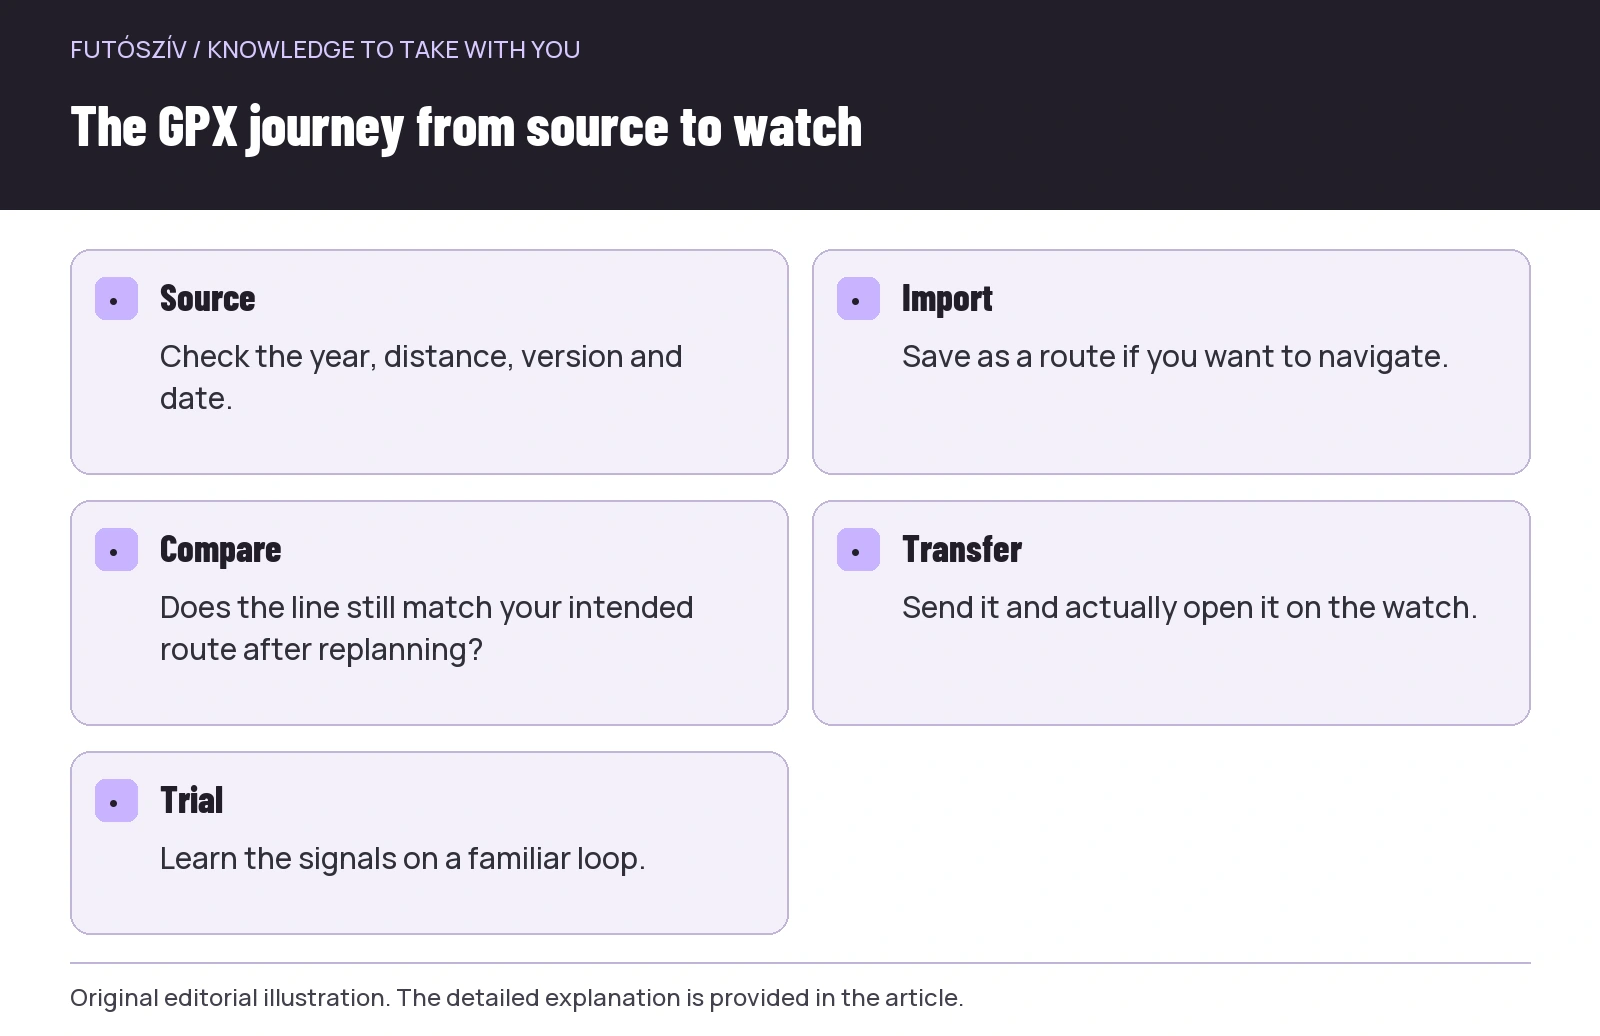 Enlarge diagram
Text version of the illustration
- Source
- Check the year, distance, version and date.
- Import
- Save as a route if you want to navigate.
- Compare
- Does the line still match your intended route after replanning?
- Transfer
- Send it and actually open it on the watch.
- Trial
- Learn the signals on a familiar loop.
Full route view: four basic checks
Review the whole line on a large screen. Do the start and finish match the intended location? Is it in the expected country, town and region? Do the ends of a loop actually join, or is there a separate approach section? Is the distance in the name and that calculated by the app close to the expected task? A small numerical difference is not necessarily an error, but a substantially different scale or an unexpected distant point needs further examination. A good name does not replace looking at the map.
Next, look for unusual shapes. A long, straight connection may represent a missing section or points joined together; small loops near the start may come from waiting during an earlier recording. The task is not to correct every oddity automatically, but to know why it is there. Compare it with the source description and a suitable map. If a section makes no sense, do not set off assuming the watch will surely sort it out. Reviewing the digital file is precisely how such questions become visible in advance.
Zoom in where you will need to make decisions
After checking the overall shape, examine the first junction after the start, route crossings, parallel paths and the returning section before the finish separately. Two nearby lines can merge on a small watch screen, especially on an out-and-back section or figure-of-eight loop. Remember the order of the main points. A simple list of sections can help: start, first loop, shared point, second loop, finish. This does not replace navigation, but provides a framework for interpreting it when the arrows are briefly unclear.
Check the route’s direction too. A loop can begin and end at the same point, so the overall map does not immediately reveal which way to start. If the receiving app offers a reversal option, know whether you are using it and what it changes. You cannot reverse an organised race course simply because that makes the start look more convenient. Even on your own run, there may be one-way access or land-use conditions that the line itself does not communicate. Interpret direction alongside the description and local rules.
Replanning can change the line
After importing, a planner may offer to retain the original track or match it to known paths. The komoot support page specifically describes such a choice. Matching to paths can replan the line; retaining the original line can preserve sections the planner does not connect to its own path network. Do not click through either option blindly. Examine the result, particularly at the junctions identified earlier. A smoother-looking line does not prove that it is closer to the organiser’s course or the actual terrain.
If the aim is to follow an official route, do not let a different sport profile or planning setting silently move it elsewhere. Keep the original file and give any edited version a separate name. Compare the start, main sections and overall picture. Look for the reason for differences rather than merely adjusting the displayed kilometres. A more detailed or attractive map may use a different database, but that does not make the new line it produces an unchanged copy of the official course. Keep differences between the plan and source traceable.
| Checkpoint | What should you examine? | Why does it matter? |
|---|---|---|
| Source | Year, distance, version and download date | Avoid taking an old or different course |
| Import type | Planned route or completed activity | Ensure it is available in the right place for the right purpose |
| Overall view | Start, finish, region and unusual connecting lines | Identify basic errors in advance |
| Decision point | Junction, shared section, direction | Make it intelligible on a small display too |
| Replanning | Did the line change during import? | Prevent the app replacing it unnoticed |
| Watch | Has the correct version appeared and can you open it? | Success on the phone is not a completed device test |
After saving in the app, send it to the device
A route visible in the cloud or on your phone is not necessarily already on your watch. The Garmin Connect route-import instructions mention sending to the device separately from importing and saving. The Polar guide also treats synchronising with a compatible device as a separate step. Check support for your own watch and the actual transfer method. A success message in the app confirms only the step it relates to; check its appearance on the watch separately.
Give versions short, recognisable names. The running date, distance and direction at the beginning may be more useful than a long event name shared by every file. The watch may truncate the name, so check its actual list. A series of “final”, “new final” and “latest final” quickly becomes impossible to follow. If an obsolete file remains on the device, organise the list using your system’s permitted method, but do not accidentally delete the original archive along with it. The aim is a route you can identify clearly when setting off.
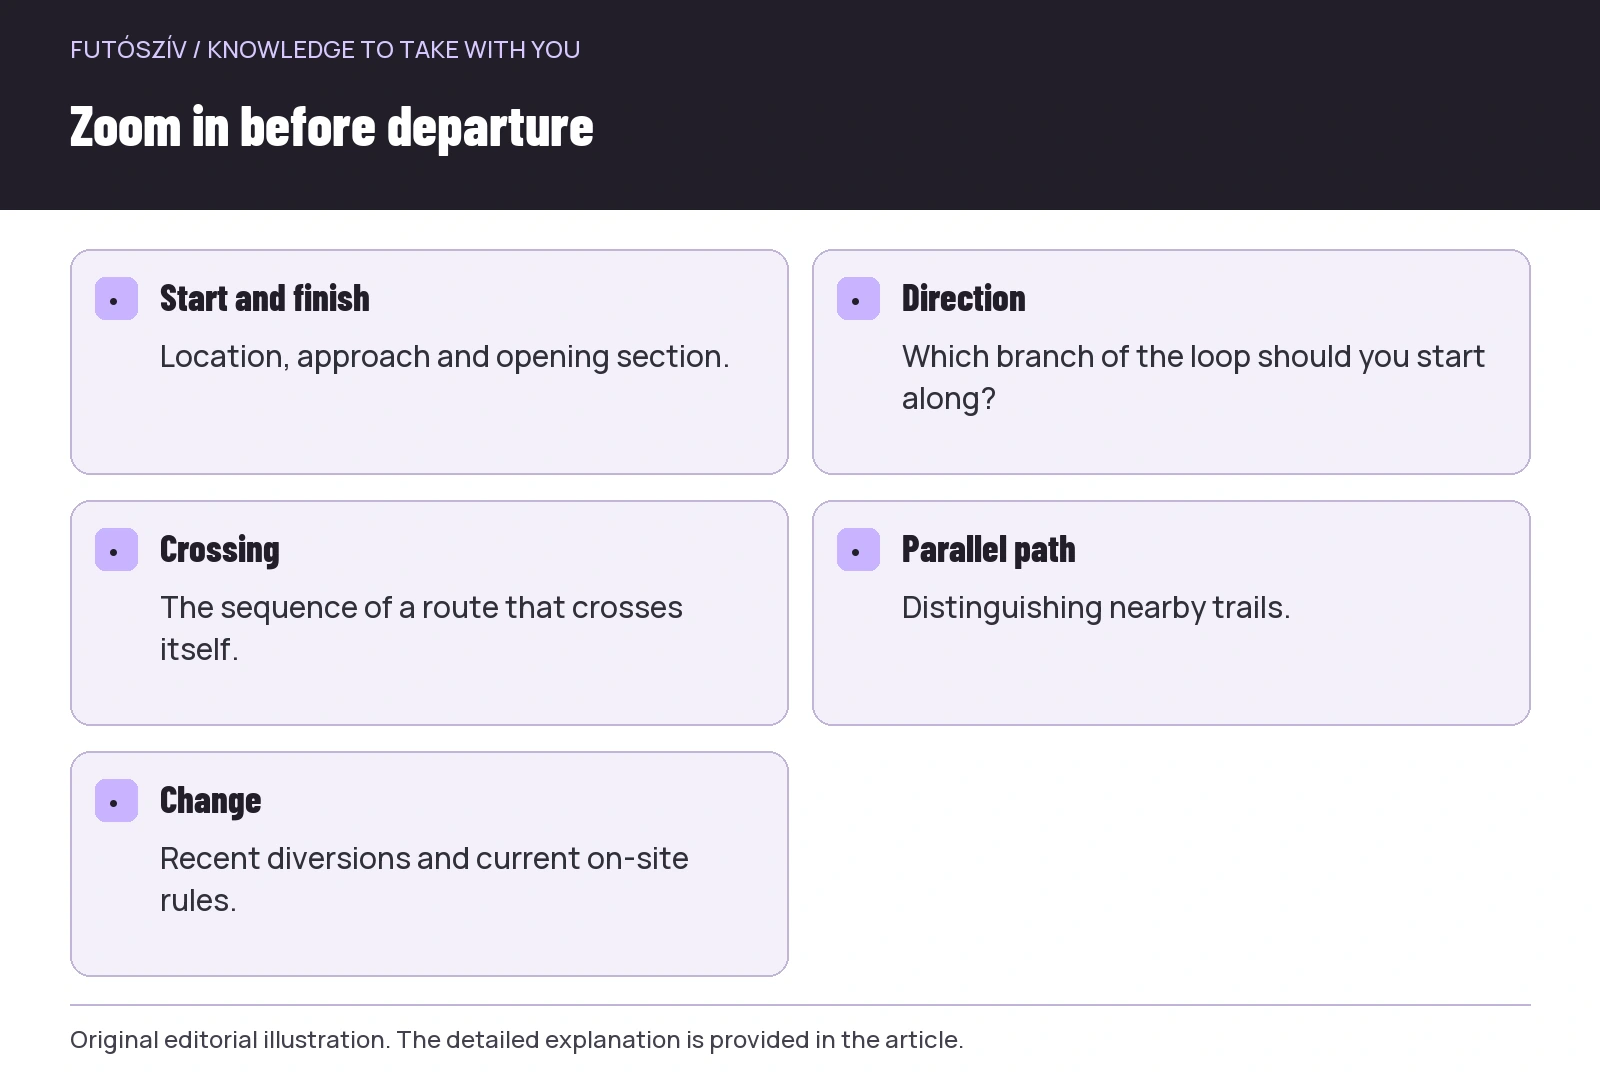 Enlarge diagram
Text version of the illustration
- Start and finish
- Location, approach and opening section.
- Direction
- Which branch of the loop should you start along?
- Crossing
- The sequence of a route that crosses itself.
- Parallel path
- Distinguishing nearby trails.
- Change
- Recent diversions and current on-site rules.
The hidden effect of point counts and simplification
The device constructs a route’s long line from points. During transfer, the system may simplify the data, and supported detail can vary between models. Polar’s import instructions also specify such limits by model group. This article does not give a point count valid for every watch: look up your own device’s current limit. The lesson is that the fully detailed web version and the line on your wrist can differ. Inspect tight bends and closely spaced trails on the watch too, rather than only on the app’s large map.
Simplification does not necessarily mean the file is faulty, but you need to understand its practical consequences. If a section looks too crude, check which transfer method and route type you used. Do not start passing the whole file through random converters. First compare the original file, the imported app view and the watch. This can identify the step where the line changed. If necessary, look for a manufacturer-supported solution; another export is not automatically more detailed, and a larger file does not mean more reliable navigation.
Learn the signals on a familiar route
Make your first import trial with a short, familiar loop. Find out how navigation starts alongside recording, which view shows your position, how to zoom and what the system indicates near the route. The availability and operation of off-course alerts depend on the model, so interpret them using the manual too. Do not choose a deliberate, dangerous deviation for the test. Simply learn the controls somewhere you can easily find your way without the watch. A short trial says far more about your own use than successfully pressing the import button.
Check navigation and recording status separately. In some operating situations, you may have opened the route without starting workout recording. The reverse is possible too: the run is being recorded while following the intended route is not active. Learn your own watch’s indicators for this. If you switch routes or return from a menu, check what remains enabled. The line on screen and elapsed workout time together may help you recognise the situation, but the specific operation depends on your model.
The final check before setting off
The file does not report every recent closure, storm damage or event change. Check the source’s current information, the weather and recent announcements for the area. A line on a map does not authorise entry into closed or inaccessible places. If the situation on arrival differs, follow the actual signs and rules rather than the previously downloaded drawing at any cost. Your backup navigation and homeward plan should suit the route’s demands; the watch’s charge level is only one part of this.
At departure, briefly run through the list: correct source and version, right direction, decision points reviewed, correct file opened on the watch, navigation understood and backup plan known. If anything is missing, resolve it while still at home or in the safe surroundings of the start. A route import is ready for use when you understand what the line means, not merely when you have copied the file. GPX can then be a useful companion: it supplies prepared information while you continue paying attention, navigating and adapting decisions to the real conditions on the ground.
Sources and further reading
- komoot – Export and Import Routes and Activities
- Garmin – Importing a Third-Party Course into Garmin Connect
- Polar – How to Import a Route
How Futószív articles are prepared: our editorial guidelines.