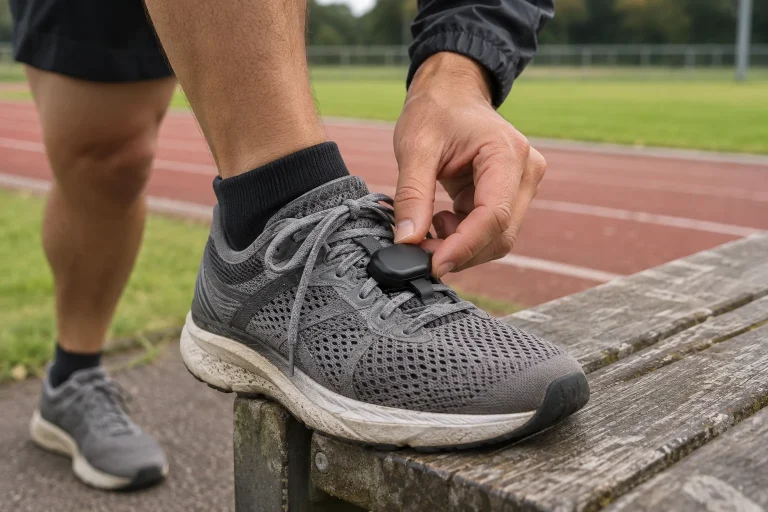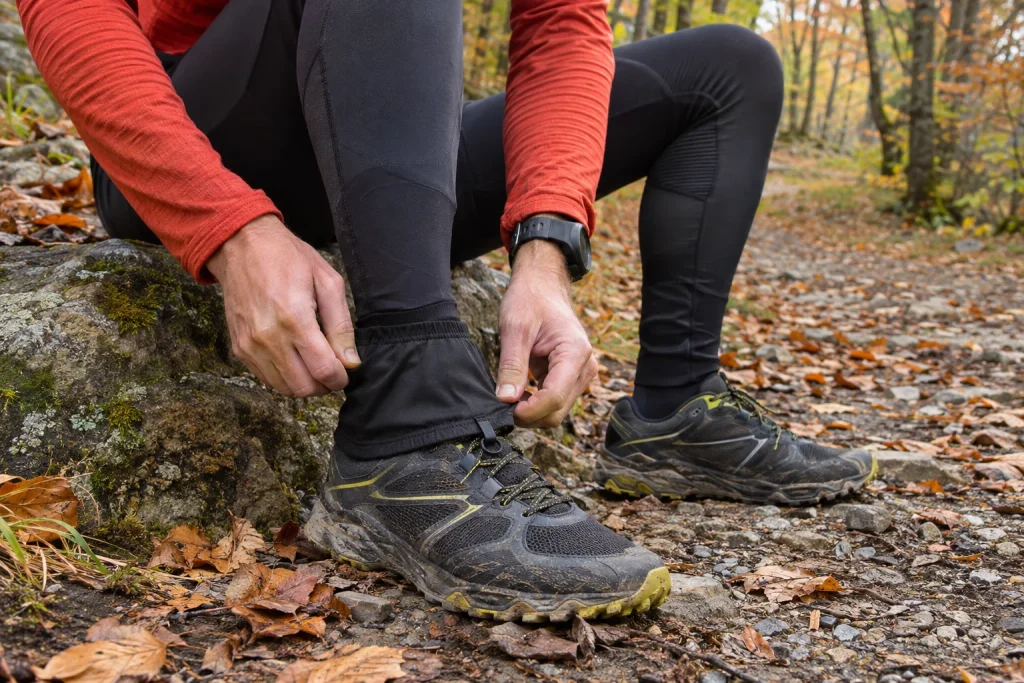
If you repeatedly stop on a trail to remove small stones or plant debris from your shoes, gaiters may come to mind. This accessory around the ankle and upper part of the shoe can, in certain situations, reduce dirt entering from above. It is not necessary for every trail run and does not solve every shoe-fit or weather problem. A good choice begins by understanding what gets in and where, then testing the appropriate shoe–sock–gaiter combination. The accessory gains a specific task rather than simply becoming another item on the equipment list.
First observe how debris gets in
A small object felt inside a shoe does not always arrive the same way. It can enter beside the ankle opening, get into the sock while dressing, or remain from previous use. Check shoe and sock before departure and when you stop safely to deal with the irritation. If the opening gaps substantially at the heel, examine fit too. A gaiter is not intended to make a shoe with the wrong shape for you acceptable by wrapping it completely. Recognising the particular problem helps decide whether this accessory is really the answer or whether another detail needs attention.
Note which route and conditions produce it. Fine sand, dry leaves and loose gravel can create different situations, as can a narrow trail overgrown with bushes. If something only gets in occasionally, you may not need a permanent extra layer. If it regularly interrupts running, a targeted trial may make sense. Whether gaiters are needed is determined by your own task, not how “serious” the trail running is. A simple route can have plenty of small debris, while another, harder loop may cause no entry problem at all.
Running gaiters and tall hiking gaiters are different products
A short, lightweight running gaiter may aim for different coverage and movement from a tall, robust hiking or snow-use version. The Outdoor Research category explanation also distinguishes low trail models from those providing greater protection. The name alone is therefore insufficient. Check which shoes, conditions and attachment the product is designed for. A bigger, stronger piece is not automatically better for running because it can also mean more material, a different movement feel and different handling.
Do not confuse a running accessory selected against debris with another function. A gaiter does not become an ankle brace because it sits around the ankle, nor does water protection follow simply from its shape. Read the specific product claim. Thin, stretchy fabric may serve a different task from a waterproof system, and openings in the whole setup still matter. Address any other health-related or specialist protection need separately. Clarifying the accessory’s role prevents expecting safety it was not designed to provide.
 Enlarge diagram
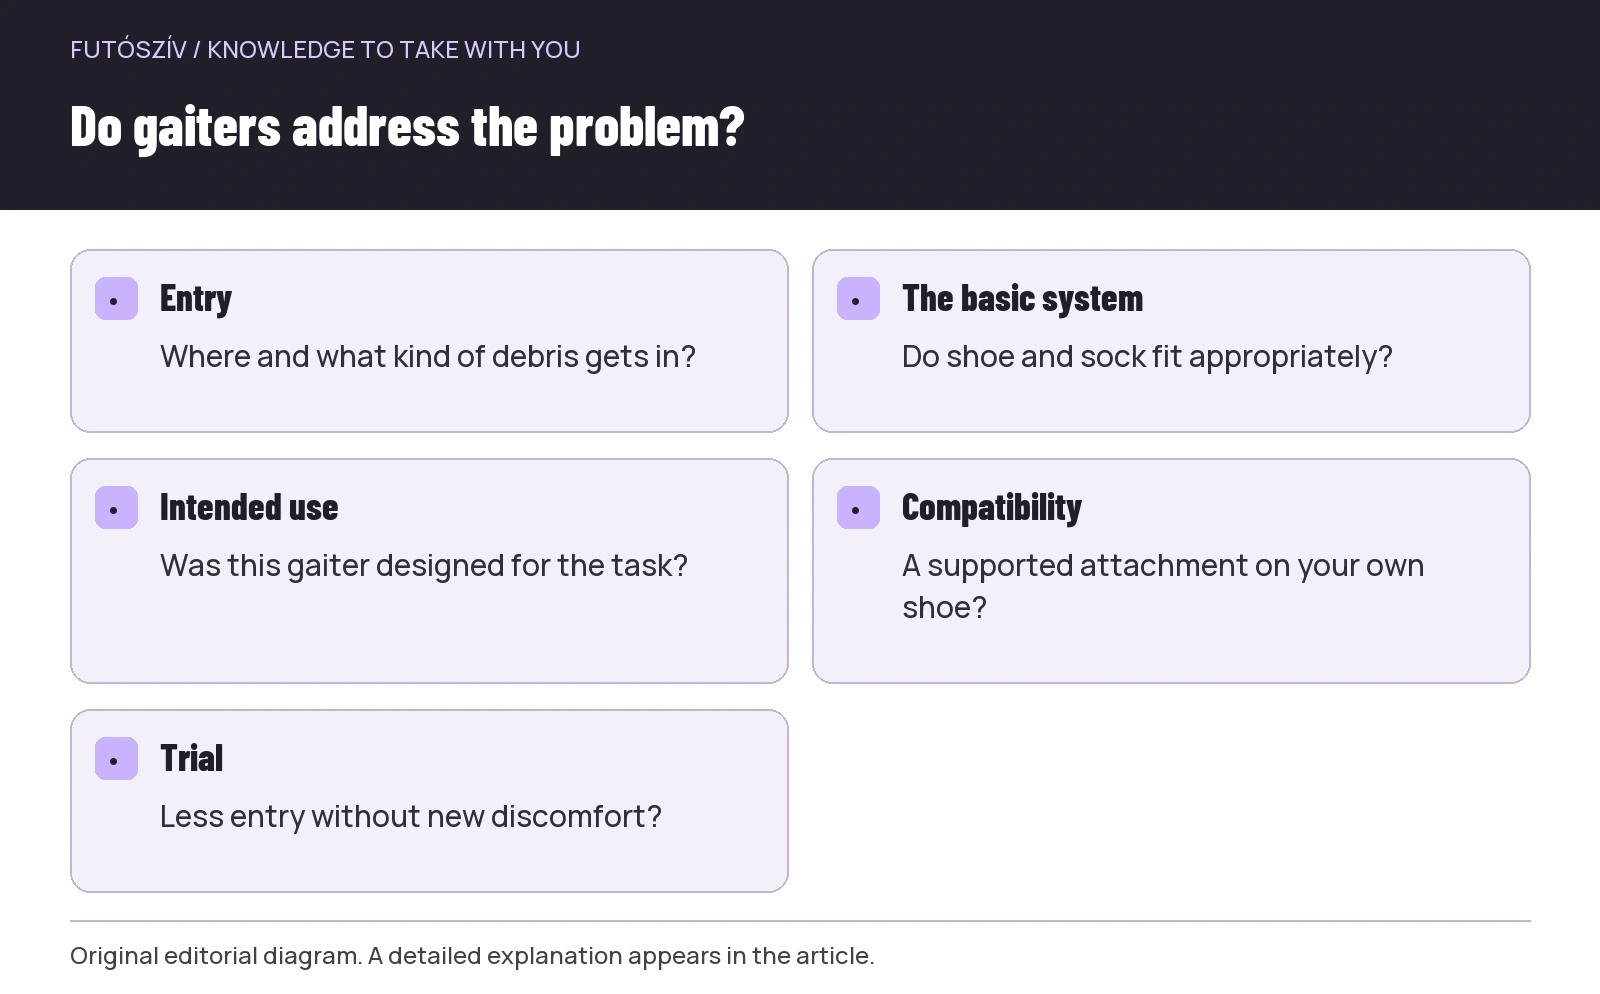
Text version of the diagram
- Entry
- Where and what kind of debris gets in?
- The basic system
- Do shoe and sock fit appropriately?
- Intended use
- Was this gaiter designed for the task?
- Compatibility
- A supported attachment on your own shoe?
- Trial
- Less entry without new discomfort?
Do not guess shoe compatibility
Different attachments exist: an underfoot strap, an element connected to the laces or a rear attachment area built into the shoe can form different systems. Read your product and shoe instructions together. The manufacturer’s explanation of Altra’s GaiterTrap system , for example, specifically presents the rear shoe design. This does not mean the same attachment works on every other shoe. Check the purpose of a similar-looking hook-and-loop area or loop.
If the accessory requires a separate attachment piece or its own installation step, follow exactly the manufacturer’s method. Do not randomly glue or pierce a shoe based on an online idea. The upper, heel design and sole behaviour are all part of the setup. If compatibility is uncertain, ask the manufacturer or an appropriate retailer using the exact shoe and gaiter models. “I have trail shoes” is too broad. A well-chosen system can later be quicker to put on and more reliably checked than one assembled from several improvisations.
Size: appropriate coverage with comfort
The gaiter needs to fit the upper shoe and ankle area according to the product’s intended use. Too loose may not provide suitable coverage; too tight may cause uncomfortable pressure and a feeling of restricted movement. Try the size with your own shoes and socks. Shoe size or circumference on the packaging is a starting point, not the complete wearing result. Check edge positions and ankle movement. Appropriate fastening is not the same as pulling the whole system as tightly as possible around your leg.
Observe what happens when stepping, leaning forwards slightly and moving in your usual running pattern. Fabric should not bunch distractingly between shoe collar and sock. If there is an underfoot fastening, position it according to the manufacturer and check that it does not contact an area it should not. How it can be used depends on the particular system. Do not create your own cord arrangement routed randomly along the sole. Shoe contact with the ground and attachment durability matter too. Follow a standing fit check with a short, easy movement trial on a safe surface.
Learn the putting-on sequence at home
Some models go onto the leg before the shoe; others open and can be added afterwards. Follow your own instructions. The manufacturer’s running-gaiter description also supplies specific attachment and construction information for its version. Check not only how it goes on, but also how you access shoe and sock for a necessary adjustment. On a longer run, this is practical: a system quick to put on but difficult to inspect may take more time later. Handling is part of the choice.
Before running, inspect inside the shoe, straighten the sock, check lacing, then adjust the gaiter as instructed. Coverage will not remove debris already left inside while dressing. The sequence is simple, but applying it consistently gives a better starting point. Check fasteners too: they should not be damaged, hooked in the wrong place or partly closed. If the product distinguishes left and right, account for that as well. A small accessory is no reason to neglect the shoe’s basic comfort and security.
Socks and trouser legs have a say too
The gaiter’s top edge may sit near the sock cuff or trouser hem. Thick material and several edges in one place can press or bunch. Try it with the actual clothing, not only the shoes. The interaction may differ between shorts and long trousers. Check layer order according to intended use and conditions; an online setup for another, tall hiking gaiter may not apply to your running accessory. The aim combines suitable coverage and comfortable movement. Product photographs do not always reveal these details.
If the new accessory changes how the shoe collar or lacing feels, stop and identify the precise cause. Do not automatically tighten the shoe because a new layer changed the sensation. The gaiter’s size or arrangement may be unsuitable. Natural ankle movement and foot comfort matter more than every piece of fabric lying perfectly smooth. The trial may also show that this accessory is not worthwhile for your route. That is as sensible an equipment decision as keeping an item that works.
| Reader’s question | What should you examine? | What should you not assume? |
|---|---|---|
| Do you really need gaiters? | Where and what debris gets in? | They are compulsory for every trail run |
| Do they fit the shoe? | Manufacturer’s attachment and receiving area | Every trail shoe is the same |
| Is the size appropriate? | Coverage, edges and movement | The tightest fit is best |
| Do they protect against water? | The specific product claim | Fabric around the ankle seals everything |
| Are they manageable? | Putting on, adjusting shoes and removing | Quick fitting describes every use situation |
 Enlarge diagram
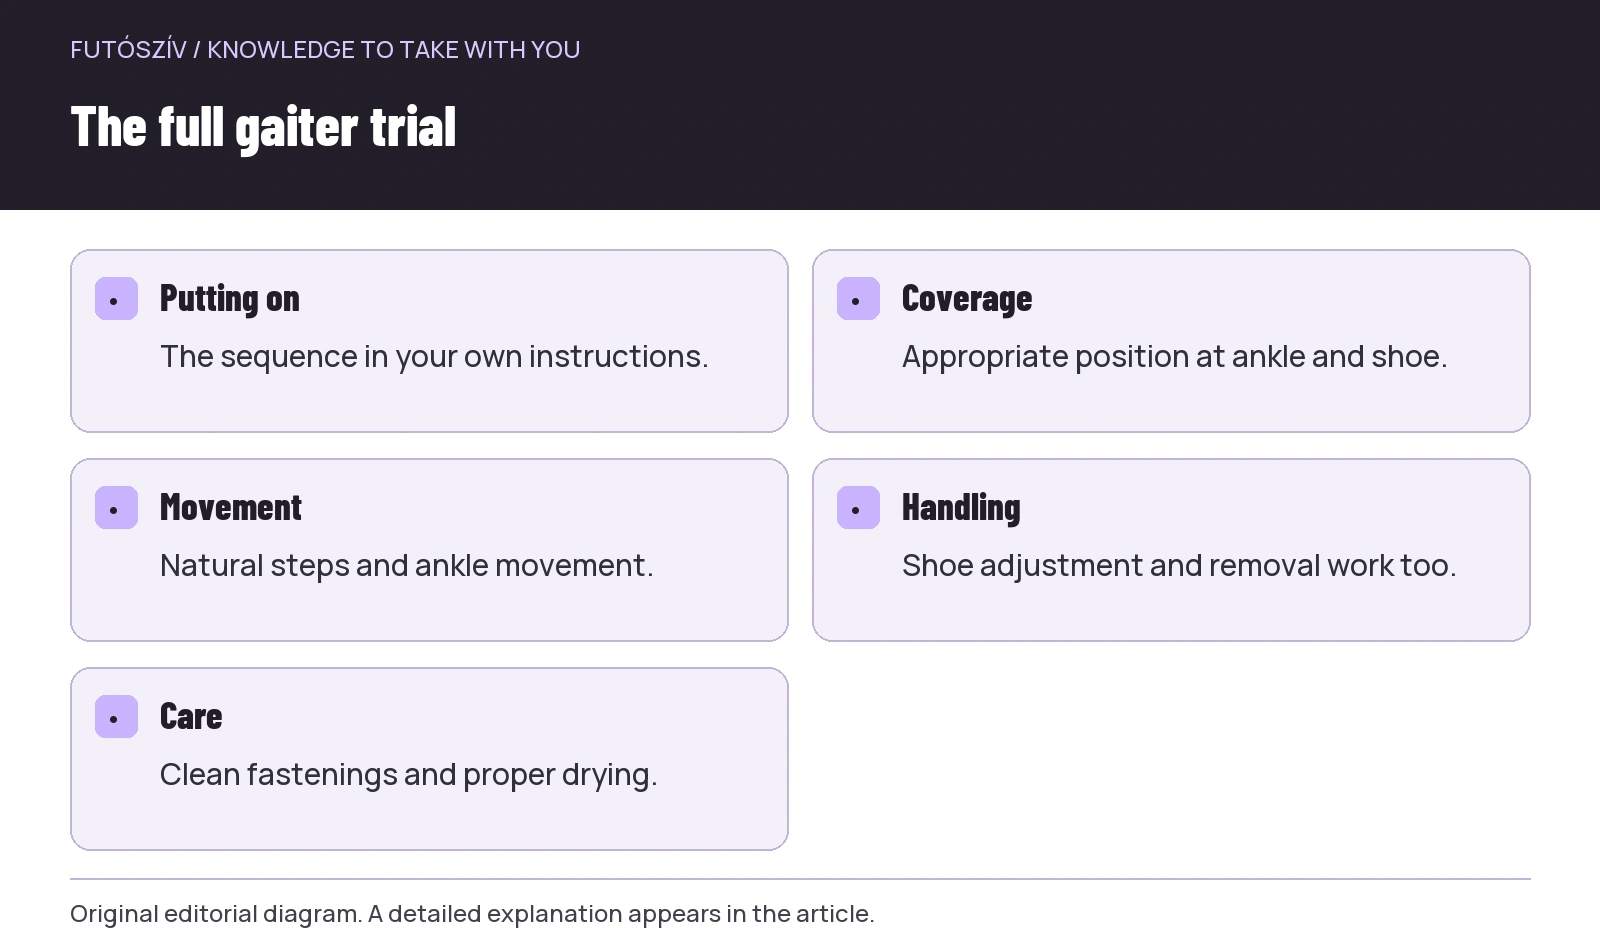
Text version of the diagram
- Putting on
- The sequence in your own instructions.
- Coverage
- Appropriate position at ankle and shoe.
- Movement
- Natural steps and ankle movement.
- Handling
- Shoe adjustment and removal work too.
- Care
- Clean fastenings and proper drying.
Make the first trail trial recognisable
Choose a familiar route where debris has entered before, but do not seek dangerous or particularly difficult terrain for the test. Your usual easy run may be suitable. Note the ground conditions and shoe–sock combination used. During the trial, observe whether the accessory moves, needs adjustment and stays comfortable. If a fastening comes loose or something dangles distractingly, stop somewhere appropriate. Do not try to make adjustments while running on a technical section. Even a small accessory fault can take attention from the route.
At the end, check what stayed outside and what got in. Do not turn one outing into a guaranteed performance claim. Different ground, movement and weather may bring different results. A more useful specific question is: did the usual irritating entry decrease without new pressure or handling problems? If so, you have meaningful experience for your own use. If not, review size, attachment and how you interpreted the original problem. Change one thing in the next trial to understand the relationship.
Follow moisture and dirt with care
A gaiter’s outer surface can collect debris, so when removing it, avoid immediately pouring into the shoe what it kept outside. Follow the product’s exact removal sequence and cleaning instructions. Leaves or sand remaining in the attachment area may impair the next fitting, so inspect that too. Do not leave wet fabric sealed in a shoe bag for a long time. Dry it as instructed and check straps, hooks, buckles or hook-and-loop parts separately. These also determine the system’s reliability next time.
With a worn fastener or small tear, check manufacturer-supported repair and spare parts. Do not automatically attribute original properties to an accessory sewn back together at home. Test comfort and attachment again after repair. If changing shoes, recheck gaiter compatibility even within the same brand. An accessory that worked in a previous system may not fit another heel shape or sole design in the same way. Equipment components work together, so changing an important part can raise new questions for the others.
When can you comfortably leave them at home?
If debris is not a problem on your route, shoes and socks work appropriately and the extra layer only adds handling tasks, use is not compulsory. Gaiters are not part of trail-runner status. At other times, they may be particularly useful if your own trial shows they reduce regular, irritating entry. A good decision in either direction comes from specific observation. You do not need to take everything on every run, but keep a proven solution available for its associated task. An accessory is valuable when it solves a real problem without creating a bigger new one.
A clear sequence is enough for choosing: recognise the problem, check intended use, confirm shoe compatibility, try the complete setup and care for it. How the product works on your own feet and route matters more than its name. Stable, comfortable, easily handled gaiters may reduce unnecessary stops under certain conditions. But they do not replace shoe fit, appropriate footing or a weather plan. Keeping that role precise can make them a useful, targeted accessory in running equipment.
Sources and further reading
- Altra: explanation of the GaiterTrap attachment system
- Altra: manufacturer’s running-gaiter design
- Outdoor Research: different gaiter types
How Futószív articles are prepared: our editorial guidelines.