After a muddy trail race, equipment is more than dirty: different wet materials, soil residue and sensitive devices end up together. Mud falling from soles, packaging forgotten in a pocket and a phone left in a wet vest create different problems. Good clean-up therefore depends on sequence. You need not clean everything perfectly beside the finish arch, but separate the next stages: protect dry belongings, remove heavy dirt in ways permitted on site, transport everything safely, then care for and dry each item.
At the finish, deal with yourself and dry belongings first
Cleaning shoes does not precede calmly leaving the finish area and changing. Keep dry spare clothing separate and give muddy gear another place. A prepared, easily cleaned bag or tray helps avoid involving the car seat and clean clothes in the same mess. This is an organisational decision, not a need for a special product. The point is that temporary placement of wet things is not their final storage, and unpacking at home must still happen.
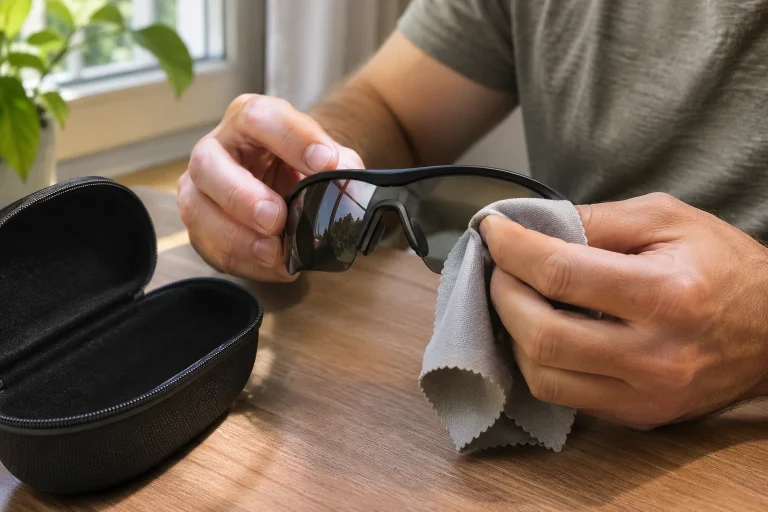
Remove your phone, documents and other sensitive items from the bag before adding a muddy vest. Do not wipe a screen with a dirty glove. Electronics follow their own manufacturer instructions; do not hurriedly try charging a muddy, wet connector. Do not dry-rub gritty dirt off spectacle lenses either. The first sorting aims to prevent rough tidying from creating new damage to objects that merely need cleaning.
On-site facilities determine the first cleaning
If the organiser provides a designated shoe wash or brushing station, use it according to its rules. Do not take muddy shoes to handwashing basins, drinking fountains or places where cleaning obstructs others and is not designated. A nearby stream is not automatically an equipment wash either. Event and land-manager requirements take precedence over convenience at home. Only undertake on site what is permitted there and appropriate for your equipment; some thorough care can wait.
The National Park Service prevention guidance mentions removing soil and plant material from shoes to help prevent invasive species spreading. This provides a general perspective for clean-up: soles are not merely an aesthetic issue, and taking them dirty into the next natural area is undesirable. The American page is not a local Hungarian rulebook, however. Always separately consider current site and conservation rules, including handling removed mud and plant residue.
Dry and muddy zones, starting in the car boot
Imagine two areas: one for spare clothing and dry belongings, another for temporarily packed wet gear. Put shoes awaiting cleaning somewhere stable, where they cannot roll onto glasses or a battery. Thin textile can be damaged by pointed poles, soles and hard buckles. Separation still makes sense with one sports bag: suitable internal divisions and orderly placement help. Do not compress the entire kit merely so you can throw it into the boot in one movement.
You can isolate wet clothes during travel, but open the bag on arrival and care for them according to their labels. A sealed bag is not a long-term dryer or store. If the journey is longer, plan so unpacking still fits your real possibilities that day; every item need not immediately be washed completely, but the wet package should remain a recognisable task. A clearly visible, separately placed bag is a better reminder than a sports bag pushed back into a cupboard. Inspect the bag’s inside too if it became soaked or muddy.
 Enlarge diagram
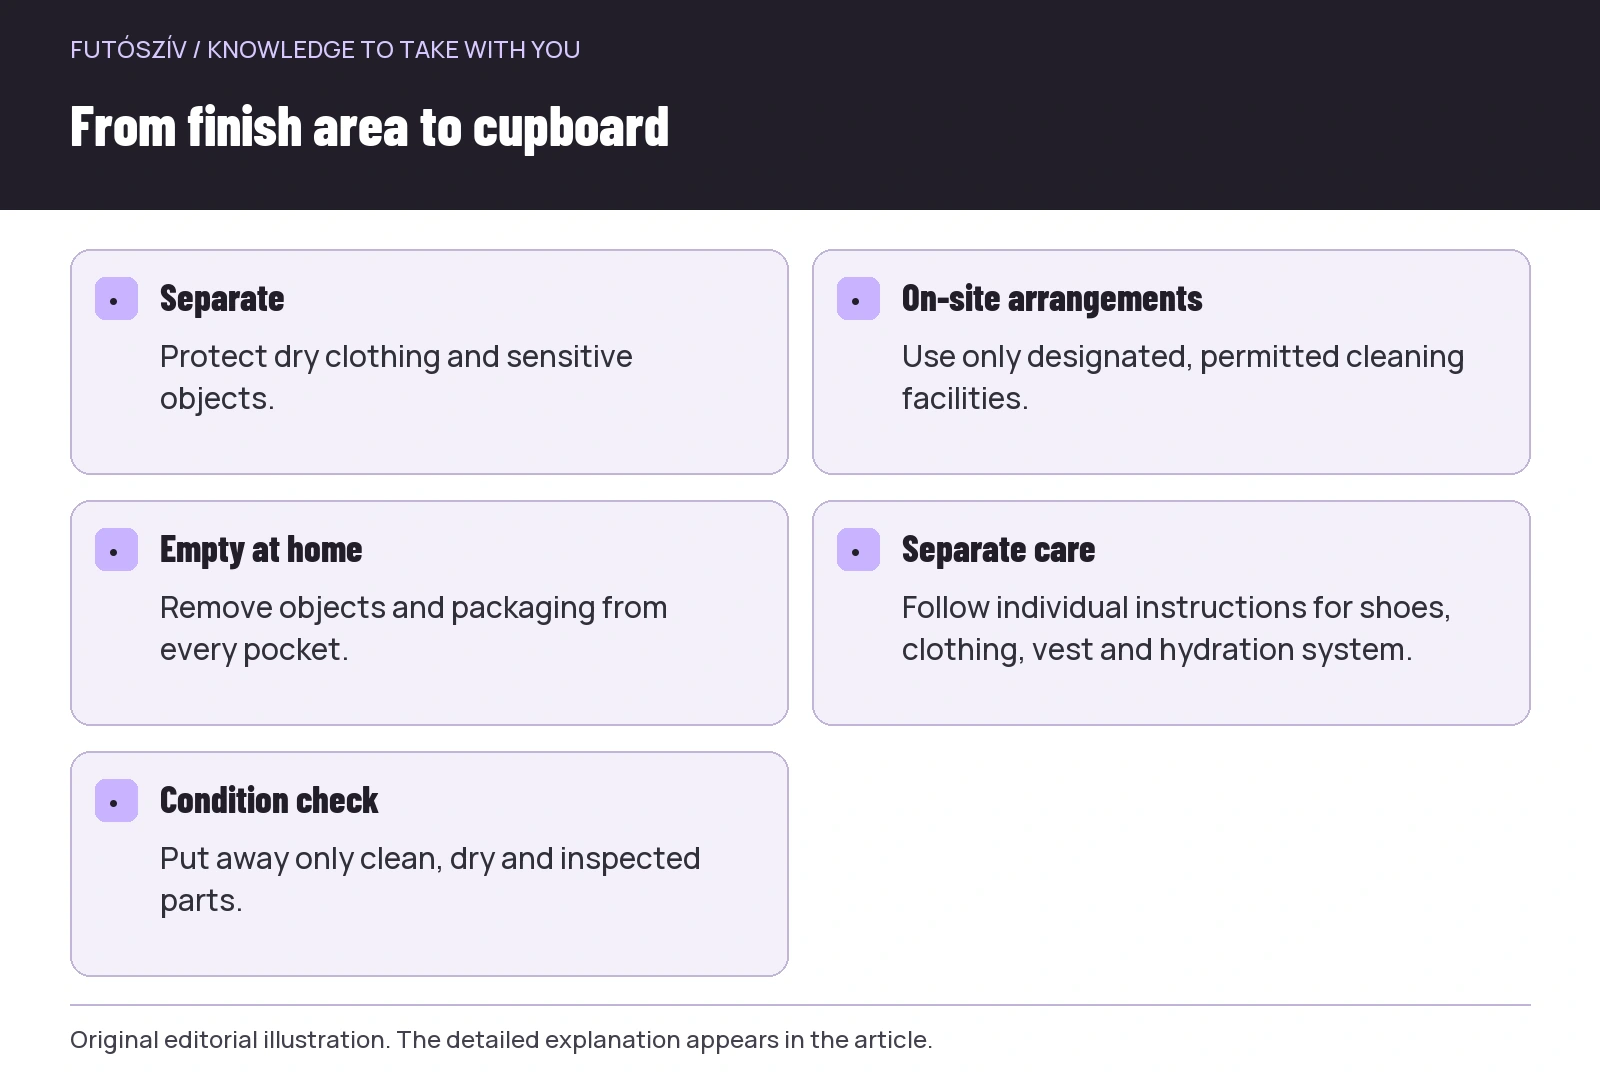
Text version of the illustration
- Separate
- Protect dry clothing and sensitive objects.
- On-site arrangements
- Use only designated, permitted cleaning facilities.
- Empty at home
- Remove objects and packaging from every pocket.
- Separate care
- Follow individual instructions for shoes, clothing, vest and hydration system.
- Condition check
- Put away only clean, dry and inspected parts.
At home, empty first, then sort by care requirements
Lay out a cleanable surface and empty vest, belt and clothing pockets. Mud often hides small objects: wrappers, tissues, race-number fasteners and keys can remain inside. Separate flasks and hydration system, care for electronics according to their instructions and group clothing by labels. A muddy race is a shared history, not a shared washing instruction. Shoes, membrane jacket and stretch vest may not tolerate the same temperature or mechanical treatment.
Opening one work stage at a time helps: first rescue belongings, then remove heavy dirt, then care for individual products. The phone then does not remain in a rinsed pocket, and a clean flask does not return beside muddy shoes. Give small components a separate tray and photograph apparently faulty parts. A detached seam or damaged buckle will not automatically repair itself during washing. Cleaning and condition inspection connect but produce different outcomes.
| Group | First task at home | Main check |
|---|---|---|
| Electronics | Remove from wet textile; follow their own care process. | Case, connector and permitted charging conditions. |
| Hydration system | Empty and care for components separately. | Internal passages and complete drying. |
| Clothing | Empty pockets and sort by care labels. | Different washing and drying restrictions. |
| Shoes | Gently clean soles and uppers. | Grooves, removable parts and material condition. |
| Vest and bag | Open every compartment. | Deep pockets, layers and hardware. |
Soles and uppers need different attention
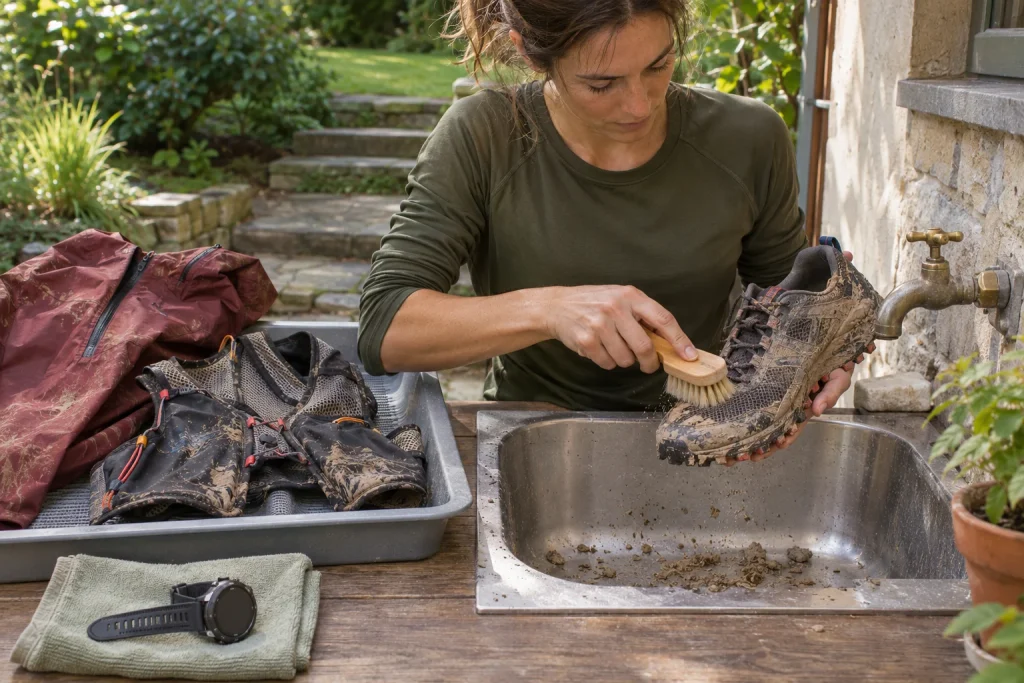
After removing mud and stones trapped in the tread, inspect the upper material too. Follow your shoes’ care instructions rather than treating a rugged sole and delicate mesh identically with a stiff brush. The Brooks shoe-care guide describes gentle hand cleaning and warns against machine washing and drying. Your own product’s instructions remain primary, but the example illustrates why putting every muddy object into the same machine is not a universal solution.
Remove an insole only if it is actually designed to come out, then clean and dry it as the manufacturer directs. Do not judge internal moisture by the outside. A finished-looking upper does not make the whole shoe ready if its interior remains wet. Avoid direct heat for drying unless permitted for the product. Arranging laces and tongue appropriately can help access, but do not force the shape with a poorly fitting object. The aim is a clean, dry, inspected shoe, not a like-new shine at any cost.
Treat technical clothing by the label, not by the mud’s colour
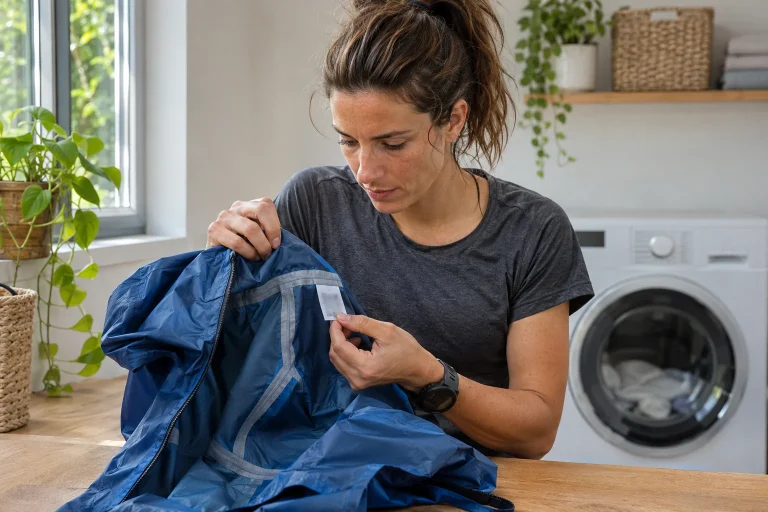
Two equally muddy tops may have different washing and drying instructions. If they can be treated together at all, match the entire load to the most restrictive shared condition. A membrane jacket may need separate guidance; prints, bonding and other additions matter too. With heavy dirt, follow suitable preparation procedures for both product and machine. Do not automatically transfer mud collected in the bath into the washing machine, or choose a hotter wash merely because the garment looks muddier.
If planning pretreatment, check that the method suits material and label. A strong product for an unknown stain, bleaching or rough rubbing may not help and can damage clothing. Keep pockets empty, prepare closures as specified for washing and protect fine mesh from snagging objects in the permitted way. Remaining discolouration does not always make textile unusable. Cleanliness, material condition and an aesthetic mark are separate questions; do not chase the last one with endlessly stronger treatment.
Do not miss deep areas of the vest and bag
After rinsing the outside, sand or food residue may remain in a lower pocket. Work through compartments in the same order as emptying them: front, sides, back and inside. The Osprey product-care description also pays separate attention to pockets, closures and seams in its packs and describes gentle hand cleaning. Do not treat this as a recipe for every brand; follow your own product’s label and complete instructions. The example demonstrates the importance of hidden areas.
After rinsing, check inside pockets and between touching panels too. Do not immediately replace a flask in a drying vest, which can block the contact surface and introduce moisture again. Do not use a thin fastening cord to lift the whole wet kit or hang a heavy object in a wet pocket for drying. If a zip still sticks after mud removal or a buckle does not close correctly, treat it as a separate fault. Judge condition by more than a clean colour.
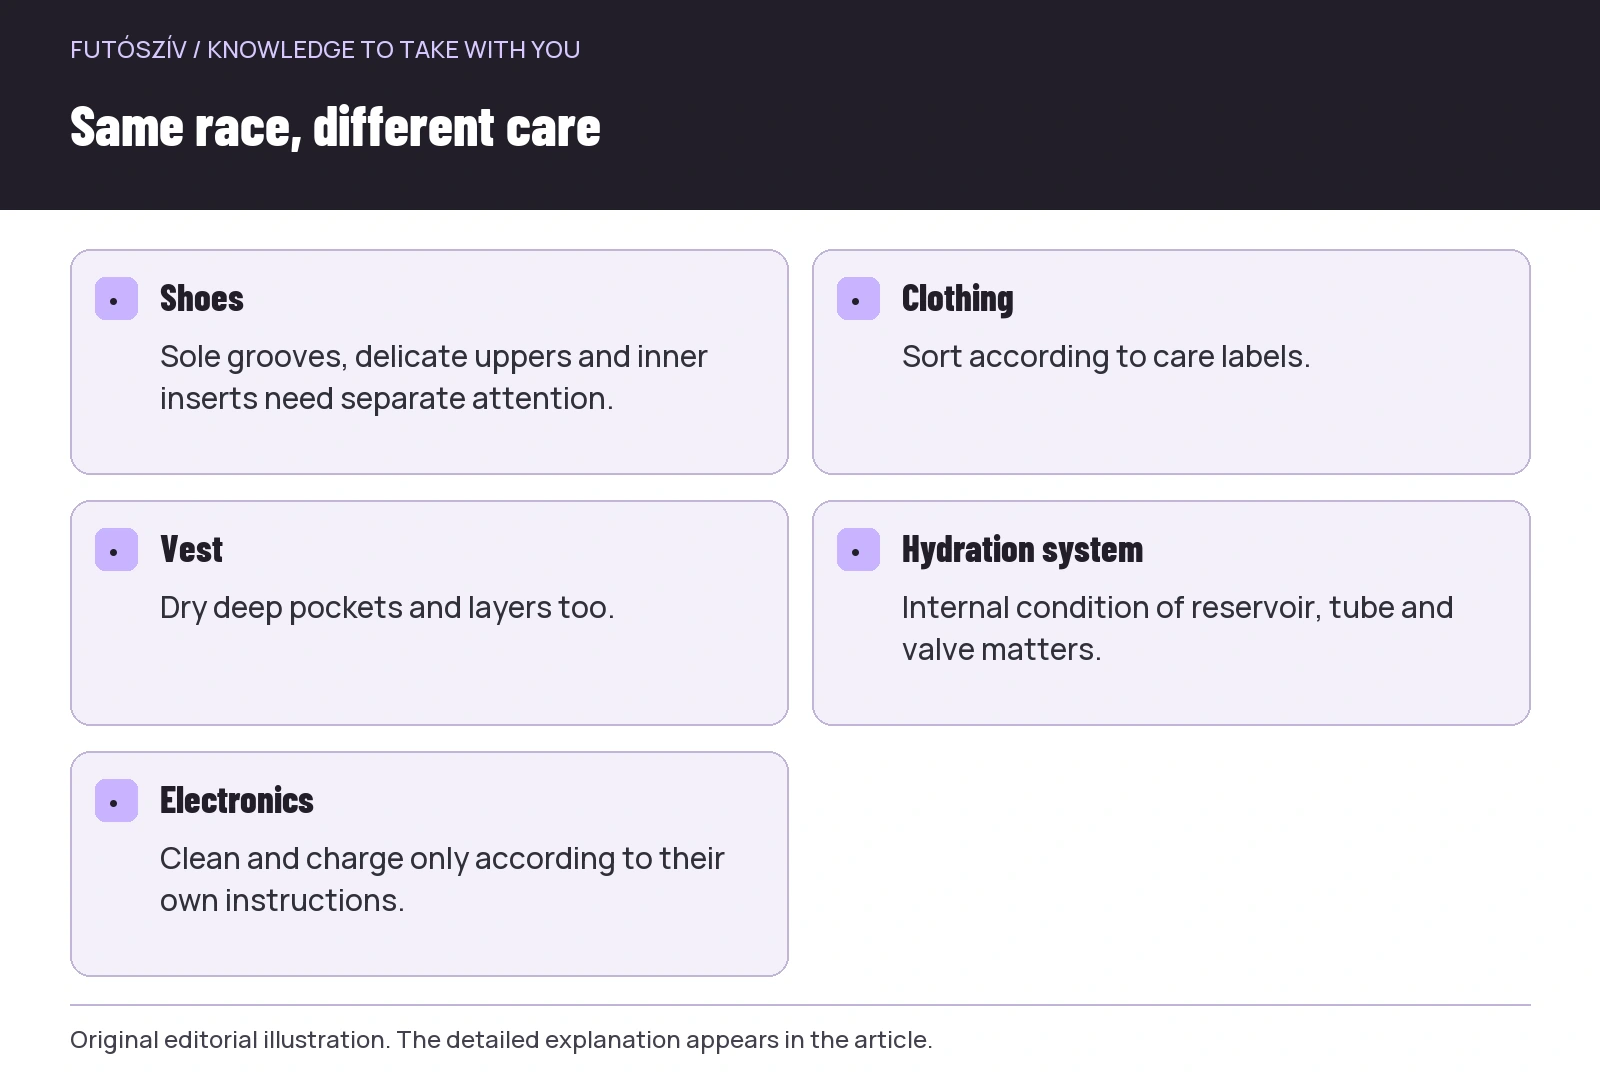 Enlarge diagram
Text version of the illustration
- Shoes
- Sole grooves, delicate uppers and inner inserts need separate attention.
- Clothing
- Sort according to care labels.
- Vest
- Dry deep pockets and layers too.
- Hydration system
- Internal condition of reservoir, tube and valve matters.
- Electronics
- Clean and charge only according to their own instructions.
Hydration system: do not leave it in the vest until tomorrow
Empty remaining drink from reservoir and tube and clean according to the product. Think of every part contacting liquid, not just the large reservoir. A cap or valve with drink residue presents a different task from removing exterior mud. Do not wash the system in water shared with dirty shoes or use one brush on everything without checking. A clean surface and separate tools matter practically: cared-for parts should not meet heavy dirt again.
Drying the hydration system needs its own time and arrangement. Access to reservoir walls, opening the tube and removable valve elements depend on the model. Dismantle only permitted parts and do not force inversion through a narrow opening not designed for it. Check internal moisture separately before putting away; a dry exterior does not establish the tube’s internal state. Put a fully finished hydration system separately from a still-drying vest so one item’s completion does not interrupt the other’s care.
Plan the drying place as a work stage
Piling everything together looks quick but makes drying less so. Allocate places for shoes, clothing, vest and small accessories where parts remain accessible. Visible organisation helps show what is still in progress. They need not finish simultaneously. You can put clean, dry socks away while still checking shoe interiors. Storing by condition is better than declaring the whole set done together after a predetermined number of hours.
Check the end of drying in good light, especially at pocket bottoms and beneath removable inserts. If something is still wet, do not compress it back into the bag to make it disappear from the living room. A temporary orderly area may be more convenient than repeating the full care process later. Follow specific manufacturer guidance instead of unapproved high heat or overly tight stuffing. Items used at the same event can have separate drying tasks, which their arrangement at home should reflect.
What belongs on the final checklist?
Check that every pocket is empty and clean, sole grooves are visible for inspection, the hydration system is dry and electronics are ready according to their own requirements. Do not forget visible damage in the pleasure of clean equipment: mark faulty parts separately and assign follow-up. Match accessories to the right item rather than putting everything in one unidentified bag. A missing flask cap or wrong tube can cause more rushing next time than a faint earth-coloured mark on clothing.
Before the next trail run, review the kit against that route’s requirements. Cleaning did not automatically renew a worn sole or damaged jacket, and dry equipment is not necessarily suitable for every event. An orderly post-race process produces known condition: you know what is clean and usable, what awaits repair and what still needs guidance. The muddy day then genuinely ends, and equipment returns to its place thoughtfully prepared and inspected for next time.
Sources and further reading
- Brooks: What is the best way to clean my shoes?
- National Park Service: invasive species prevention
- Osprey: Product Care
How Futószív articles are prepared: our editorial guidelines.