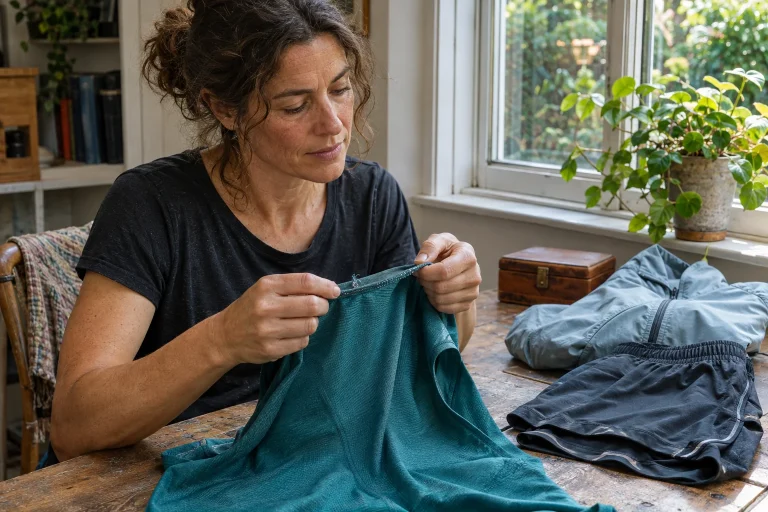
A zip jamming at the wrong time can make an entire running garment seem unusable. Yet trapped thin lining, a broken pull, damaged teeth and stitching coming away beside the zip are different problems. Precise observation is the first repair step. You need not become a zip repairer: identify the affected part, document its behaviour and distinguish a jam that can be gently resolved from a fault needing repair. This guide offers terminology, an inspection sequence and questions, with particular attention to lightweight running clothing and membrane jackets.
Four component names that make the conversation easier
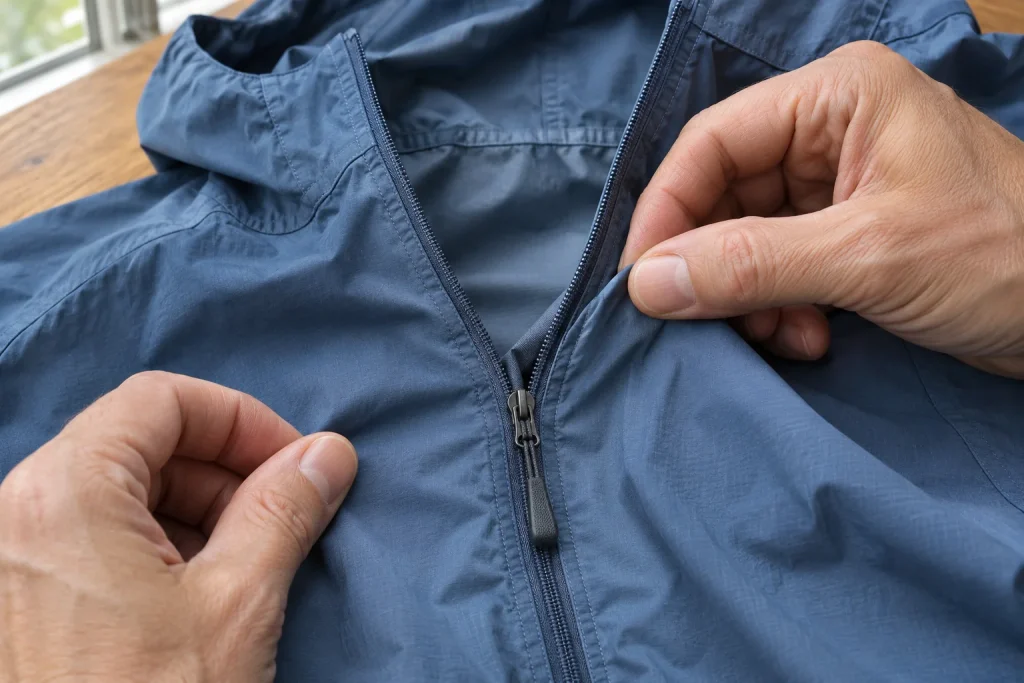
The zip’s two tapes attach to the garment and carry the interlocking teeth or coil. The slider travelling along them brings the two sides together or separates them. Attached to the slider, the pull is the part you grasp. An end stop limits the slider’s travel; on a fully separating zip, the lower insertion connection has a separate role when starting. These are simple working names: a repairer may use other terminology, but the location shown in a photograph stays the same.
Why does the distinction matter? If you mention only the pull when the whole slider has cracked, the wrong part may be sought. A closed zip opening behind the slider differs from the jacket’s lower connection failing to seat properly. Stitching attaching it to the garment coming undone is not necessarily a tooth problem. Naming the part also helps avoid assuming a complete zip replacement when a repairer could examine a smaller intervention.
First remove tension
Stop and examine the garment where your body or an overfilled pocket is not pulling it apart. While running, wearing gloves or under a tight vest, a jam is difficult to distinguish from fabric tension. If circumstances allow, remove or loosen the garment, empty the affected pocket and place it on a well-lit surface. Forcing the slider onwards provides little information but can worsen the problem. The first inspection aims to understand the fault’s location, not make it close again at any cost.
The YKK advice on zip use expressly warns against force when fabric or thread catches in the slider. The Rab care and repair guide also emphasises locating the obstruction and mentions overfilled pockets as a problem. The practical foundation is therefore not a special lubricant, but removing strain and calmly inspecting both sides. Alongside this general principle, guidance for your garment’s material and zip remains decisive.
If fabric or thread is caught in the slider
Examine both sides and the back of the slider. In a thin wind jacket, a trapped inner fold can easily obscure the precise problem. If clearly visible fabric is only loosely caught, you can try gently relieving tension and releasing it according to manufacturer advice. Do not pull the garment and zip in opposite directions at full force. Freeing fabric and moving the slider should be small, controllable actions; stop and seek repair help if material is deeply trapped or damaged.
Do not automatically cut a protruding thread either. First establish whether it is a loose end or part of structural stitching. A cut in the wrong place can create a new fault. Keep knives, needles and sharp screwdrivers away from thin textiles without appropriate product-specific repair instructions and experience. Inspection remains valuable even if you do not resolve it at home: a close photograph of the trapped area and an overview help a repairer assess the work beforehand.
 Enlarge diagram
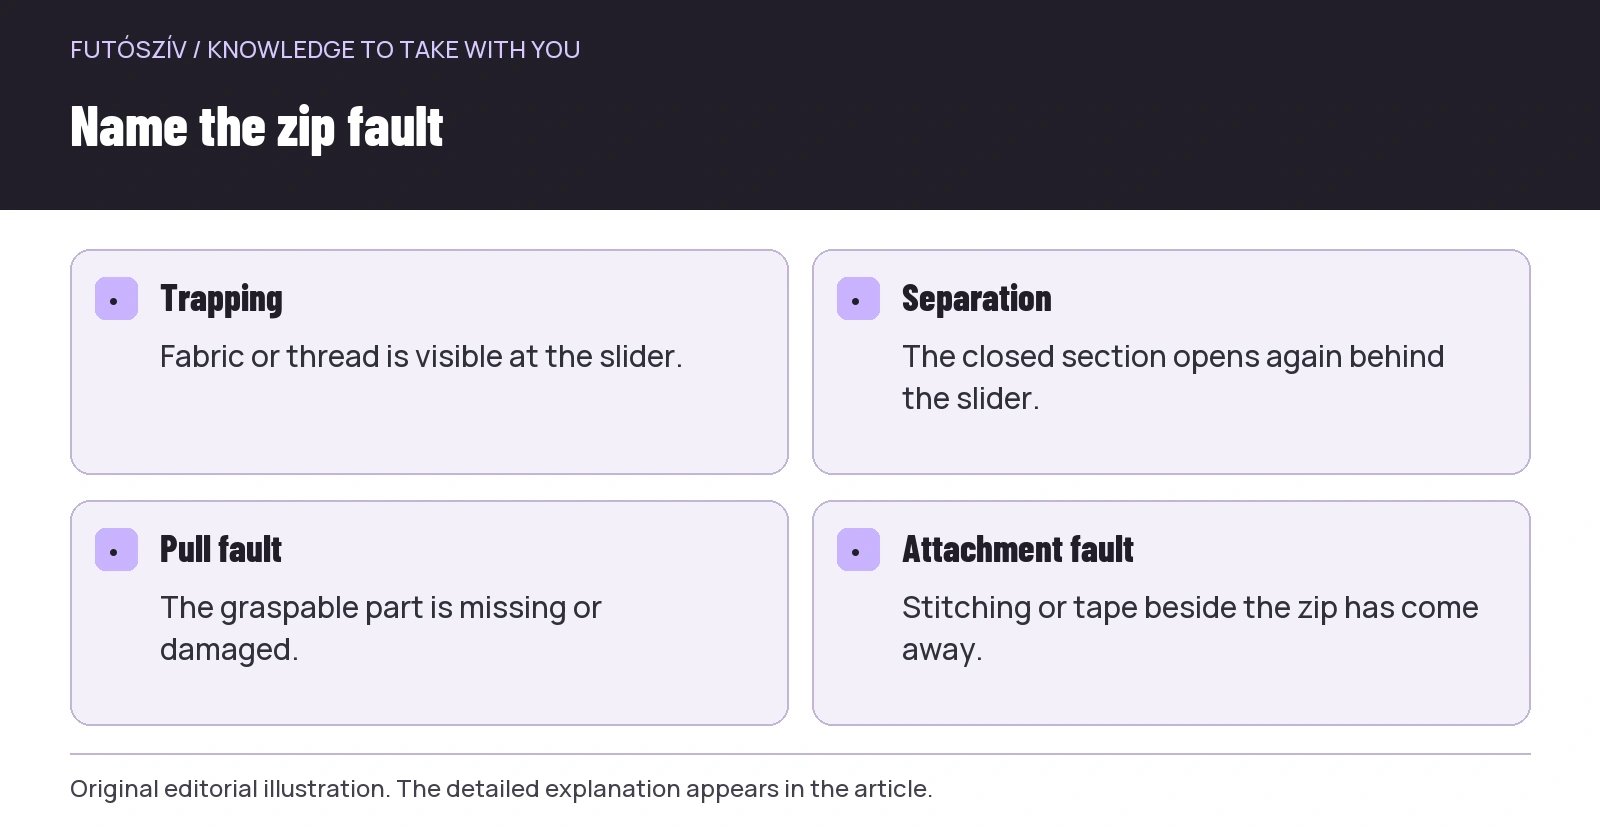
Text version of the illustration
- Trapping
- Fabric or thread is visible at the slider.
- Separation
- The closed section opens again behind the slider.
- Pull fault
- The graspable part is missing or damaged.
- Attachment fault
- Stitching or tape beside the zip has come away.
If the zip will not start from the bottom
For a fully separating jacket zip, check whether the lower connection is properly seated. Do not compensate for a one-sided, skewed start by pulling harder. Follow your zip’s operation and align the parts without tension. A two-slider construction may have its own starting sequence, so the usual single-slider movement may not apply unchanged. Product instructions or the manufacturer’s relevant demonstration provide a more precise reference than a repair video for another type.
If the connection is bent, cracked, missing or detached from the tape, do not randomly reshape it with pliers. Photograph the lower area from several directions, including the slider position. Describe whether the fault is constant or occurs only while wearing the garment under load. You need not decide repairability at home; documentation specifically aims to give the right professional a more precise question. Remaining stitching, coating and any membrane tape can also influence the repair method.
If the zip separates behind the slider
This is easily described as “the zip does not work”, but repair benefits from a more detailed account. Where does it separate: immediately behind the slider, at one damaged point or in several places? Are missing or deformed elements visible? Does the tape appear intact? The Patagonia zip repair guide also distinguishes slider problems from more substantial tooth damage, which may require different repairs. This is not, however, a remote diagnosis of your jacket: its specific condition needs assessment.
Squeezing the slider is common online advice. Do not regard it as a first step suitable for every zip. Component geometry, material and the cause of the fault may differ, and excessive force can cause permanent damage. If manufacturer repair instructions suit your exact product and fault, understand their conditions; otherwise, contacting a professional offers a more traceable route. This article is not a universal tool-based recipe, but aims to help recognise when identification, a replacement part or fuller repair is needed.
| Issue | Useful observation | Possible next question |
|---|---|---|
| Jamming at one point | Is trapped fabric or dirt visible? | Could permitted cleaning or gentle release help? |
| Separation behind the slider | Are the teeth and tape intact? | Can slider replacement be assessed, or is a larger repair needed? |
| Missing pull | Is the rest of the slider damaged? | Is there a suitable compatible replacement? |
| Detached attachment stitching | What material and layer lie behind it? | Does it require specialist stitching or sealing? |
If only the pull is missing
Distinguish the graspable extension from the slider structure. Losing a textile cord extension differs from breaking the pull’s attachment point. For a replacement, consider more than whether something can thread through the opening. The slider may have a mechanism needing the correct pull; snagging while running, comfortable grip and contact with the fabric matter too. Identify the exact component with help from the manufacturer or repairer.
An excessively long, hard or sharp temporary extension can later catch on clothing, a vest or other objects. A safety pin or key ring does not automatically make a suitable permanent replacement simply because it is available. If using a temporary solution consistent with your product instructions, remember its limits and arrange a lasting repair. The use environment matters: gripping with running gloves differs, and a narrow pocket has different space needs. Guessing compatibility from a photograph alone is unwise.
Dirt and lubrication are separate questions
If dust or mud is visible between teeth, clean accessible areas according to the garment’s own care process. The zip material and surrounding textile matter together. Do not spray general workshop oil or unknown solvent on it, or rub on a household product because it made another object slippery. A running jacket’s coating, print or bonded part may be particularly sensitive to treatment not designed for it. Dry and check operation after cleaning as the manufacturer directs.
Consider lubricant only when appropriate manufacturer guidance exists for that zip and garment. More product does not mean more repair, and can hide the original fault’s location. A more slippery surface does not fix a visibly damaged tooth. What you apply may also affect later bonding or repair, so tell the repairer about previous interventions. Accurate history is useful repair information, not an embarrassing confession.
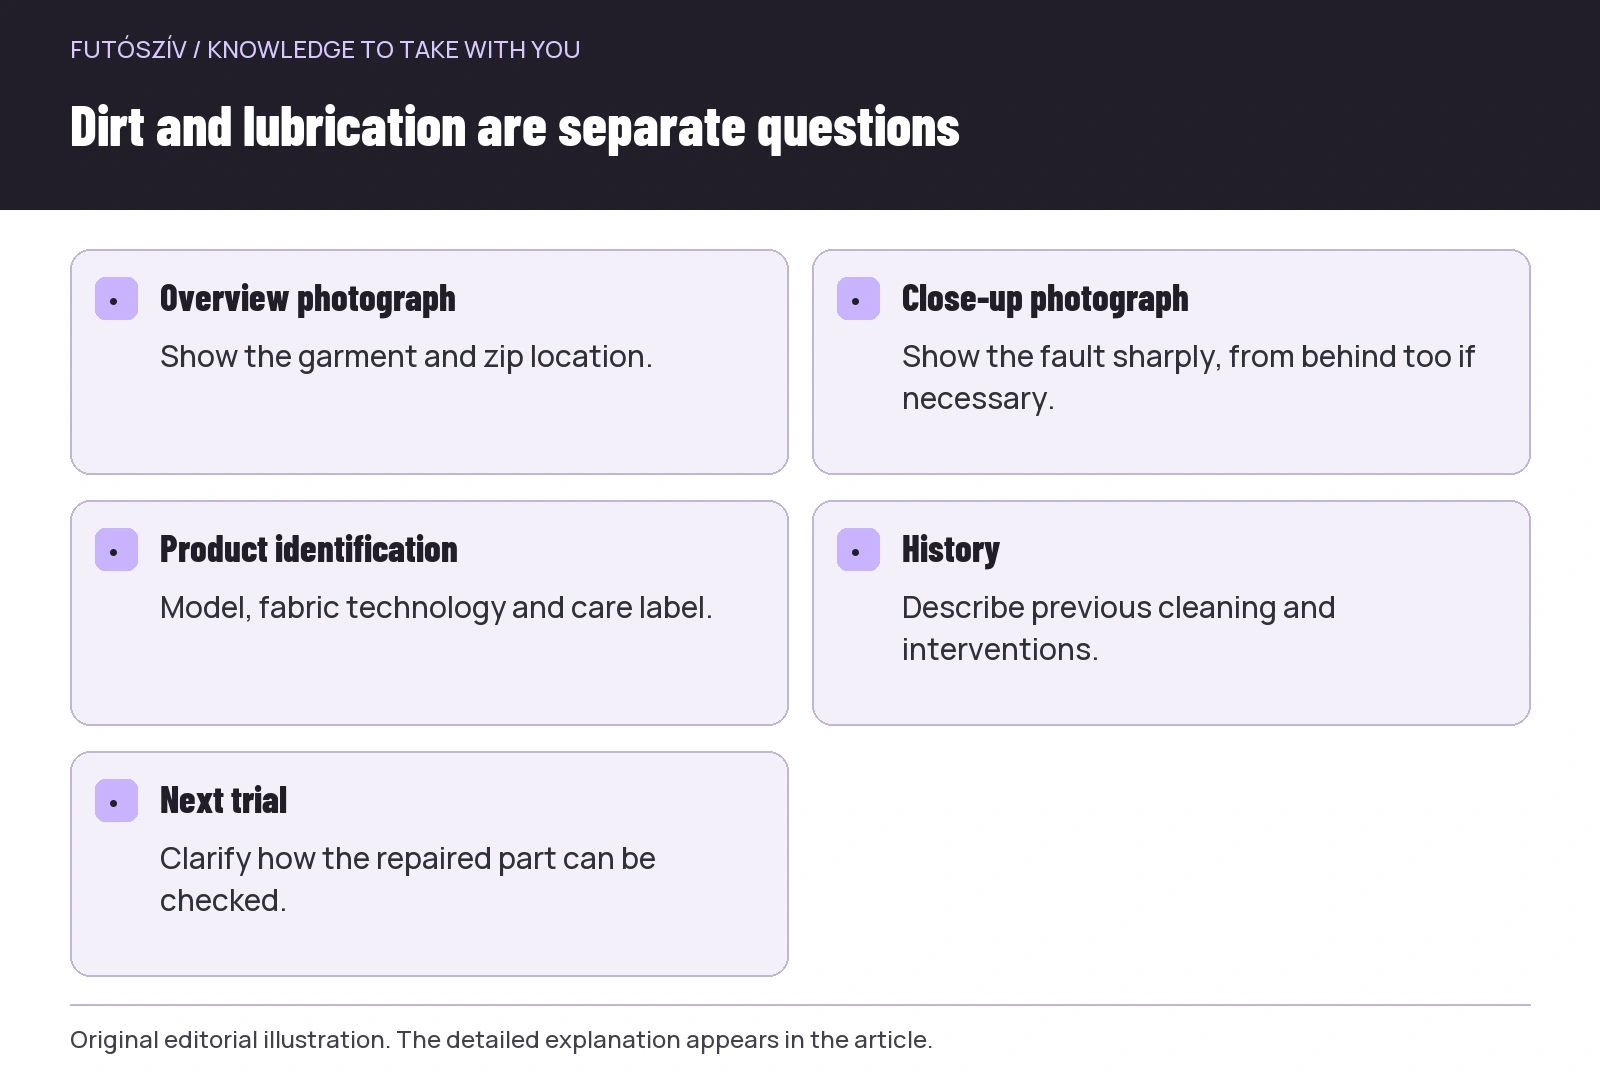 Enlarge diagram
Text version of the illustration
- Overview photograph
- Show the garment and zip location.
- Close-up photograph
- Show the fault sharply, from behind too if necessary.
- Product identification
- Model, fabric technology and care label.
- History
- Describe previous cleaning and interventions.
- Next trial
- Clarify how the repaired part can be checked.
On membrane clothing, the surrounding area is part of the repair too
The same zip fault can play different roles in a running top’s pocket and a waterproof jacket’s main closure. In membrane construction, attachment stitching and its sealing can be part of how the garment functions. The GORE-TEX repair page includes zip faults among potentially assessable repairs, while emphasising individual condition assessment. Check the service’s geographical availability separately; a British page does not automatically imply identical conditions in Hungary.
When speaking to a repairer, provide the exact fabric-technology name, jacket model and zip’s role. Ask what intervention is planned, whether the surrounding layer or seal needs restoring and how the result can be checked afterwards. Arbitrary stitching or gluing is not the same as a repair suited to the construction. A temporary patch is not a permanent zip replacement either. If using the jacket as compulsory race equipment, also assess suitability after repair against the event’s current requirements rather than relying on assumption.
Which photographs should you send the repairer?
Take an overview of the whole garment, a close-up of the fault and a photograph of product identification and care label. Light the close-up sufficiently and show the same part from several directions if the problem is hidden behind it. You need not force the jam to happen again for a dramatic image. A short, calm video can help if movement explains it better, but show actual operation rather than stretching the garment apart. An overly close, blurred image provides less information than a clear, slightly wider view.
Include where the fault is, when you noticed it, the circumstances in which it appears and what you have already tried. Avoid certainty where uncertain: “opens behind the slider” may be more precise than “the slider is worn out”. Mention washing, lubricant and earlier repairs too. When obtaining a quote, clarify the scope and expected limitations, not just the price. By the end, know which part will change, what test follows and whether care requirements have changed.
Check the repaired item in a use situation
First check opening and closing without load. Then put the garment on with your usual layer and inspect whether the zip works freely, new stitching strains unusually or it functions with the pocket’s intended contents. Keep the trial gentle, not an endurance experiment. Report the precise issue to the repairer if anything is unusual. Keep the care and use instructions supplied with the repair, especially for clothing with specialist material or sealing.
Properly emptying pockets, arranging fabric folds that could catch and cleaning according to the label may all help prevent trouble. Fully open the zip when putting the garment on or taking it off where the construction requires, and do not yank at the slider to shape the garment around you. Good zip care is less about constant tinkering than avoiding obstructions and overload. If a fault still occurs, accurate description and an appropriate repair route help preserve otherwise usable running clothing.
Sources and further reading
- YKK: Fastener usage precautions
- Rab: Zip care and repair
- Patagonia: How to Fix a Zipper and Keep Your Gear Going
- GORE-TEX: Repair Services
How Futószív articles are prepared: our editorial guidelines.