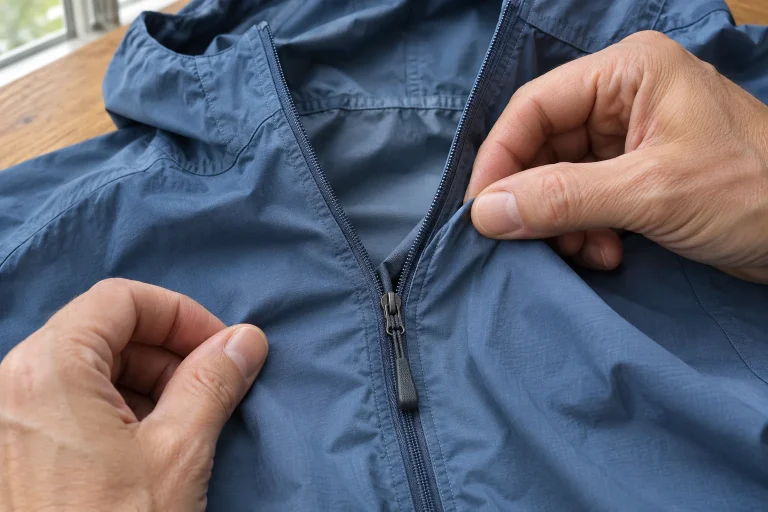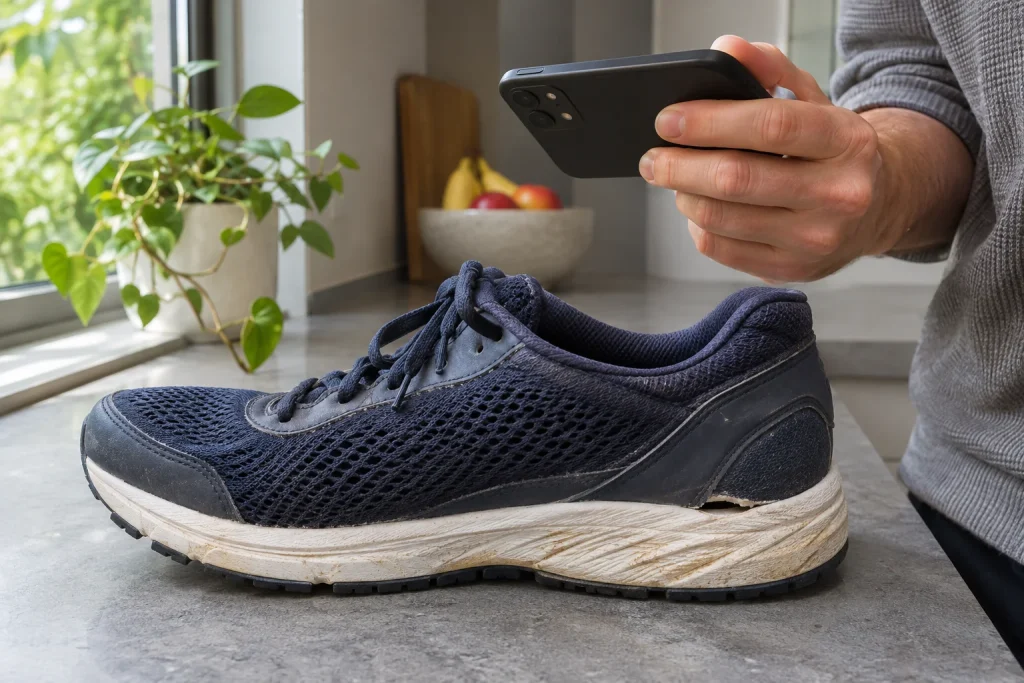
Support for a damaged running shoe or malfunctioning sports device often stalls at the first message: the exact model is unclear, the close-up blurred and the fault described only as “it broke”. Well-prepared documentation cannot guarantee repair or replacement, but helps explain what happened. It needs no long complaint letter. Aim for a concise, factual package: product identification, visible condition, observed operation, brief history and a specific question through the appropriate channel. This is a technical documentation guide; it does not determine eligibility or the outcome of your case.
Observation and conclusion are two separate statements
Begin with what you actually see or experience. “The upper has separated from the sole in one area on the outside of the right shoe” is more concrete than “the glue is bad”. “This watch button sometimes does not respond” is more precise than “the switch is broken” if the internal cause is unknown. You can add your hypothesis, but identify it separately. Support then receives information it can examine, not a diagnosis declared beforehand. You need not invent technical language: a simple statement of location and phenomenon is usually more usable.
Replace broad adjectives with circumstances. Use “always” only if it genuinely occurred on every relevant occasion; otherwise, describe when it happens. Instead of “suddenly”, identify after which use you noticed it. Let unknowns remain unknown: “I do not know when it occurred” is better information than an invented date. The aim is not making the story look better or worse, but communicating condition traceably. You can still clarify in response to later questions.
The complete product name is more than the box colour
Find the model name, version, size and manufacturer identifiers. An internal label on clothing, production marking on shoes, or device information and serial number on electronics may help. Their locations and forms differ by product. The Garmin product-identification guide , for example, distinguishes model, serial number and device identifier. Do not copy this to another brand: find your equipment’s official identification instructions and supply the requested detail precisely.
A product-family name alone may be insufficient because size, generation or special version can differ. If unsure, photograph the identification label sharply and request interpretation through the appropriate support channel. Do not dismantle equipment simply to search for an internal number without user instructions for doing so. Box markings may help, but check the box actually belongs to that product. With several similar watches, shoes or accessories, mix-ups can easily produce misleading information.
Identify the right support channel
On the manufacturer’s official website, check guidance for your country, product and place of purchase. Information from abroad may illustrate required details but does not prove identical conditions and procedures apply to you. A retailer purchase may have a different contact route from the manufacturer’s own online shop. Do not automatically complete the first search result’s form for another region. Finding the right recipient belongs to documentation because different channels may request different information.
The Salomon support information for its US market , for example, lists proof of purchase, product photograph, fault photograph and production label, with a sole photograph for shoes. This page illustrates the named market and purchasing channel, not a promise of eligibility in Hungary. Its structure is useful, but check current requirements for your own case on the relevant official platform. This article therefore gives no general deadline or assured outcome.
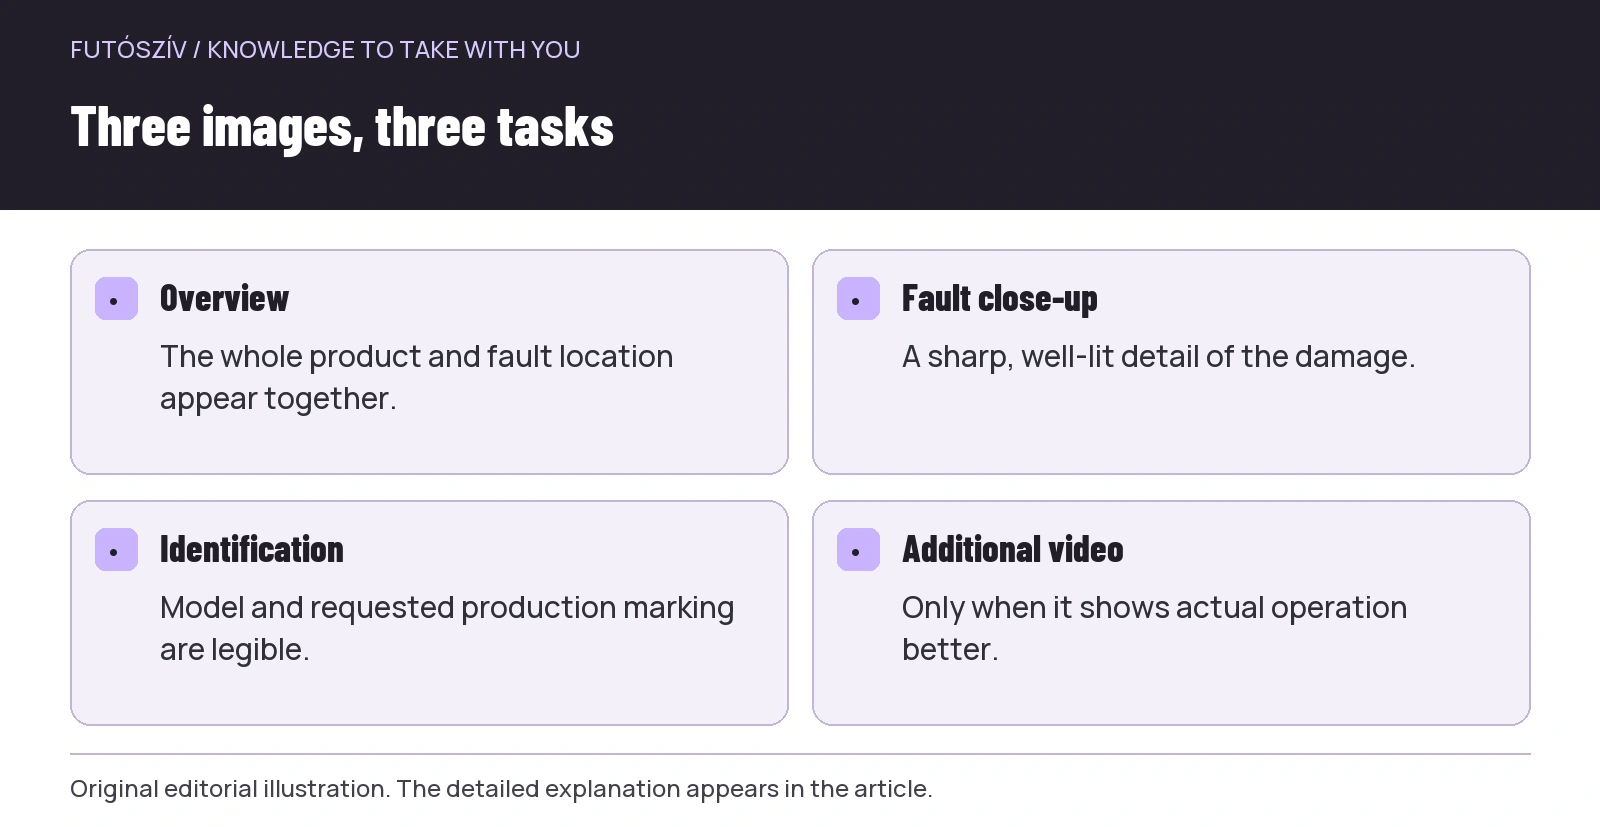 Enlarge diagram
Text version of the illustration
- Overview
- The whole product and fault location appear together.
- Fault close-up
- A sharp, well-lit detail of the damage.
- Identification
- Model and requested production marking are legible.
- Additional video
- Only when it shows actual operation better.
Three kinds of photograph, not ten nearly identical close-ups
The overview should show the whole product and the fault’s location within it. The close-up makes the fault sharply visible. The identification image records the label or requested marking legibly. Add another view if placement is clearer from several directions, but do not repeat the same blurred angle. A step backwards, more light and holding the phone steady often improve the image most. An excessively close shot is not automatically more detailed if focus cannot find the object.
A neutral, orderly background helps reveal a dark shoe or thin fabric edge. Heavy shadow, reflected light and strong digital filters can conceal detail. Do not alter colour or apparent damage so the image shows a different condition. If marking an area, retain the original and use a discreet arrow on a separate copy. Do not stretch clothing or equipment apart to make a gap look larger. Documentation concerns actual condition, not an image hoped to be more persuasive.
Size and location: supporting information, not a strength test
If the extent matters, a suitably positioned ruler or clearly described approximate measurement may help. Do not let the ruler obscure the fault or strain material. Curved surfaces and camera angle can make photograph-based measurement uncertain; do not call it laboratory precision. Location within the product matters too: left or right, inside or outside, front or back. If unclear in the image, a brief filename or caption helps.
A simple naming sequence is enough: overview, fault_close_up, label and perhaps other_side. Do not include unnecessary personal data in filenames. Put precise product details in the appropriate form fields and attach images in permitted formats. There is no need to send a huge folder of hundreds of photographs. In good documentation, each image has its own purpose and the recipient can easily locate the detail mentioned in the description. Further requested images can follow the same consistent sequence.
| Document | Purpose | Common omission |
|---|---|---|
| Overview photograph | Connecting the product with the fault location. | Only an unidentifiable detail is visible. |
| Close-up | Showing actual condition. | Blurred focus or heavy shadow. |
| Label photograph | Exact model and production marking. | Folded, partly hidden wording. |
| Brief description | Communicating circumstances and sequence. | An assumption stated as a certain cause. |
| History | Recording previous care and interventions. | An alteration already performed is omitted. |
When is a short video useful?
For intermittent malfunctions, movement may show the phenomenon better than a still image. Examples include a sticking zip or a button responding differently. Start the video by showing the equipment, then calmly demonstrate the issue within normal use. Do not repeatedly force the fault for filming or dismantle the device. The issue not being reproducible at that moment is important information too. Describe it with its circumstances instead of risking new damage to recreate it.
For electronics, screen state, software version and error messages may be relevant if official support requests them. However, passwords, login codes and your complete personal training archive need not appear in a general product-fault video. Review screen recordings before sending and omit unnecessary notifications. Showing technical condition differs from handing over account access. Send documents through the appropriate official channel and follow its current data and file requirements.
A brief chronology with real information
Record the known purchase date, first observation of the fault, type of use and steps taken since. If usage volume is an estimate, call it one. Precisely logged runs and unrecorded walking in shoes are different information; active running and daily sports-watch wear differ too. Do not invent artificially precise kilometres or hours. Factual, appropriately labelled uncertainty is more usable than a confident but unsupported number.
Include earlier washing, cleaner, repair or part replacement where relevant. Glue or lubricant already applied can affect further work, so disclose it. Before documenting, preserve condition as far as reasonable and safe handling allows; support may request a clean product, but check the handling process first. Proving a fault does not require storing muddy, wet equipment indefinitely in a sealed package. Photographs, history and appropriate care can complement each other.
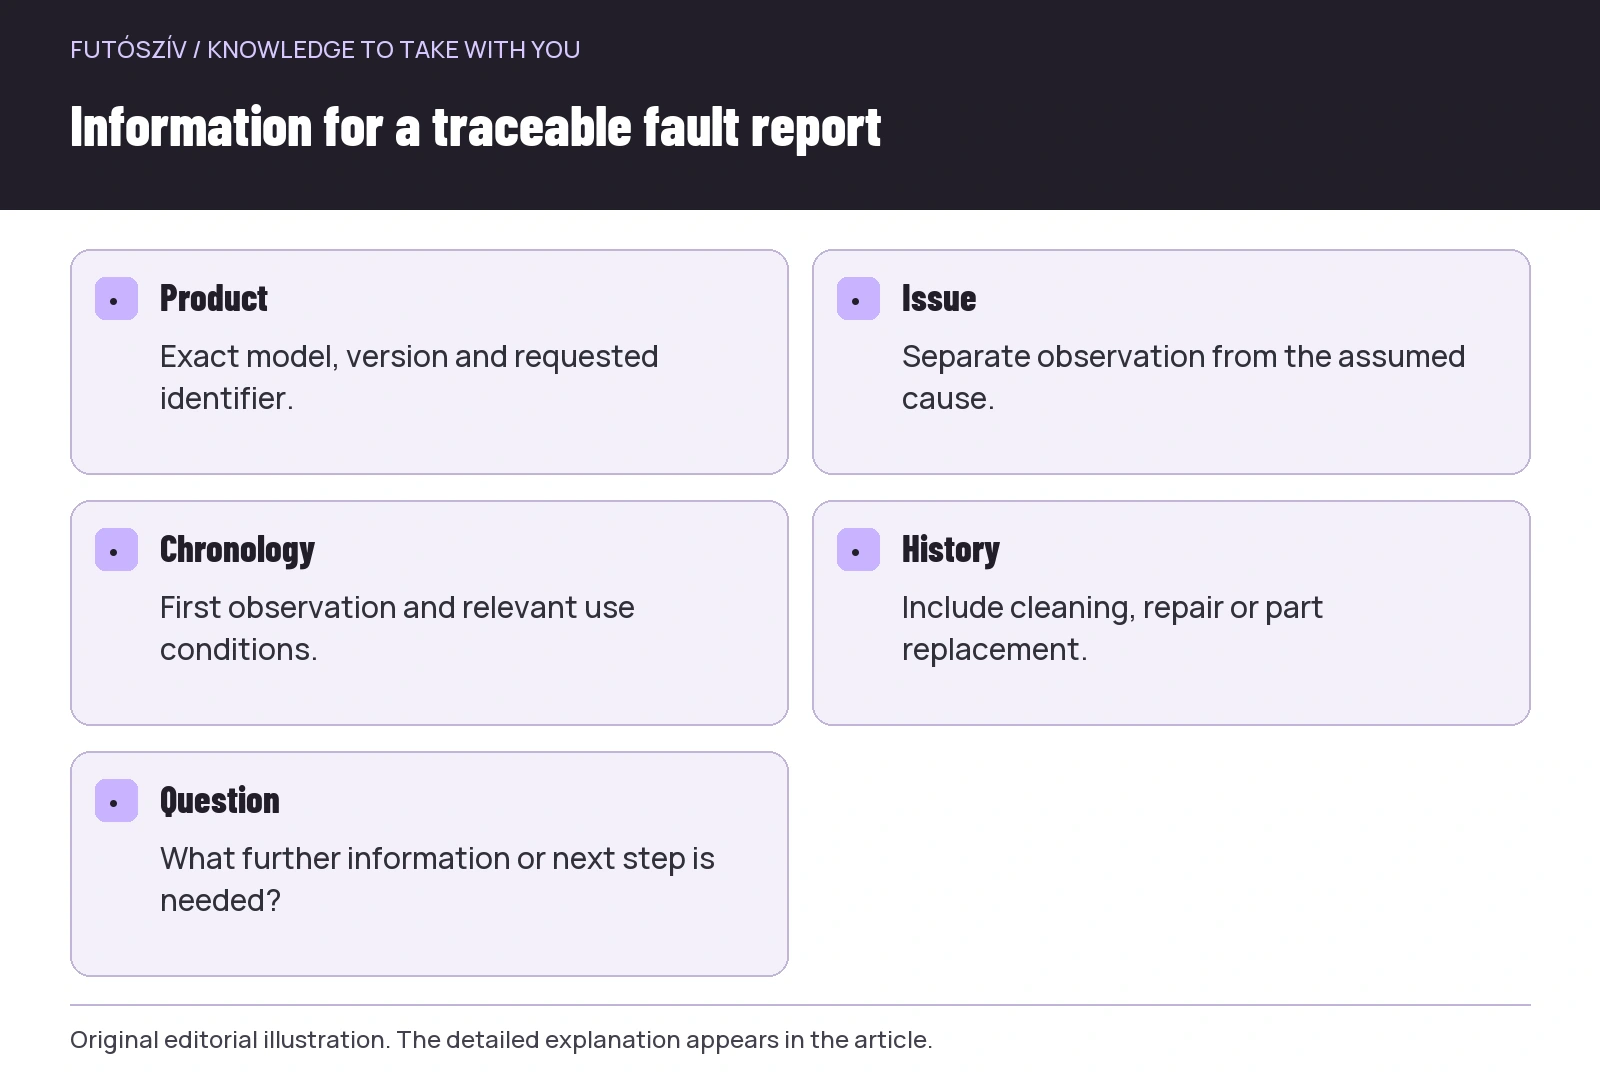 Enlarge diagram
Text version of the illustration
- Product
- Exact model, version and requested identifier.
- Issue
- Separate observation from the assumed cause.
- Chronology
- First observation and relevant use conditions.
- History
- Include cleaning, repair or part replacement.
- Question
- What further information or next step is needed?
What should you ask in the first message?
End the brief description by asking what further assessment or information is needed and which repair or support route is available. Do not promise yourself an outcome based on another customer’s replacement. The Black Diamond European repair and support platform also provides a process linked to the specific product and case. This manufacturer example illustrates using the right channel; check current conditions and options for your country there.
A usable editorial example follows this structure: give the exact model and purchase details; describe where and what you observe; say when you noticed it and what you have done; list attached photographs; request the next necessary step. You need not copy it word for word or replace official form fields with a long letter. Keep information findable in one place, consistent and relevant. Do not hide the main question within pages of general brand evaluation.
A prepared package and traceable response
Before sending, check that the right files are attached, every image opens and the model in the description matches the label. Keep submitted documentation and the case identifier. When responding, link requested clarifications to the same case rather than starting several parallel, differing accounts. This preserves which information you supplied and what response it received. For a later repair proposal, clarify the product and specific fault it concerns too.
If sending the item in, follow packing, accessory and preparation instructions in the official response. Do not automatically include all personal belongings and unrequested accessories. For electronics, backup or other preparation may be product-specific; follow support’s own guidance. On receiving a product or repair, check identification, work information supplied and normal operation. Good documentation helps here too: you know the issue that began the case and the reference for evaluating the result.
The best fault description makes the next question easier
A report is not stronger because it states a certain cause or sounds angry. It is useful when the recipient can see the product, fault and essential history. An exact model, three photographs with separate purposes, brief chronology and honestly stated uncertainty together provide a manageable foundation. They do not eliminate further questions but make them more meaningful. The equipment’s future can be decided through its specific condition and procedure; your task is to present that reality clearly and in an orderly form.
Sources and further reading
- Garmin: How Do I Identify My Product Model?
- Salomon: a US example of documents requested for reporting a product fault
- Black Diamond Europe: Warranty Repairs
How Futószív articles are prepared: our editorial guidelines.