A running vest is both clothing and an equipment carrier. Close-fitting mesh meets sweat, drink can drip into a front pocket, a rain jacket goes into the rear compartment and dust can collect around a zip. Cleaning therefore takes more attention than washing an empty T-shirt. A well-structured process is still straightforward: identify the item precisely, genuinely empty it, clean according to its label and dry every layer. Rather than a universal washing-machine programme, the following sections provide a checking sequence adaptable to your vest’s construction.
Why is knowing it is a running vest not enough?
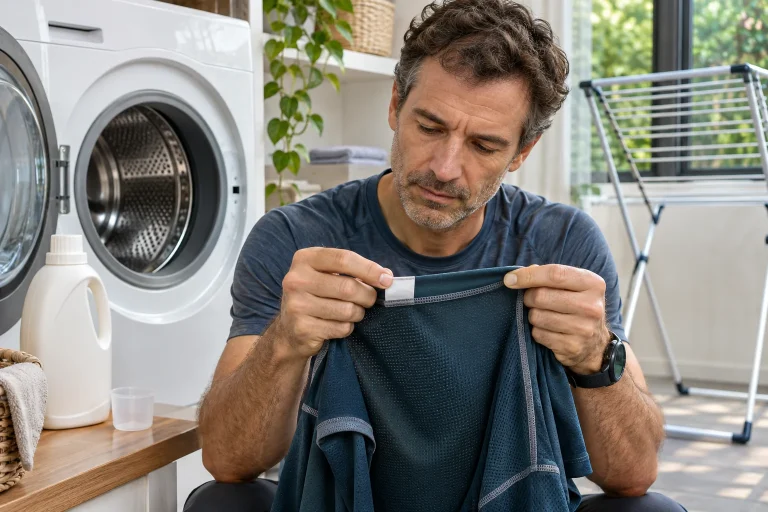
Similar uses can involve different materials, closures and attachments. There are lightweight designs with few compartments, densely woven back panels, stretch side pockets, thin chest-cord fastenings and more rigid accessories. Read the permitted washing method in the exact model’s care label and manufacturer description. Similar colour or product name does not prove identical care. If you bought the vest second-hand, find the internal product code and identify guidance for the appropriate model year.
The Salomon ACTIVE SKIN 12 product page , for example, specifies hand washing and several separate care restrictions. This information belongs to that product; it is not general permission issued for every running vest. The DURO LT manufacturer page also lists its own care rules. The shared editorial conclusion is simple: do not transfer your usual machine-washing routine for running clothes to this equipment without checking. A similarly named machine programme does not automatically override a hand-wash label either.
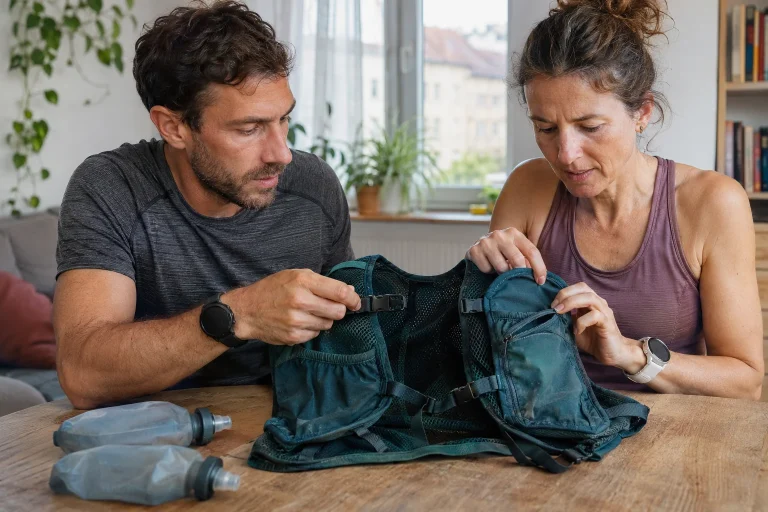
Visit every pocket to empty it completely
Start at the front, work along both sides towards the back, then inspect internal compartments too. This order helps ensure you remove more than the obvious flask. A tissue, energy-bar wrapper or small safety pin left deep in a pocket can cause a separate problem during washing. Remove keys attached to the key loop too. If the system contains a removable whistle, light, protective phone pouch or other accessory, check what needs separate care. Do not unpick a sewn-in component to empty the vest.
Put small objects on a tray or towel rather than directly on the basin edge. Sort out discarded packaging immediately and keep usable equipment away from the wet work surface. Clean flasks and bladders according to their own instructions: carrying them in a vest pocket does not make their washing task identical. If a part cannot be removed, adapt care of the whole vest to that construction. An accurate component list is particularly useful for the first wash and tidying before longer storage.
Preserving adjustments is a separate task
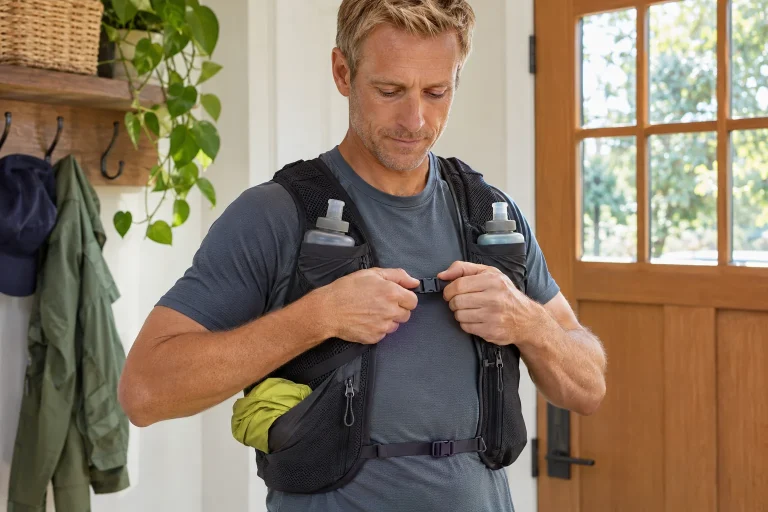
You can photograph chest-cord and side-strap positions before washing. This is not a measurement protocol, just a reminder for restoring them. If the manufacturer requests loosening or fastening during preparation, do this after taking the photograph. Do not reroute the cord simply to make washing easier, because later it may be difficult to establish its original path. Detach removable parts only at their designated points. Forcing a slider off is not a maintenance step.
Inspecting the dry vest may already reveal a fraying seam, damaged loop or poorly operating fastening. Photograph their locations rather than treating every problem as dirt that washing alone will solve. If a component’s operation is uncertain, clarify further use and repair with the manufacturer or a competent repairer. Cleaning may help assess condition, but it does not replace structural repair. This matters particularly at points that close the vest or retain necessary equipment.
 Enlarge diagram
Text version of the illustration
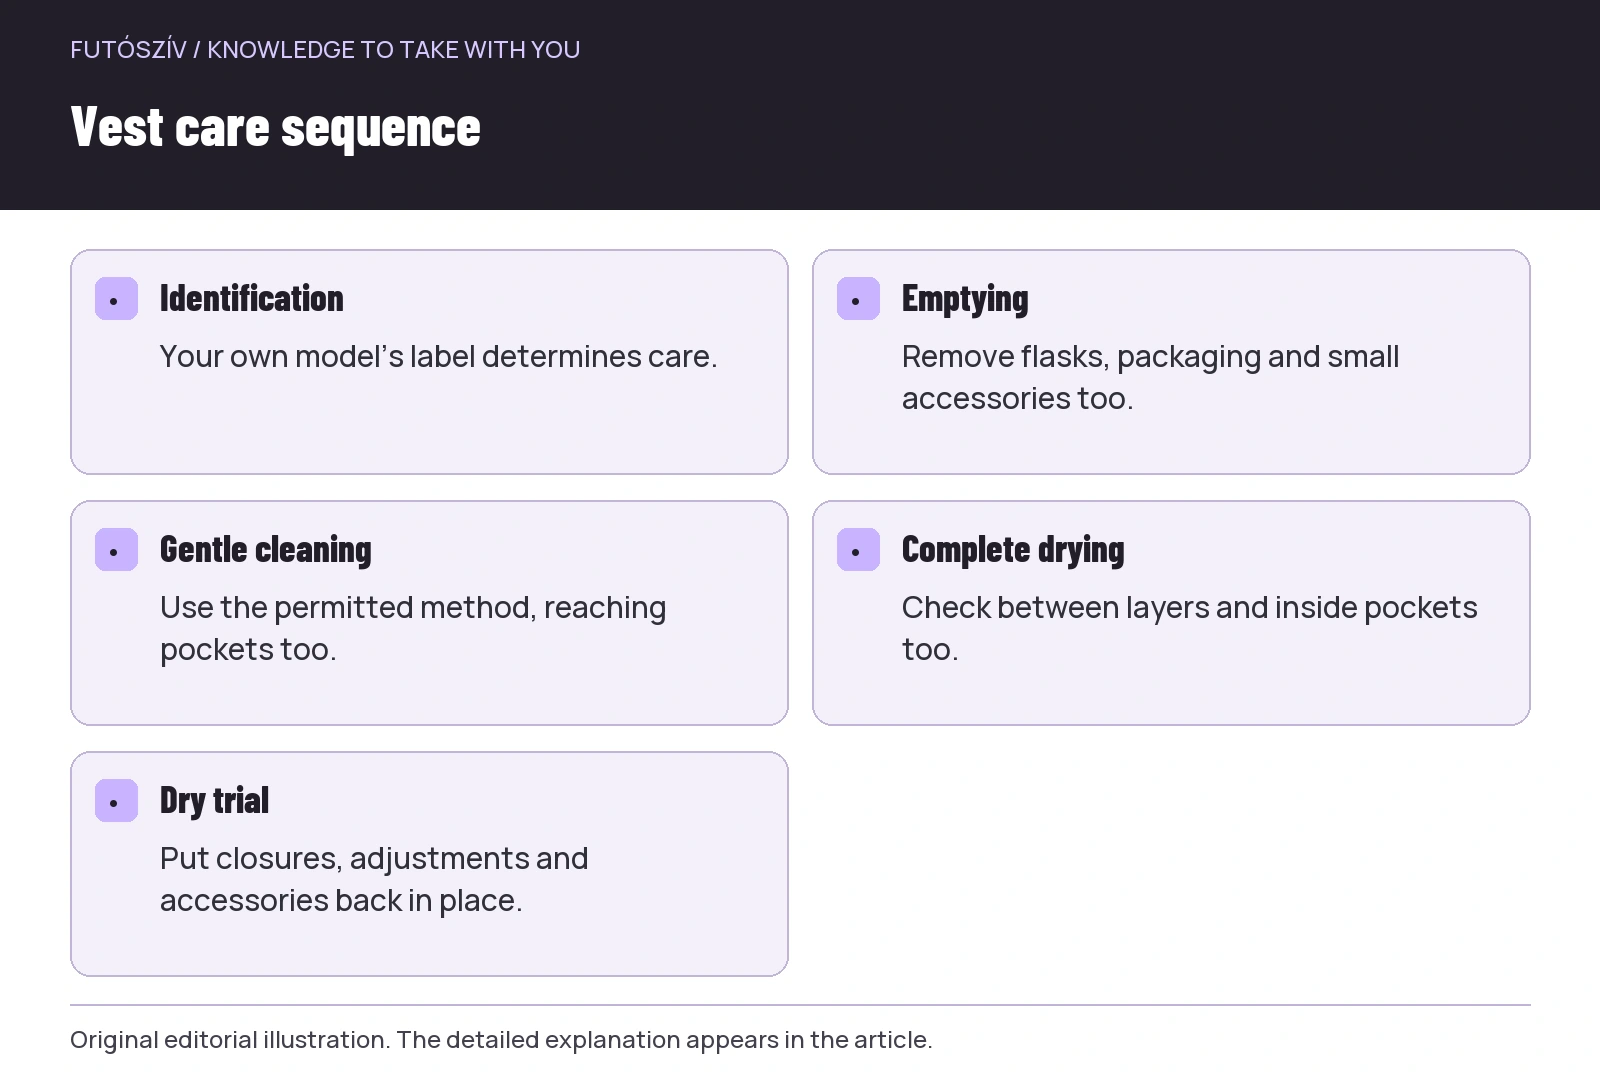
- Identification
- Your own model’s label determines care.
- Emptying
- Remove flasks, packaging and small accessories too.
- Gentle cleaning
- Use the permitted method, reaching pockets too.
- Complete drying
- Check between layers and inside pockets too.
- Dry trial
- Put closures, adjustments and accessories back in place.
Three observations for three kinds of dirt
A dusty but otherwise clean outer panel differs from embedded mud or drink spilt in a pocket. Do not try to remove everything with one strong product. First look at what is present and where: on the mesh surface, seam edge or deep inside a compartment. Decide between simple surface cleaning and a fuller wash from your own instructions. Marking local dirt in a photograph can help check it after rinsing. You need not subject the entire item to the same intervention every time if the manufacturer permits other care options.
The CamelBak care page distinguishes wiping its packs with a damp cloth from gentle cleaning for heavier dirt, and expressly warns against machine washing. For this article, that implies no universal wash temperature; rather, material and hardware matter together. Excessive scrubbing or machine action does not become appropriate because the main textile looks thin and sporty. Read the guidance for the complete assembly.
| What do you see? | What should you examine? | What should you not assume? |
|---|---|---|
| Dust on the outer panel | Might permitted surface cleaning be enough? | That every case requires full soaking. |
| Drink marks in a pocket | Are the pocket bottom and adjoining layer affected too? | That wiping the outside cleans the inside. |
| Mud around the zip | Does the zip move freely after cleaning? | That pulling harder will solve it. |
| An unusual mark on the mesh | Is it residue or material damage? | That a strong stain remover must be suitable. |
Hand washing: keep movements gentle
If your label specifies hand washing, follow its water temperature and permitted cleaner. Use a clean basin or container large enough to avoid sharply compressing the vest. Remove dirt with calm movements suited to the construction, paying particular attention to accessible pocket and seam surfaces. Do not knead elastic mesh roughly or use the thin chest cord as a handle. Even labelled hand treatment can be too harsh if done forcefully.
Choose and dose detergent according to product instructions; more foam does not prove more thorough cleaning. Do not replace manufacturer-prohibited bleaching, softener or other treatments with an online household trick. Move compartments so that cleaning water, and later rinse water, can reach them. If the instructions do not say a particular stiffener or insert is removable, do not start extracting it. Consistently perform the movements allowed for your equipment rather than copying every step of an arbitrary video.
The pocket bottom is a critical rinsing point
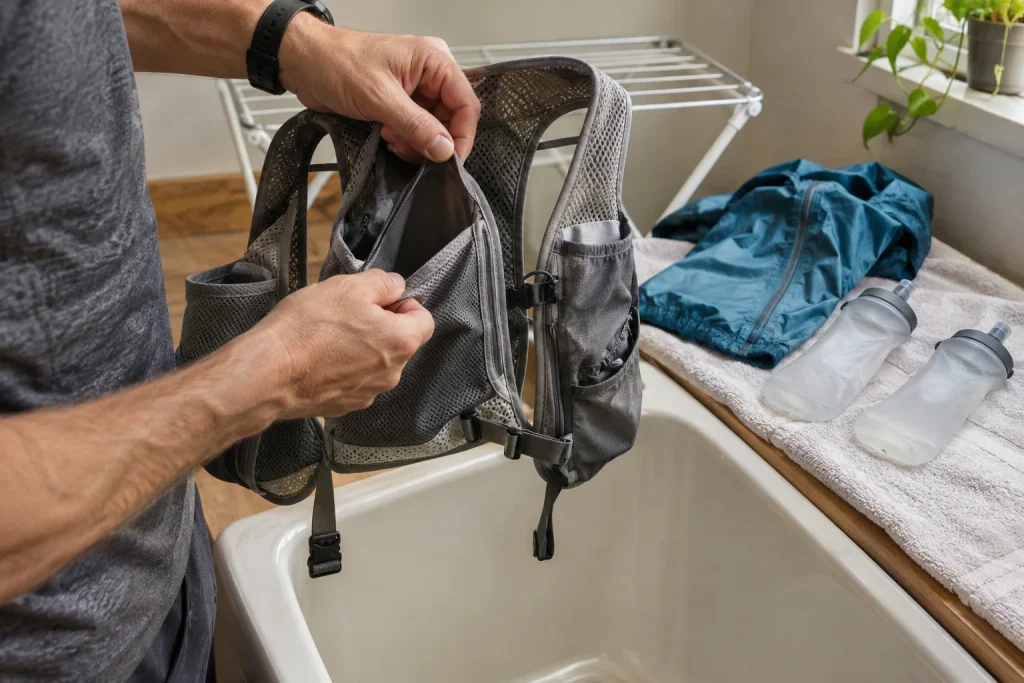
In a many-compartment vest, detergent water can remain behind an apparently clean outer area. Open pockets accessibly in the permitted way rather than rinsing only the main panel. Inspect the front flask holder’s bottom, rear pass-through pocket and zipped compartment too. If foam remains, continue rinsing appropriately for the product. The aim is not the strongest water jet: with thin fabric and sensitive hardware, gentle access can matter more than pressure.
After rinsing, remove excess water in the permitted way. Forceful twisting or swinging the vest by a strap is not a good general solution. If instructions allow gently pressing water out, support the material while doing so. Take particular care not to pull a stretch pocket over a hard buckle edge. At this stage the item is wet and loaded, so even your usual movement for putting it on may not be an appropriate way to lift it. Support a wider, stable fabric area.
Separate layers during drying too
A vest hung by the shoulders can soon look orderly outside while moisture remains between two touching inner panels. In the permitted arrangement, open pockets accessibly and allow air space. Do not stuff it with used paper or dirty clothing, or load still-wet pockets. Choose a drying place where dripping water causes no damage and the vest touches neither dusty shoes nor sharp objects. Decide when to put it away from its condition, not a fixed number of hours assigned to every occasion.
If the label prohibits tumble drying, do not use it for a quicker finish. Laying it on a heat source or applying strong hot air would likewise require express permission from the specific manufacturer. Prepare a usable drying place before washing. You then need not find a solution while holding a dripping, spread-out vest. Keep straps and cords from tangling with other clothes, and dry removable accessories separately in an easily identifiable place.
 Enlarge diagram
Text version of the illustration
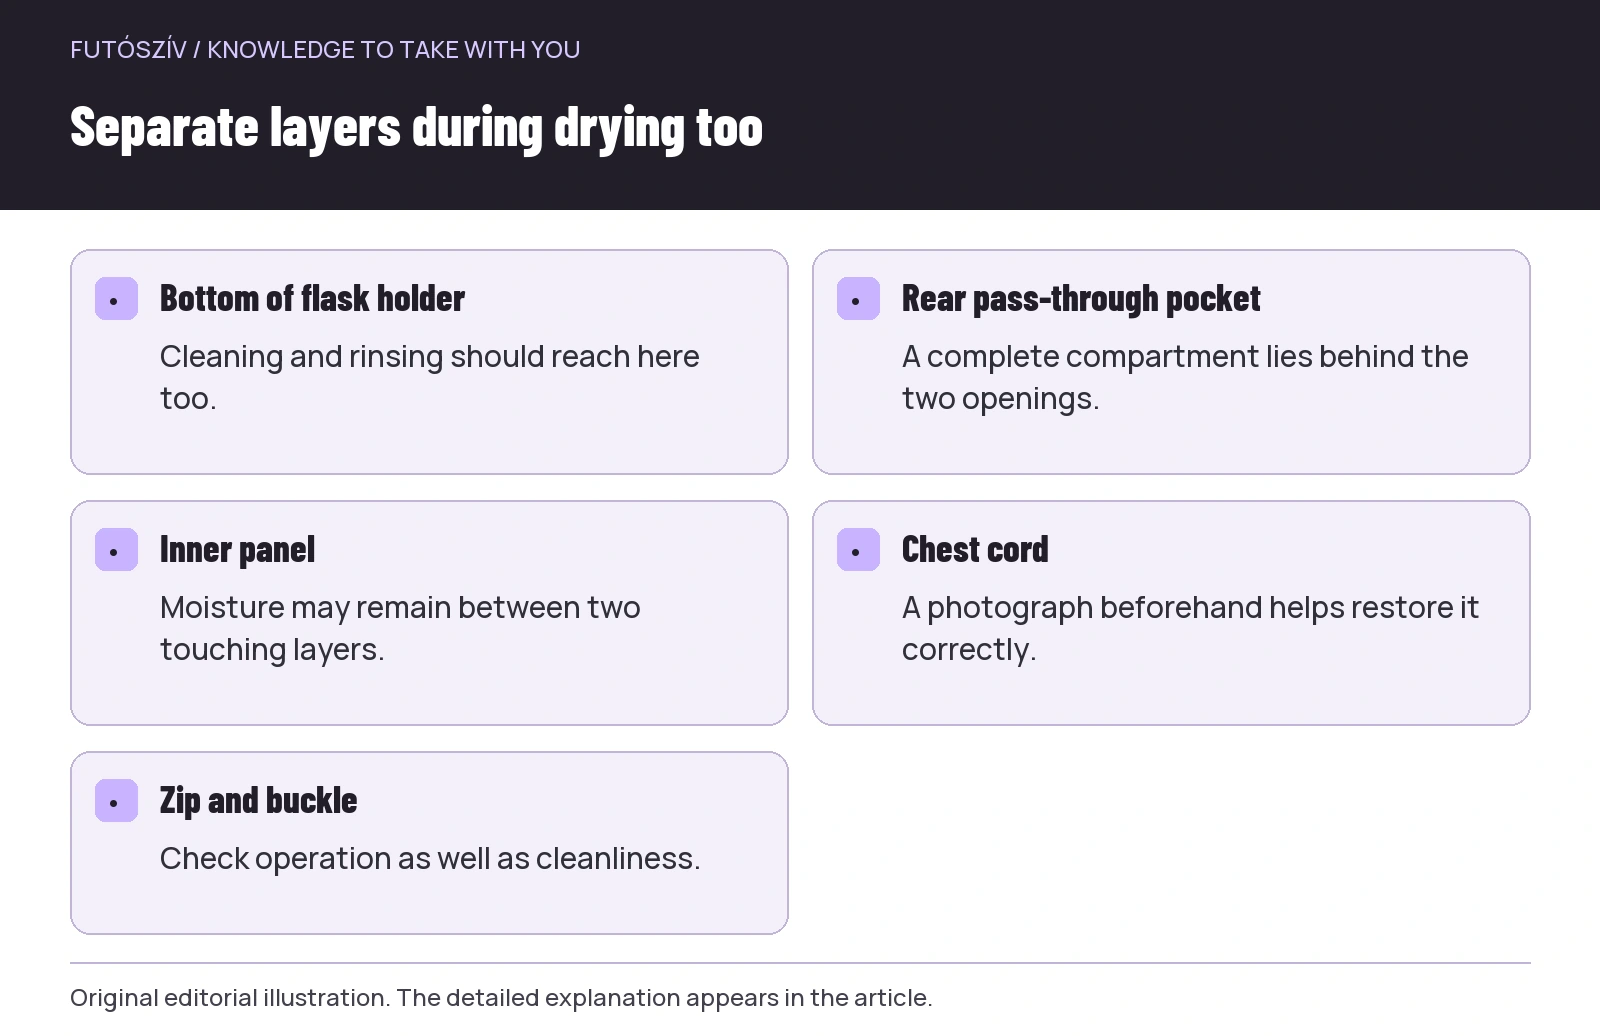
- Bottom of flask holder
- Cleaning and rinsing should reach here too.
- Rear pass-through pocket
- A complete compartment lies behind the two openings.
- Inner panel
- Moisture may remain between two touching layers.
- Chest cord
- A photograph beforehand helps restore it correctly.
- Zip and buckle
- Check operation as well as cleanliness.
A dry trial completes the work
Once every accessible layer is dry, inspect seams, pocket edges and attachment points again. Washing does not prove faultless condition, but a clean surface makes residue easier to distinguish from damage. Check buckle and zip movement without force. If something still sticks, is deformed or closes unreliably after cleaning, send the manufacturer a description and photograph. Do not reshape hardware with pliers simply to make it somehow work for the next run.
Restore necessary adjustments using the pre-wash photograph, then check fit with your usual planned equipment. A dry trial also shows whether every accessory returned to the right place. You need not immediately take a long run to discover a misthreaded cord or incorrectly restored tube routing. A brief first try-on and calm inspection of closures are low-cost troubleshooting steps. Save a new adjustment as your starting point only when it genuinely suits your normal load.
Storage: it need not stay packed at all costs
A vest ready for the next departure is convenient, but all equipment need not stay in its pockets indefinitely. Give the washed, dried item a dry, ventilated place where another bag will not squash it. Store flasks according to their own rules; a wet reservoir put away with the garment can bring the care problem back. Always remove food, used packaging and damp textiles. A crowded sports bag flattening everything is not comfortable long-term storage for a many-pocketed vest.
Distinguishing “ready” from “loaded for departure” helps. The former means clean, dry and inspected; the latter includes the equipment needed for that outing. A short reminder on the door can support packing, so everything need not stay inside for weeks. If several similar vests share a cupboard, identify their removable components. After careful washing, this prevents the wrong tube, pouch or chest fastening from replacing the right part.
Targeted improvement of a recurring problem
If moisture always remains in the same rear pocket after washing, examine the drying arrangement rather than immediately replacing the whole washing process. If a mark remains in a flask holder, check whether rinse water reached it. If a zip sticks, distinguish accessible dirt from a damaged component. These are illustrative situations, not results of our own brand testing. The aim is always the same: action appropriate to the actual location and construction. Careful maintenance is not a lengthy ritual, but a sequence in which neither the deepest pocket nor thinnest strap is overlooked.
Sources and further reading
- Salomon ACTIVE SKIN 12: manufacturer care instructions
- Osprey DURO LT: care instructions
- CamelBak: Care & Cleaning
How Futószív articles are prepared: our editorial guidelines.