You ran the same mountain loop, yet two watches show different ascent. Your device’s starting altitude differs from the map, then total elevation changes again after upload. More than one fault may lie behind the difference. Determining current altitude, summing ascent and app post-processing are separate layers. This article puts them into a clear framework through arithmetic examples and targeted checks. It makes no accuracy promise for every watch; it helps you know what your own recording shows and how it was produced.
Altitude, ascent and elevation difference
Current altitude indicates your height relative to the system’s reference. The difference between start and finish altitudes compares two points. Total ascent, by contrast, adds the uphill portions along the route. A loop may return to its starting place, leaving a near-zero start–finish difference while containing substantial climbing. The three values do not replace one another. Behind a log’s abbreviated “elevation” label, always find which it means and in what unit.
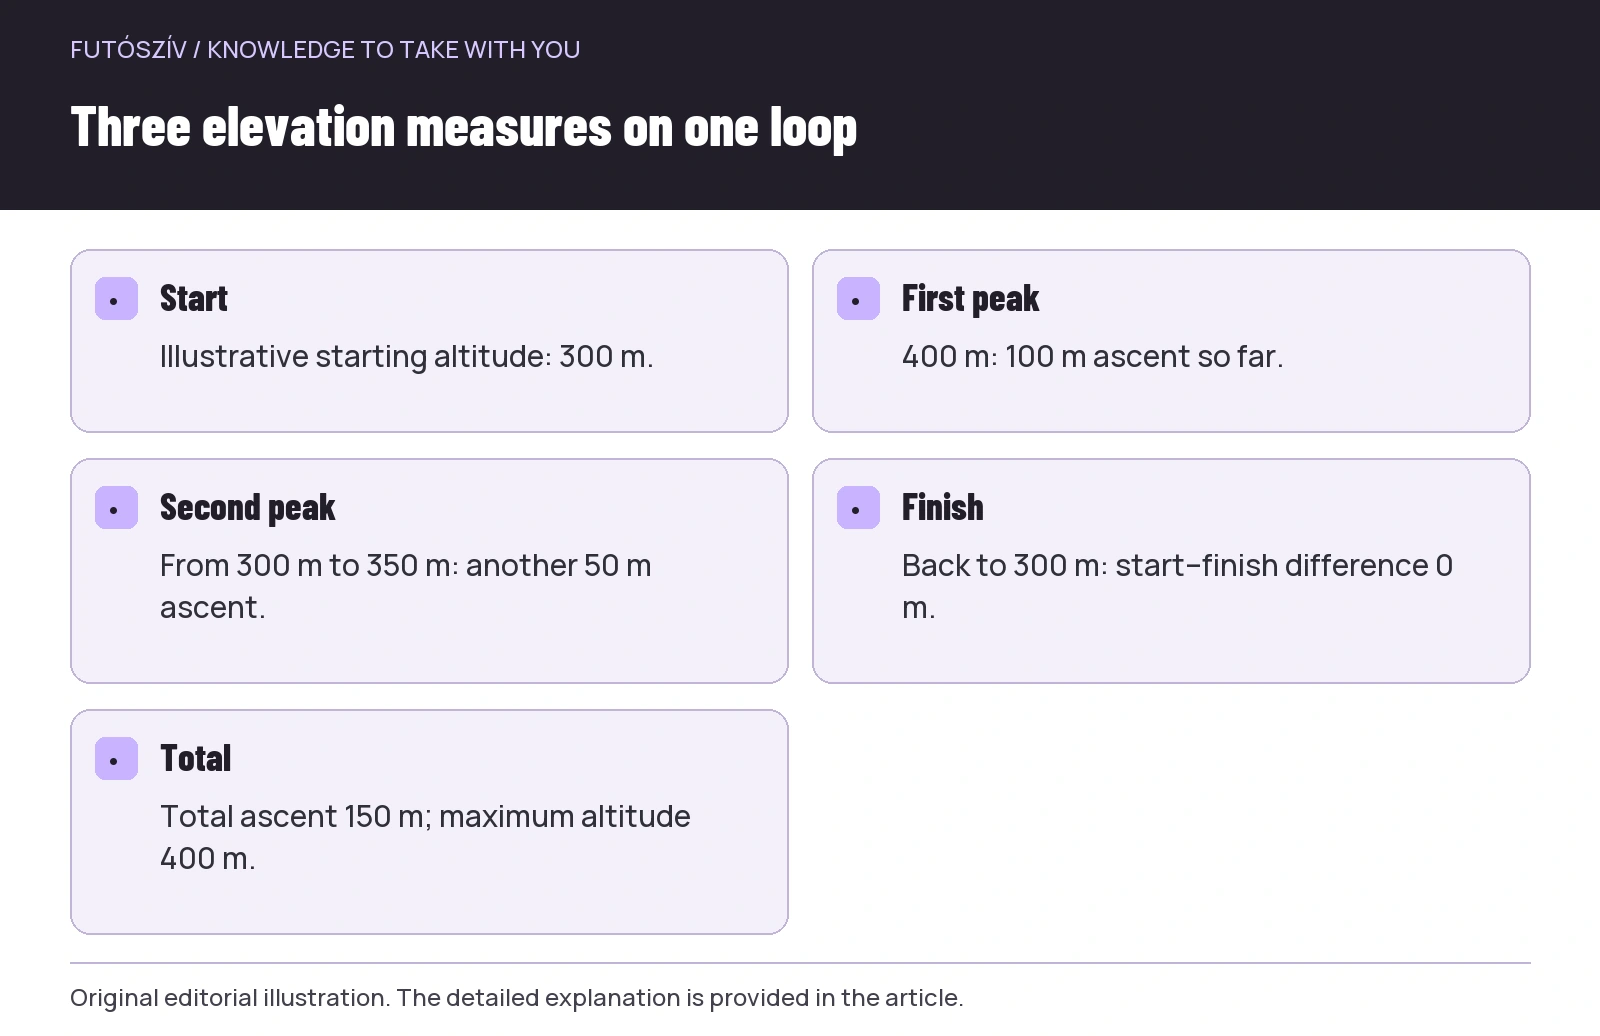
An illustrative profile climbs from three hundred to four hundred metres, descends to three hundred, climbs to three hundred and fifty, then returns to the starting height. Total upward change is one hundred plus fifty, or one hundred and fifty metres. The highest point is four hundred metres, and start–finish difference zero. This only illustrates the arithmetic of the terms, not a real route measurement. If the watch says four hundred, check whether you are reading maximum altitude instead of total ascent. A simple check can resolve confusion from similar labels.
Where can altitude data come from?
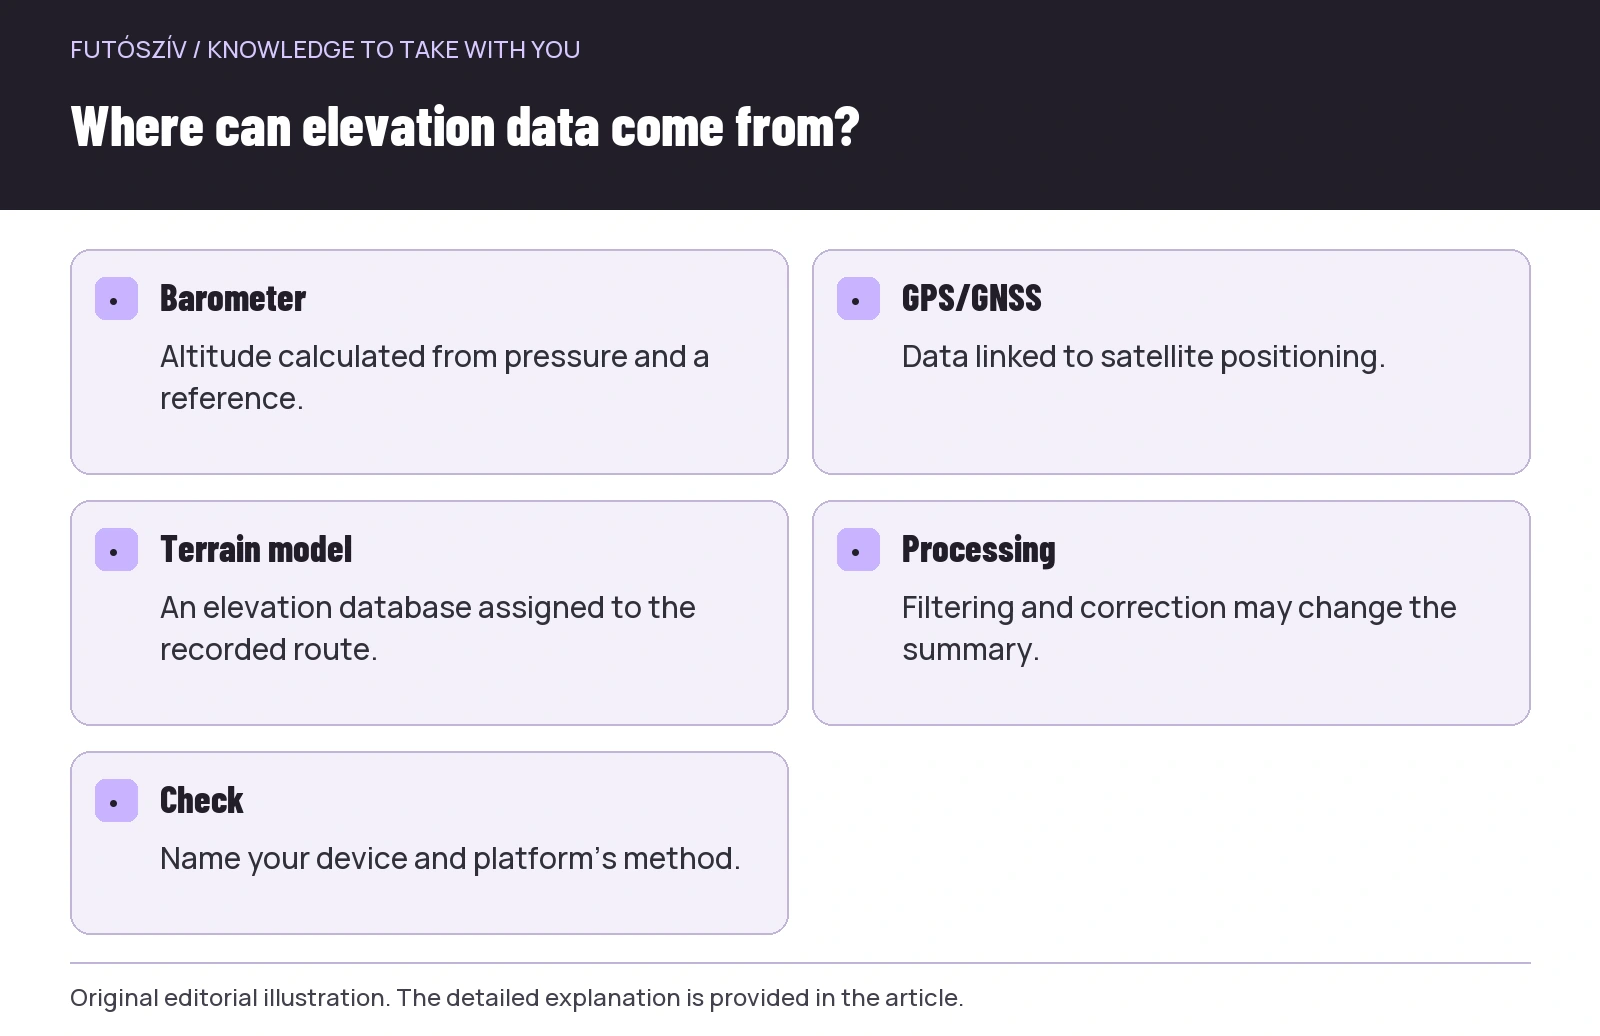
A watch may use satellite positioning, a barometric sensor, a terrain-elevation model or a combination. The exact system depends on model and settings. A barometer measures atmospheric pressure, from which the device may infer altitude. The Polar altitude-measurement information describes this process with GPS-based calibration on its compatible devices. Barometric altitude is therefore not a direct distance measurement to sea level, but a value generated from a physical signal with an appropriate reference. Retain this distinction while troubleshooting.
The Garmin page explaining barometric altimeters separately discusses interpreting pressure in relation to altitude and weather changes. The sensor signal and the watch’s chosen interpretation together produce the display. Observing pressure at a fixed location differs from moving uphill. Not every device offers the same manual mode options; check those available in your own guide. Do not infer every algorithm detail from the feature name.
Calibration establishes the reference
At a location with a known, appropriately established altitude, the watch may support manual calibration. At other times it automatically sets the starting value from GPS or map information. The model manual provides the exact method. Do not randomly enter a number from another equally uncertain app. Calibration quality also depends on the reference used. The initial setting and automatic adjustments during use may be separate operations, so clarify both for your device.
A constant vertical offset is not identical in every respect to noise along the route. If every point of the whole profile were higher by the same amount, successive differences would theoretically remain unchanged. Actual processing may add further steps, however, so do not claim exact behaviour for every product. The useful concept is that an incorrect starting altitude and a different total ascent are not automatically the same problem. Examine the whole curve’s shape and where in the run the difference appeared.
 Enlarge diagram
Text version of the illustration
- Start
- Illustrative starting altitude: 300 m.
- First peak
- 400 m: 100 m ascent so far.
- Second peak
- From 300 m to 350 m: another 50 m ascent.
- Finish
- Back to 300 m: start–finish difference 0 m.
- Total
- Total ascent 150 m; maximum altitude 400 m.
Why does the sensor opening’s condition matter?
Dirt around a barometric sensor can affect operation. Manufacturer descriptions may mention mud, water or other obstructions, but cleaning is product-specific. The cited Garmin information lists several such conditions; follow the actual care steps in your own device guide. Identify the opening’s location rather than randomly looking for a gap in the case. Do not insert a needle or another object, or use forceful blowing equipment if the manufacturer does not permit it. The aim is gentle care consistent with intended use.
After running, consider cleaning and drying conditions, particularly following mud or water. Do not draw final conclusions from calibration performed immediately in a wet, uncertain state. Follow any device-specific warning about use after water exposure. Describe recurring problems by their circumstances: after rain, while stationary or towards the end of a longer run, for example. Targeted context also makes support help more precise than a general “elevation is wrong” statement.
Total ascent: summing noise matters too
An ideal flat section has no actual ascent, but measured altitude may contain small fluctuations. Adding every tiny upward deviation unchanged could create ascent from noise. Systems may therefore apply filtering, thresholds or smoothing. The Strava elevation help page describes its own smoothing and processing of different data types. Another platform may use another procedure, so the same original recording need not yield the same total ascent on the main card.
Both too much and too little detail raise questions. A heavily filtered profile may hide small undulations, while a noisy profile shows many small rises and falls. Display smoothness alone is not proof of accuracy. Interpret sampling, filtering and actual terrain together. When comparing the same route, examine your system’s consistency too, but do not automatically rewrite every recording because another day’s number differs. First locate the type and origin of the discrepancy.
| Discrepancy | Possible investigation direction | Which data should you inspect? |
|---|---|---|
| Different starting altitude, similar profile shape | Initial reference and calibration | Altitude and the whole curve |
| Many small ups and downs on flat ground | Noise, sensor condition and processing | Detailed altitude time series |
| Different altitude at the same place after a long run | Drift over time or changing conditions | Start and ending sections, calibration mode |
| Total elevation changes after upload | Platform correction and smoothing | Original file and receiving site’s method |
| Two runners see different total ascent | Device, route points and processing | Fields with matching meanings over the same period |
What does the app’s correction do?
The description of Strava’s elevation basemap presents processing that links the recorded GPS route to an established elevation database. The corrected result is therefore more than a new colour for the watch’s number. It may use a different source and processing. When enabling a correction, read what it replaces and how to check the result. A “correct” button’s name alone does not prove that the value important to you moves closer to reality in every environment.
Map processing also relies on recorded horizontal position. If the track falls beside the actual path on a steep mountainside, the assigned map altitude may differ too. A bridge, cutting or another spatial situation may raise further questions about database detail. This need not create general distrust; simply understand the method’s foundation and limits. Examine correction results alongside the full route and profile rather than choosing whichever larger or smaller ascent you prefer.
Examine platform differences step by step
First verify that the same recording and distance transferred. If you cropped part on one site, the data is no longer identical. Then check whether the receiving service recognised the device correctly and uses barometric or corrected altitude. Third, examine the detailed profile: is there a constant offset, short spike or different shape throughout? These three phenomena raise different questions. The final sum alone does not reveal where a discrepancy originated.
If changing an important recording, retain the original export and note the correction applied. Uploading through an intermediate app may produce different data or device identification from direct original-file import; check your service’s help for its significance. Do not publicly circulate your full route for troubleshooting unnecessarily. A targeted screenshot and precise device, mode and time often suffice to formulate a support question. Data protection and clear technical description are compatible.
 Enlarge diagram
Text version of the illustration
- Barometer
- Altitude calculated from pressure and a reference.
- GPS/GNSS
- Data linked to satellite positioning.
- Terrain model
- An elevation database assigned to the recorded route.
- Processing
- Filtering and correction may change the summary.
- Check
- Name your device and platform’s method.
Why can two people running together see different ascent?
Device type, sensor, calibration, recording mode and post-processing may differ. The runners’ exact horizontal tracks need not be entirely identical either. Even the fields compared may differ: one shows total ascent, another maximum altitude or start–finish difference. Align these first. Running together is a useful comparison situation, but another wrist does not automatically become a certified reference. You can describe the difference without immediately naming a flawless device.
Interpret an organiser’s published elevation alongside its source too. It may come from surveying, planning software or other processing; look for an explanation on the event page. Your watch producing another number does not necessarily change the course’s actual character. A long steep climb and many small undulations can create different running tasks despite equal total ascent. Profile shape, climb placement and ground supply further important information. Total ascent is a useful shortcut, not a standalone difficulty rating.
A personal check on a familiar loop
To learn your watch better, choose a simple familiar loop and prepare it according to your guide. Note calibration method, sport profile and important conditions. Do not randomly recalibrate or change several settings while running, as the result becomes harder to trace. Examine starting and finishing values, then the whole profile and total ascent. This is a user check, not an independent accuracy assessment. Its purpose is recognising your system’s typical operation and framing targeted questions about discrepancies.
On a similar later outing, repeat observation with matching basic settings as part of normal running. Do not chase every few metres of display change at each bend. For a substantial recurring issue, use described circumstances and the original recording with manufacturer support to the extent needed. Note cleaning or setting changes separately. Repeatability and precise terms help troubleshooting more than many screenshots from different conditions under one “bad elevation” heading.
How should elevation appear in your log?
When comparing your own weeks, preferably use values from the same source and processing, and mark change dates. Add a short route type alongside ascent: long climbs, rolling loop or technical terrain. Do not create an exact distance conversion solely from elevation. Experienced difficulty and the run’s task add layers. The log makes sense through numbers alongside context, rather than merging every terrain into one comparison score.
In a shared account, naming the source may suffice when the number matters particularly: “according to my watch”, “after platform correction” or “from the organiser’s route description”. This clarifies data without weakening the experience. The profile and story often provide more information than arguments over exact metres. Do not select the largest elevation from several services merely because it looks impressive. A consistent, named method produces a more comparable log later.
Check these things for the next elevation value
Which concept are you viewing: altitude, ascent or a difference between points? Which source produced it? Is calibration known? Did processing change after upload? Does the whole curve support what you infer from the sum? These five questions separate most initial misunderstandings from situations needing further investigation. You need not conduct a long technical check before every run, but learning your system’s operation calmly once is worthwhile. You then have a useful conceptual map for an unexpected discrepancy.
Watch elevation can thus remain useful in a trail-running log. It helps review the route and climbing completed while you understand sensing, calibration and post-processing. Barometric data, satellite position and map correction may supply different information; none promises a perfect result in every condition by name alone. Deliberate data reading aims to recognise the actual run behind the number and describe precisely what you still want to check.
Sources and further reading
- Polar – Altitude Measurement
- Garmin – how a barometric altimeter works
- Strava – Elevation FAQs
- Strava – Elevation Basemap
How Futószív articles are prepared: our editorial guidelines.