You attach a foot pod to your shoe, the watch reports a connection, and you set off. This does not necessarily mean the displayed pace and recorded distance both come from that sensor. Connection, data-source selection and the final recording are three separate checkpoints. Meanwhile, the watch may also record a mapped track, adding another layer to the story. To use a foot pod, it is worth tracing once how data travels from your shoe to the screen and log. This guide does not claim a universal accuracy ranking between GPS and sensors; it helps establish known, traceable operation for your own setup.
Check compatibility for your own pairing
The sensor’s brand name alone is not enough. Note the exact model, watch and app or sport profile used for recording. Check the supported connection and functions with both manufacturers. The same sensor may transmit different data to different watches, or require different settings. Bluetooth and ANT+ indicate connection options, but do not guarantee every metric across all device pairings. A compatibility table and specific setup instructions are more useful than a retailer generally recommending the product for sports watches.
Also examine the role under which the sensor can be paired. A more complex device may advertise several services, and entries with different names may appear on the watch. These are not necessarily independent physical objects. The Stryd Garmin setup guide provides product- and connection-specific pairing steps, for example. Read it for your own Stryd–Garmin combination, not as a general rule for all foot pods. The point is to understand the name seen on the watch and the type of data transmitted.
Attachment to the shoe: check more than whether it can fall off
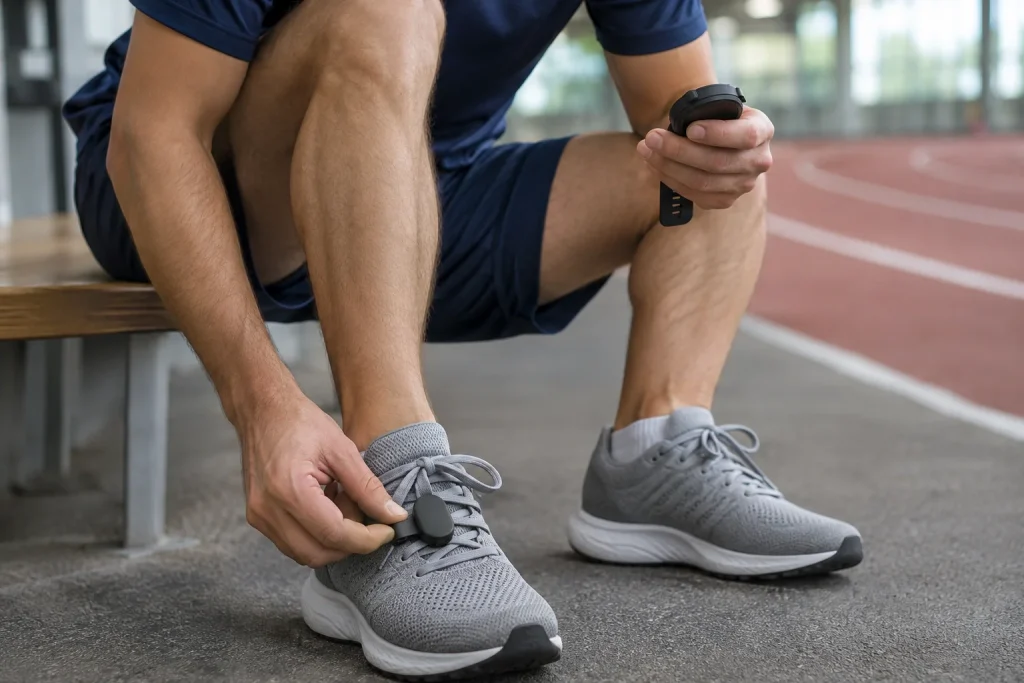
Set the holder’s position according to the sensor manual. Secure attachment, correct orientation and moving with the shoe are part of using the device as intended. The Polar Stride Sensor manual shows in detail how to attach its own holder to the laces. Another device’s clip may differ. Do not improvise an attachment simply because the position looks similar from outside. The sensor should not wobble or cause uncomfortable pressure on the shoe upper or beneath the laces.
If moving it to another shoe, observe the new position. Lace arrangement, tongue thickness and the holder’s seating can change. Take a picture of the established placement that follows the instructions, and note which shoe and foot you used for subsequent trials. This does not claim every small movement causes the same measurement error; the aim is known, repeatable conditions. If the manufacturer requires a particular recalibration after a significant position change, use the procedure for your own model.
 Enlarge diagram
Text version of the illustration
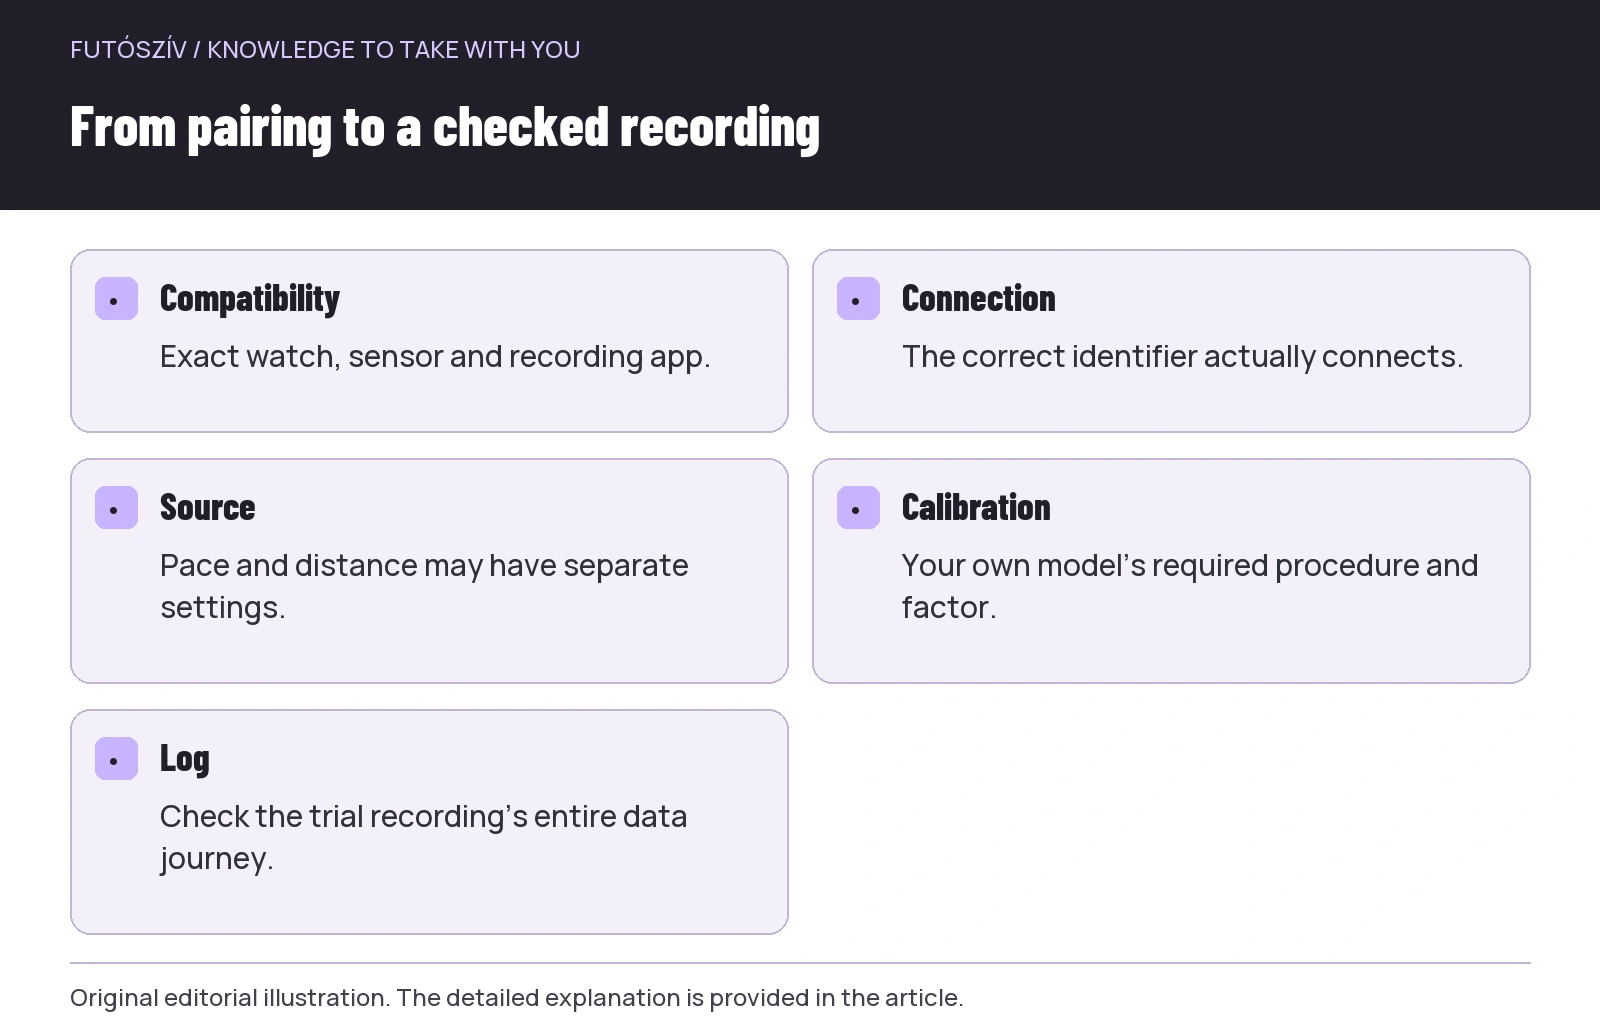
- Compatibility
- Exact watch, sensor and recording app.
- Connection
- The correct identifier actually connects.
- Source
- Pace and distance may have separate settings.
- Calibration
- Your own model’s required procedure and factor.
- Log
- Check the trial recording’s entire data journey.
Pairing is not the same as an active connection
The watch may remember a previously added sensor even when it is not awake or available. Before starting, check actual connection status according to your device. You may need to move the sensor, bring it close enough or check its power supply. A name in the list is therefore not a complete functional test. Around several other runners, know your sensor’s identifier rather than randomly selecting another nearby device. Initial pairing is best done in calm surroundings.
Learn battery replacement or charging separately. Some sensors are rechargeable, while others use replaceable batteries; opening and closing the case is product-dependent. Do not guess about seals and water resistance when screwing the cover back on. If connection repeatedly drops, check the supported pairing method and firmware alongside charge or battery condition. Not every dropout can be addressed with a calibration number. A connection fault and a constant proportional distance discrepancy are different phenomena, so name the problem precisely.
Pace and distance sources may be set separately
The Forerunner 55 foot-pod settings description separately mentions choosing speed and distance sources, as well as indoor-only and always-on use. This is a specific example of why pairing alone is insufficient. Other devices may have different menus and source priorities. Check where the watch obtains each value in the intended profile. The meaning of “always” or “indoors only” should be clear from the manual, rather than inferred from a discrepancy after running.
One possible configuration has outdoor pace coming from the sensor, mapped position from satellite data and distance from the watch’s separately selected source. This is not inherently faulty, but you need to know about it. Further differences may appear if an external log recalculates data. The display, watch recording and app summary are therefore not always the results of the same processing. A map of the sources helps explain why a single distance figure after the run cannot answer every question.
| Layer | Question | What does it prove? |
|---|---|---|
| Paired device | Is the correct sensor in the list? | The watch has remembered the connection |
| Active connection | Did it connect before departure? | The sensor is currently available |
| Source selection | Is it used for pace and distance? | The profile requests the intended data from it |
| Calibration | Which factor or procedure is active? | Distance scaling is known |
| Recording | Did the expected data reach the log? | You have checked the complete data journey |
Calibration: follow your own model’s procedure
Do not copy a number found online to set calibration. One system may use a factor around one hundred, another around one, with the documentation defining its meaning. Some devices offer automatic calibration; another manufacturer may recommend disabling it for a particular combination. The cited Polar and Stryd guides concern different products, so their advice cannot be combined into a universal recipe. Identify your own pairing first, then check its settings. The number on screen alone does not show whether the process is correct.
The quality of the calibration reference matters. An uncertain phone track or a park path measured by an unknown method does not become an accurate standard merely because it is accessible. If the manufacturer describes a trial over a known distance carried out in a particular way, follow those conditions. Do not adjust everything on the basis of one short, badly started section. Starting, stopping and the actual line run are part of the trial too. A reference suited to the desired accuracy and a traceable procedure matter more than filling the settings field with decimal places.
Why should another watch not automatically decide?
Comparing two different devices can reveal a difference, but does not by itself say which is closer to the actual distance. If they use different sources, filtering and calibration, the discrepancy may have several components. You may also have followed different lines while running, and start–stop times may not match. “My friend’s watch measured more, so mine is wrong” is too quick a conclusion. The difference is a useful starting question, but calibration requires your own manufacturer’s procedure and a suitable reference.
In an illustrative situation, similar loops appear on the map, yet the two logs show different distances. First check whether one system shows sensor distance and the other a distance processed from position points. Then examine pauses, the start and finish, and later corrections. A smooth curve is not sufficient evidence either: a smoothed series can look nicer without independently proving accuracy. The aim is to understand the discrepancy’s components, rather than adjusting every other device to one preselected display.
 Enlarge diagram
Text version of the illustration
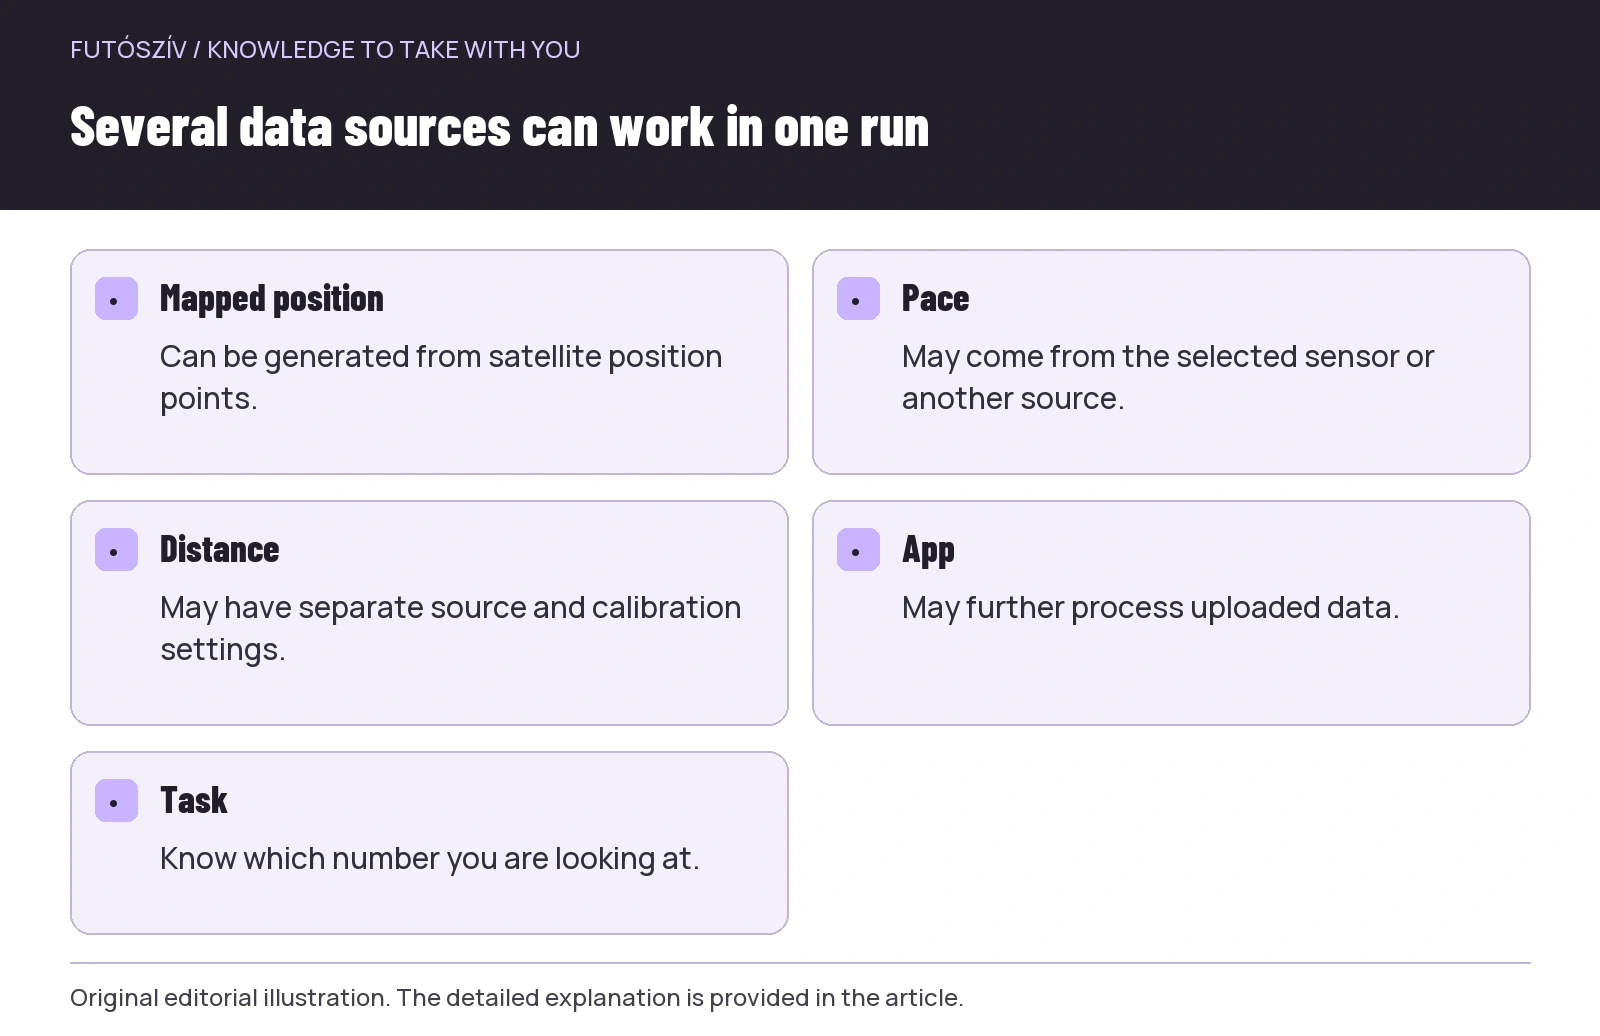
- Mapped position
- Can be generated from satellite position points.
- Pace
- May come from the selected sensor or another source.
- Distance
- May have separate source and calibration settings.
- App
- May further process uploaded data.
- Task
- Know which number you are looking at.
First trial: map the data without changing anything
Choose a short, easy, familiar run and note the settings beforehand: sensor identifier, connection method, pace source, distance source and calibration status. Do not change these during the trial. Afterwards, check whether the log identifies the sensor used and what you can establish from the details the manufacturer makes available. Not every platform displays every source detail; a missing label does not automatically prove the sensor failed to work. Documentation and a recorded trial together provide a more interpretable picture.
If the result raises questions, change one factor next time within the supported options. For example, correct the intended source setting, then do another simple trial with the same device and shoes. This is not an independent laboratory investigation, so do not announce a percentage accuracy applying to everyone. It can, however, help you trace your own system and ask support a targeted question. A well-described setup and fault are much more useful than one screenshot labelled “wrong distance”.
Changing shoes and indoor use
Whenever you transfer the sensor to another shoe, recheck the attachment. If its manufacturer links a change of position to a calibration check, follow your own instructions. It is worth briefly noting the shoe-change date at the first trial to provide a reference if a discrepancy appears later. Do not automatically attribute every change to the shoe: the profile, firmware or source priority may also have changed. An equipment event is one circumstance to examine, not proof of cause and effect by itself.
Indoors, the watch’s GPS-free profile may use a different source from outdoor running. The treadmill display, watch and foot pod may therefore provide several different estimates. Do not automatically treat the treadmill’s entered speed as a flawless calibration reference for your sensor; the machine’s condition and measurement also need consideration. Check sensor connection and data source in the indoor profile too. If manually correcting a run in the log, record the basis and retain the original recording where possible.
A simple personal data-source sheet
Make a short table for your setup: which watch, which sensor, what connection, where each value comes from, which calibration and which log is the final destination. You need not fill it out for every run; update it only when something substantive changes. Charge, clean and store the sensor according to its own instructions, and check attachment before setting off. The foot pod then becomes an understood part of the data flow rather than a mysterious accessory occasionally conjuring a different number onto the display.
A ready-to-use system requires five yeses: you paired the correct device, it actually connects, you selected it as the source for the desired fields, you understand calibration, and you checked the trial recording in the log too. With these in place, your data becomes more consistently interpretable even when changing watches or shoes. A foot pod’s value comes from understanding how it works for your own task. You need not declare every measurement perfect; knowing where it comes from, its conditions and its limitations is enough.
Sources and further reading
- Garmin Forerunner 55 – foot-pod speed and distance sources
- Polar Stride Sensor – user manual
- Stryd – Garmin pairing and data-source settings
How Futószív articles are prepared: our editorial guidelines.