Switching on a new running watch often brings a sequence of questions: app, account, location, notifications, sport profile, daily goal and various training measures all need decisions. Accepting everything to get started is easy. You get a clearer result by treating the first week as a setup period. First make a simple run reliably recordable, know where data go and who sees them, then gradually add genuinely useful functions. The following workflow is not one manufacturer’s unchanging menu route; use it alongside your model and software-version manual.
Before departure: identify the exact device
Check the model name on the box and in system information. Smaller and larger variants, music and mapping versions within one family can differ in functions. Download the official manual, find support and check which mobile app belongs to it. Keep the supplied charging cable safe; check connection before forcing it to fit. Do not leave the first charge and update to the five minutes before your next workout. Rushing can create more unnecessary setting errors than a quick wizard solves.
If buying used, separately check that the previous owner correctly removed it from their account and performed necessary deletion. Do not record your data under their profile. Follow the model manual for factory reset and first establish whether any of your own data need preserving. Even with a new watch, knowing reset location is useful, but it should not be the first answer to every small question. Setup aims to establish a known, traceable state.
Day one: account, pairing and synchronisation
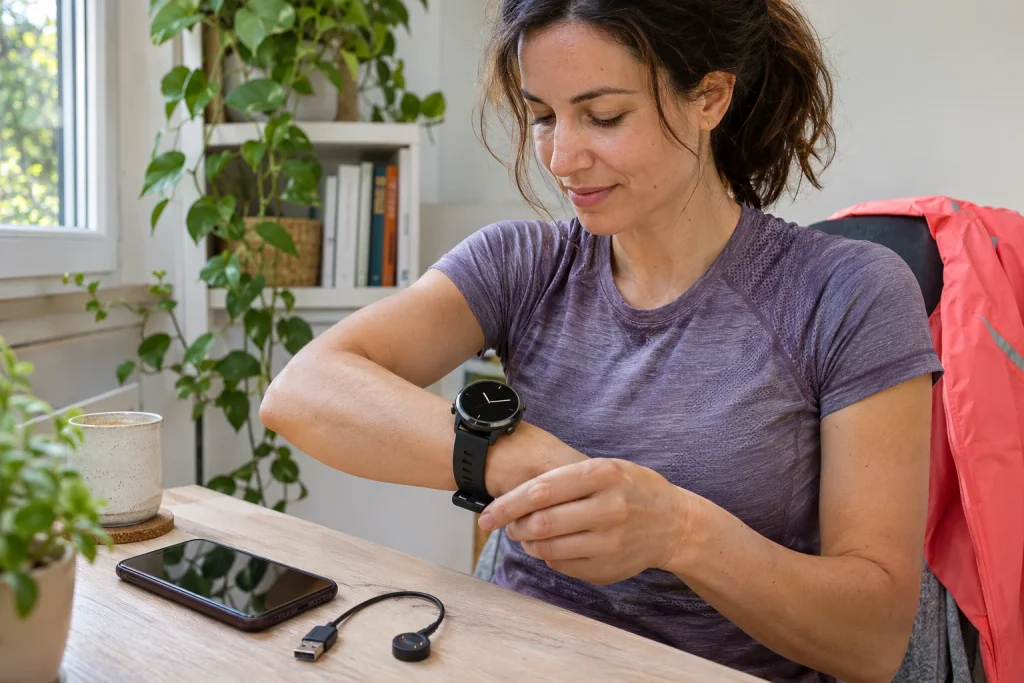
If you already have an account in the same system, confirm you are signing into the right one. A second account created through a typo can fragment the log later. Start phone–watch pairing in the app and sequence specified by the manufacturer. Appearing in the phone’s Bluetooth list does not necessarily mean full connection to the sports app. Wait for completion, then check watch status and last sync time in the app. Pairing and data upload are related but different operations.
Do not immediately connect every external training platform. Get the basic connection working first and decide your primary log. Later, note for each connection which data it sends and in which direction: manufacturer to log, a plan back to the watch, or both. An unclear network of connections commonly causes duplicate uploads, rather than starting the run twice. A simple device–app–log diagram can prevent much later guessing.
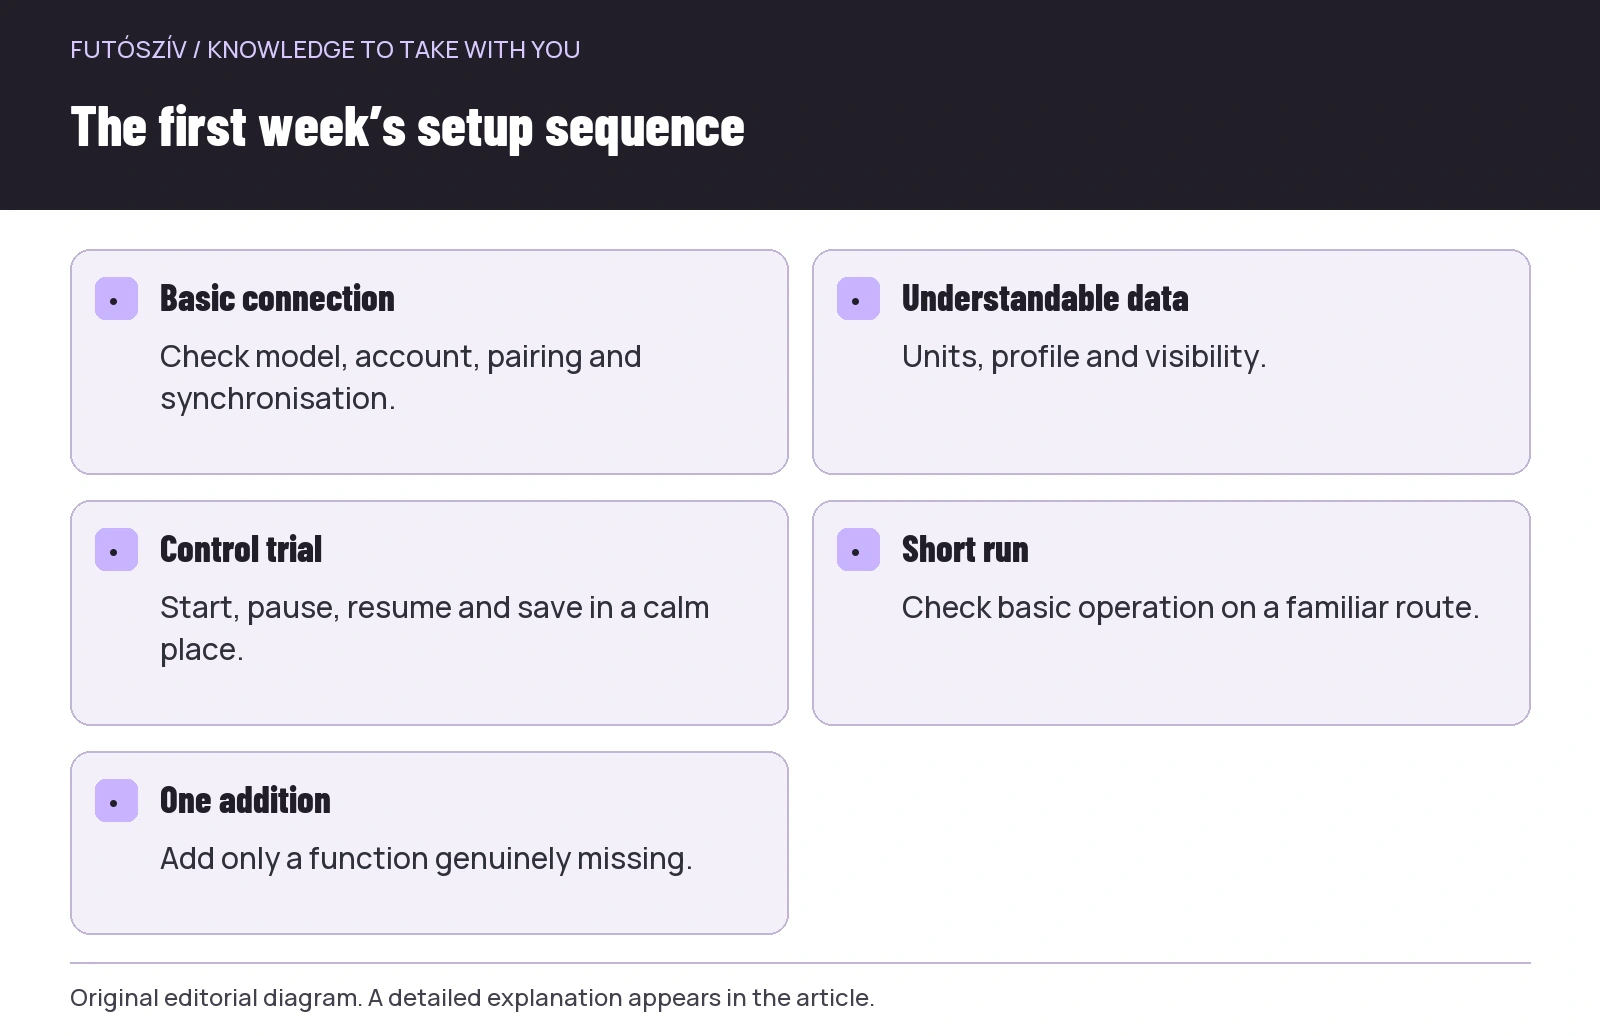 Enlarge diagram
Text version of the diagram
- Basic connection
- Check model, account, pairing and synchronisation.
- Understandable data
- Units, profile and visibility.
- Control trial
- Start, pause, resume and save in a calm place.
- Short run
- Check basic operation on a familiar route.
- One addition
- Add only a function genuinely missing.
Units and profile data
Set language, time display, distance and pace units. Minutes per kilometre and kilometres per hour describe the same movement differently; know which appears before the first trial. Do not accidentally leave height, weight and birth date as sample values. The physical-settings section of the Polar manual also notes that entered data can affect some calculated values. Accurate entry does not, however, turn a running watch into a clinical instrument.
Treat automatically suggested heart-rate zones and goals as initial settings from a known source, not individual examination results. If you have existing zones determined appropriately, check which system and sport profile receives them. Percentages from different methods are not interchangeable just because zone numbers match. You do not need a new maximal test in week one merely to fill a field. Note an uncertain parameter and resolve it later within the professional framework of your training.
Day two: who can see your first run?
Check default sharing before the first outdoor trial. Route, start time, the area around home and other attached data can be part of a post. The Garmin Connect privacy guide distinguishes visibility of profile, activities and some additional functions. Do not infer all sharing from one “private” label. Read your system’s settings and share the first trial only with an audience you actually choose.
Data-processing permission, public visibility and external-app access are separate questions. Other runners not seeing your run does not stop a previously connected service receiving data under granted permissions. Check hidden location information in the public view too if the service allows it. Sharing a screenshot is another decision: it can show information otherwise hidden in the app. By setup’s end, know where the recording is created, where it uploads and who has access.
Day three: only sport profiles you use
Choose sports actually used and arrange them conveniently. Outdoor and indoor running profiles may use different settings; do not start solely by icon colour. The official Polar sport-profile management guide also reminds users that app changes need synchronising to the device. A phone modification and watch choices do not always match at the same moment. Check the result on the watch before the next departure.
Automatic lap, automatic pause and notifications deserve checking in every used profile. Describe what you want: continuous elapsed time through a crossing, for example, or workout time paused at stops. A function name cannot guess your intention. If the first trial aims to understand basics, keep the system simple initially. For later comparison, knowing when and why an automation was enabled helps. Consistent settings make the log easier to interpret too.
| Setting | What should you check? | Why now? |
|---|---|---|
| Account and pairing | The correct personal account and completed sync | The first workout should not reach a separate log |
| Units | Kilometres, min/km and time format | Every number should be understandable at departure |
| Visibility | Profile, activity and connected apps | Even the first route should be shared deliberately |
| Sport profile | Outdoor or indoor running and automations | The recording should use a known method |
| Saving and uploading | Has the workout actually appeared in the log? | The complete data path should be checkable |
Day four: learn controls indoors too
Find start, pause, resume, lap, finish and save actions. Do not try these first at a busy junction. A brief indoor recording marked separately as a test can take you through controls if your system allows it. Check how saving differs from discarding and whether confirmation appears. Recovery after accidental deletion depends on manufacturer; knowing the decision point beforehand is better. Button feel and display indicators should make sense together.
Find touch lock, button lock or water-related locking too if your model has them. Practise unlocking in dry surroundings first. Long and short presses may trigger different functions, so consult the manual instead of random pressing. Test emergency functions only in a manufacturer-specified way that sends no real alert. An accidentally sent message is not a necessary learning step. Learn conditions of safety functions separately, including required connections and services.
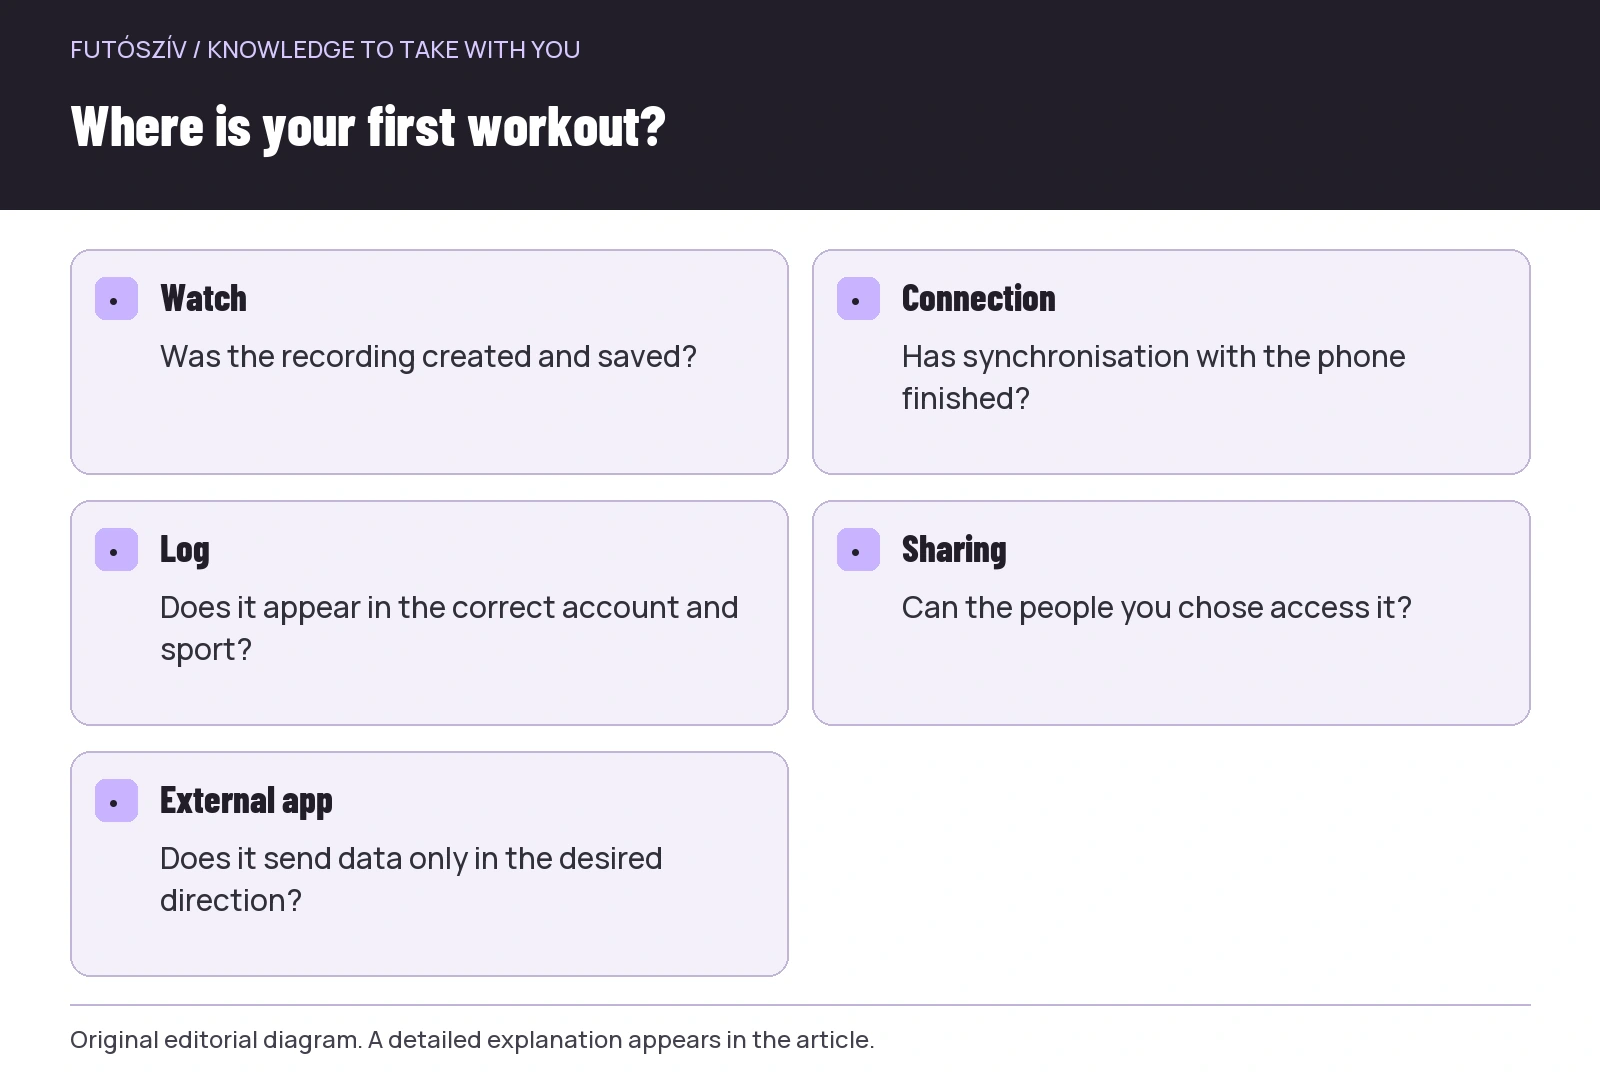 Enlarge diagram
Text version of the diagram
- Watch
- Was the recording created and saved?
- Connection
- Has synchronisation with the phone finished?
- Log
- Does it appear in the correct account and sport?
- Sharing
- Can the people you chose access it?
- External app
- Does it send data only in the desired direction?
Day five: a short outdoor trial somewhere familiar
Choose a simple, familiar route and wait before departure for positioning and sensor readiness according to your device. The aim is not a record or accuracy contest with another watch. Notice whether recording began, time is readable and pausing accessible. If searching settings, stop somewhere appropriate. A few familiar data fields can help more on the first run than a crowded page of measures whose meaning you have not read yet.
After running, check saving on the watch, then wait for upload. In the app, check date and time, sport type, units and whether the expected recording arrived. If two entries appear, inspect connected-app paths instead of immediately deleting in bulk. If missing, first establish whether the recording exists on the watch or was never saved there either. Those faults occur in different places. A precise description also makes support more targeted.
Day six: notifications and charging routine
Separate useful running alerts from everyday phone notifications. Every message does not have to appear on your wrist. Check whether a signal belongs to a profile, phone or general setting and how to mute it while retaining desired workout alerts. Set brightness and wake behaviour for your own readability. Manufacturer runtime figures apply under different use conditions; during week one, observe familiar short use instead of planning charging to the limit immediately.
Give the charger a permanent place and follow device instructions about cleanliness and moisture before connecting. Check the display for charging actually beginning; an attached cable does not prove good contact. If firmware updates are requested, allow calm time under manufacturer conditions, then verify important settings. The morning before the next long session is a poor time to try an unfamiliar major update and several new functions together.
Day seven: one useful addition
Now decide what was genuinely missing. It may be a larger data field, another sport profile, an appropriate alert or pairing an existing chest strap. Introduce one change at a time and note what you expect. A function’s existence does not oblige its use. If a training measure appears, read its inputs, required history and manufacturer-recommended purpose. The few recordings from week one may not provide a stable basis for every longer-term estimate.
Finally, make a brief personal setup sheet: model and software, account used, main sport profile, important automations, primary log and connected services. Do not write passwords on it. Its purpose is to show later what changed and avoid guessing the earlier state from memory. The watch is ready for regular use when you can start and save a workout, find its result, understand main displayed numbers and share deliberately. More complex options can then build calmly on that.
Sources and further reading
- Polar Vantage V2 – Physical Settings
- Garmin Connect – Adjusting Privacy Settings
- Polar – adding and removing sport profiles
How Futószív articles are prepared: our editorial guidelines.