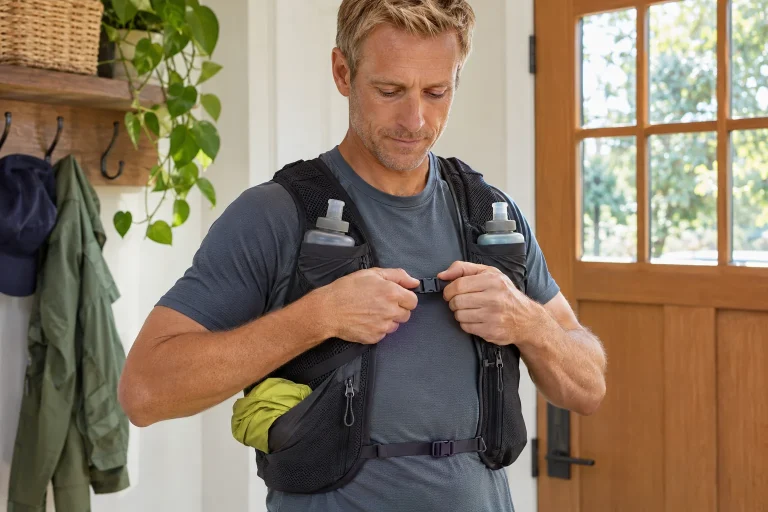
A running vest is not simply another thin layer over a rain jacket. Filled bottles, equipment carried at the back and shoulder straps contact the garment at different points, covering some areas and leaving others free. It is therefore worth trying the jacket and vest together. The question is how your own combination works loaded, in motion and during stops when you want to reach something.
No rule applying to every jacket and vest determines which must be outside. Model design, size, access needs and expected weather all matter together. This guide examines a vest worn over the jacket and also considers wearing it underneath for comparison. We provide an original, specific observation method for these trials; we report no measured strap pressure, rank no brands and claim no rain-chamber product test of our own.
Observe three contact areas separately
The shoulder straps, the area around the front fastening and the back panel may each interact differently with the jacket. One area may load a narrow strip, while another places a larger surface between two layers. The vest’s precise construction determines how much fabric meets and where space remains. First examine your own kit: where does each part rest, and what changes when your usual water and equipment are added? Quickly putting on an empty vest cannot replace this.
A rainwear explanation written by a Gore technical specialist also highlights the relationship between pressure and protection from water: a merely water-repellent surface should not be interpreted as a durably waterproof system under pressure. The article concerns workwear, so it provides no transferable limit for a running vest. The principle relevant here is that droplets beading off and resistance to water penetration tested under pressure are different questions.
Use this as a simple map in your own trial. Rather than trying to estimate pressure in millibars by feel, mark the actual contact points. For example, where does a strap cross a seam, where does the jacket crease and where does the area around a filled bottle rest against it? These observations help explain which area you want to discuss with the manufacturer later. They do not establish that the point definitely leaks or is faulty.
The moisture environment of covered fabric also differs
Do not treat jacket fabric beneath a vest as being in the same environment as an exposed arm or side panel. Contact between layers, current moisture in the materials and available airflow may differ. This does not imply a drying ratio identical for every combination. You may notice two different impressions of dampness without being able to draw a firm conclusion about membrane condition or a fault in the whole jacket.
A 2025 material study compared textile drying conditions in several arrangements. Drying from one or two sides, contact with a warm surface and stretching were among the conditions examined. This was laboratory research on samples intended for base layers, not a test of a running vest over a jacket. It provides background for treating conditions around fabric as important; we do not convert its numerical results into values for your own vest.
The practical lesson is a more precise observation question: when and where did the combination become wet? Describe the jacket’s outer surface, inner face and the top underneath separately if you can inspect them calmly. A patch’s location alone does not prove the route taken by water. An accurately recorded state, however, is a better basis for later checking than “My back was wet, so the jacket must have let water through.”
 Enlarge image
An empty and a loaded vest require two trials
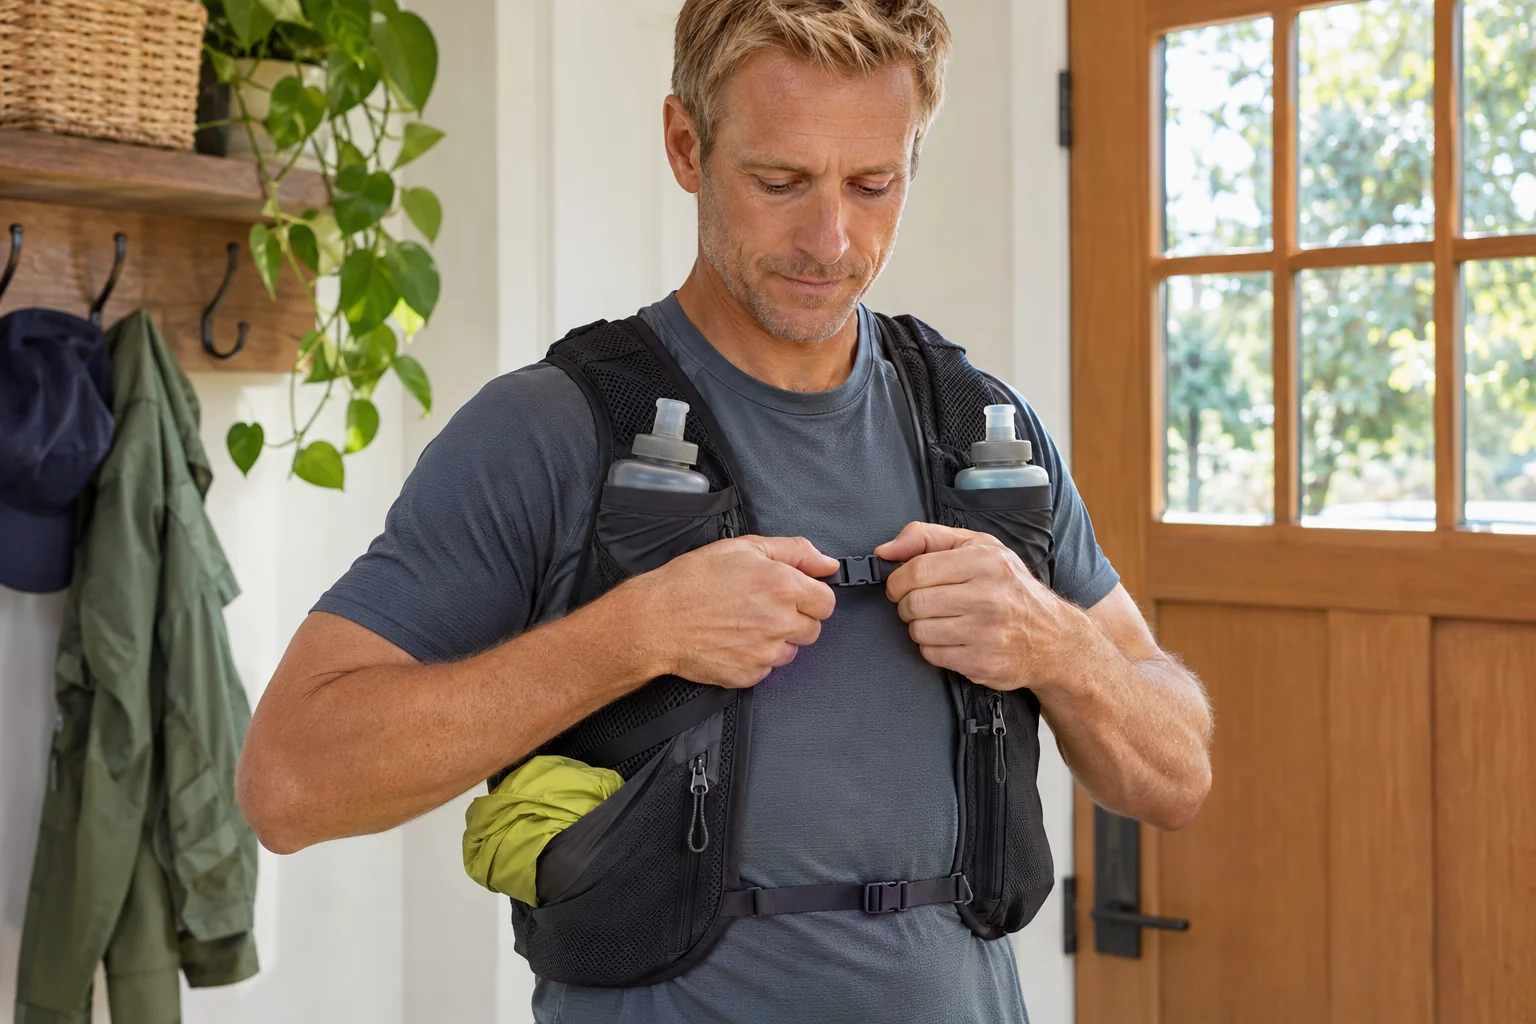
On first putting it on, you can start with an empty vest to learn the fastenings and how it meets the jacket. For the next stage of the use trial, however, add the normal, realistic kit you actually plan to carry. Fill bottles according to your own use and put the rear load in its usual place. You do not need extra weight to challenge the jacket: you want to understand your intended arrangement.
Then stand, make a few comfortable arm movements and take short, calm steps while observing how the layers settle. Does the jacket move around the shoulders, ride up at the hem or retain a crease beneath a strap? Follow your model’s fitting instructions for the vest rather than tightening everything progressively to smooth the jacket. If a basic arrangement can be maintained only with an uncomfortable setting, that is information about the combination’s usability too.
Observe separately what happens after equipment is removed. An emptied front flask or a garment taken from the back changes the load’s arrangement. This will not happen identically on every run, but you can try a common situation from your own routine beforehand. You then know the combination beyond its carefully arranged starting state, including how it may sit after a later stop.
Think about access in terms of tasks
One obvious possibility with a vest over the jacket is that some vest pockets remain directly accessible. Check this in your particular arrangement: which item do you reach for often, what movement retrieves it and can you put it back calmly? A phone, bottle and rarely needed spare top present different tasks. Every pocket need not be equally easy to reach, but you need to know where important items are.
Work through the jacket’s controls in the same way. Can you reach the front zip, hood adjustment and intended vent? Does a vest fastening sit directly in front of a pull? If adjusting the jacket requires removing or substantially shifting the vest, acknowledge that to yourself. It may be an infrequent, manageable task, or it may obstruct precisely the clothing adjustment you make often.
For a personal access map, make three groups: frequently used items, rarely used items and clothing controls. Try the actual movement for each while standing. A task list helps more than the bare number of pockets, because it shows which part of your routine works or gets stuck. Do not do the trial in traffic or while running; first learn the movement, then decide how to use it in a place suited to your run.
If the jacket goes outside, new checks arise
For the other arrangement, simply swapping the layers and assuming the fit is unchanged is insufficient. A loaded vest takes up space under the jacket, so assess the jacket’s cut and position during movement in that state too. Salomon’s own running-jacket guide also mentions allowing suitable room for the planned layers and, where needed, a running pack. That is not an automatic claim of suitability for every model.
Observe whether you can close the jacket comfortably and retain natural room to move at the shoulders, chest and neck. Do not try it only standing and facing forward: your usual arm movement and head turns matter too. Tightening the vest strongly does not necessarily resolve a jacket that feels too small. Proper use of the two separate pieces must work together, and the particular size or cut may matter.
Access to pockets under the jacket also needs a specific plan. In which situation will you open the jacket, how will you retrieve the item and what do you want to keep dry meanwhile? A task easily managed in a covered shelter may differ in rain in an exposed place. Thinking through the arrangement does not mean you will never need to stop; it means knowing the next step in handling your own kit.
Wear, creases and seams: observe the condition
Inspect both jacket and vest at regular contact points. Is there visible change, a shifting component, pilling or a crease that repeatedly settles in the same place? You can observe this more calmly on clean, dry clothing. Do not pull layers apart, pick at seam tape or deliberately rub the surface. The aim is to follow condition, not create an accelerated home loading experiment.
If you find something new, a sharp photograph from the same location can help later comparison. Note which equipment you used with it and when you noticed. An external change does not always reveal the state of the internal construction, so direct specific repair or continued-use questions to the manufacturer. The exact model and location are more useful than a general claim that every vest ruins a jacket.
Cleaning and care may follow two separate sets of instructions. Wearing the vest and jacket on the same run does not make their care procedures identical. Before storage, attend to each according to its own label and manufacturer description. Do not treat a bundle left wet together as an unchanged starting point for the next trial. If you want a comparison, first clarify the condition in which both pieces were worn again.
 Enlarge image
Dampness beneath a shoulder strap: from question to a targeted enquiry
Suppose you notice dampness under a shoulder strap after a rainy loop. Preserve three separate pieces of information: the patch’s location, the layer affected and the preceding conditions of use. Is the jacket’s outer surface wet, its inside or the top underneath? Was the vest over the jacket, and which strap crossed there? These are answerable questions even if you cannot confidently identify the moisture’s route yourself.
An enquiry can be short and precise: “I wore this vest over this jacket model in its usual loaded state. I noticed this at this location; the photograph shows the outer and inner sides separately. Which checking or care step do you recommend?” This is an original sample text, not proof of a fault. The manufacturer can assess a specific condition, and if more information is needed you will know which part to clarify.
Do not try to prove your assumption by tightening the strap further and further or applying water pressure at home. The public description of ISO 811’s hydrostatic test for materials offers no such home vest test. A new, unknown load can change the item’s condition without producing an interpretable result. Documented experience of use and a checking route suited to the model are a better starting point for the next step.
A personal trial sheet for comparing two arrangements
You can fill in the table below with your own kit, starting with a calm fitting. Do not automatically give points to outside or inside wear: describe what you experienced in a short sentence. If the manufacturer does not permit an arrangement or the cut prevents you from trying it comfortably, mark that. The two columns do not oblige you to accept both modes; they organise options that can meaningfully be examined.
| Task | Vest outside the jacket | Vest under the jacket |
|---|---|---|
| Shoulder and arm movement | Where does the strap rest and move? | Is there comfortable room inside the jacket? |
| Retrieving a frequently used item | Can I reach the particular pocket? | How much jacket opening is needed? |
| Operating the jacket | Are the required pull and adjustment unobstructed? | Does the vest change the neck and zip position? |
| Putting clothing back after a stop | Can I restore the familiar arrangement? | Can I smooth the jacket and close it comfortably? |
At the end of the trial sheet, write one practical decision: which arrangement do you know better for your intended loop, and what still needs clarification? Frequent bottle use may be decisive, or space under the jacket or access to a vent may matter more. The same jacket and vest with different kit may raise a new question. A useful combination is therefore a known, specific system, not an outside–inside rule handed to every runner at once.
Sources and limits of their application
For water repellency and pressure, we used Mark R. Miller’s rainwear explanation available on the Gore website, and for the name of the test, the public summary of ISO 811. Background on the role of conditions comes from the 2025 primary study Drying Performance of Fabrics on the Human Body; the fitting perspective is supplemented by Salomon’s running-jacket guide. Checked: 21 November 2026. The running-vest trial sheet and examples are our own editorial suggestions; we report no figures converted from workwear or laboratory findings to a particular running vest.
How Futószív articles are prepared: our editorial guidelines.