The Suunto Vertical 2 may interest runners wanting maps, a physical LED light and substantial recording reserves on a long trail day. Their value depends on the specific modes, uploaded route and practised operation together. Using manufacturer material checked on 21 November 2026, we follow use from departure to return.
Greater reserves come with a physical package
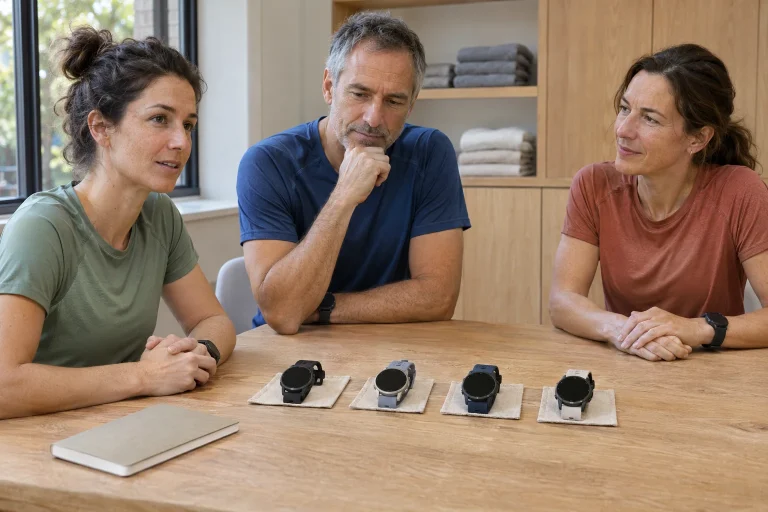
The Vertical 2 All Black specification gives 48.6 × 48.6 × 13.5 millimetres, 87 grams with the strap, a steel bezel, sapphire glass and a glass-fibre-reinforced polyamide case. The 1.5-inch LTPO AMOLED has 466 × 466 pixels, and map storage is 32 GB. Check the specific version: we do not mix the titanium-bezel model’s materials with the standard version, or assign it a lower weight without verified data. A family name is not the full specification of every colour and variant.
On a long trail day, you wear the watch for more than a few minutes. Try how the strap and case work with a jacket, gloves and backpack too. Adjusting a vest strap or holding a pole should not require moving the device aside every time. This full movement situation belongs in the buying decision alongside bezel material. Greater battery reserves are useful only if wearing the watch is manageable too.
In your own trial, focus on three operations: reading, operating controls and adjusting clothing layers. Can you orient yourself at a glance, zoom while stopped and pull the jacket back without activating something? Do not seek the answer only in a summer T-shirt. On a winter trail, the few centimetres between cuff and glove can matter as much as display diameter. This is personal fit, not a judgement derived from grams.
Between 65 and 250 hours, measurement changes too
The current technical table gives up to 65 hours of multi-system, dual-frequency GNSS training, or 60 with Always On. Single-band mode lists 75 hours, or 70 with Always On. The 250-hour maximum belongs to another power-saving configuration. The manual describes Performance, Endurance, Ultra and Tour, plus a custom mode for each sport. By default, Tour has neither wrist nor chest-strap heart-rate tracking. The larger number does not come with an unchanged feature package.
First, identify the data needed that day. On a twisting forest run, track detail and navigation may matter; a multi-day walking approach may have other priorities. Read the pre-start battery estimate together with the selected mode. If the watch suggests a more economical mode, inspect what you lose. Changing recording for a single number without understanding the change in use is a weak basis for planning.
Four details suffice for a personal energy note: starting charge, ending charge, elapsed time and mode. For example, twenty percentage points consumed in a five-hour trial means four percentage points per hour on that occasion. This is an illustrative calculation, not a measured Vertical 2 result. A longer or colder day with more map reading does not guarantee the same consumption. Plan reserves and treat your own trial as an estimate, not an exact expiry time.
 Enlarge image
Everyday-use days cannot be added to running hours
The manufacturer introduction gives twenty days of everyday use with daily heart rate and a raise-to-wake display, without training; it mentions thirty days with daily heart rate off. The US technical table separately lists forty days of standby. We do not merge these into one record: they are examples with different labels. Nor does 65-hour GPS life imply 65 hours of training plus twenty further full days with every feature unchanged.
When preparing a weekend, make charging a specific task. Check available charge on Friday and, after actual use on Saturday, the reserves you would start the second day with. A charging location, cable and time window together provide a solution. A power bank in the bag alone does not establish whether the connection is suitable or how much energy a short stop actually transfers to the watch.
For a group trail day, decide beforehand whose device holds the backup route too. If everyone consults the same dying phone, several watches do not yet supply several independent plans. Your device’s energy reserve and the group’s navigation reserve are related but separate questions. Clarify them once before leaving rather than have four people examine the same map together during the last few percentage points.
Open the map while still at home
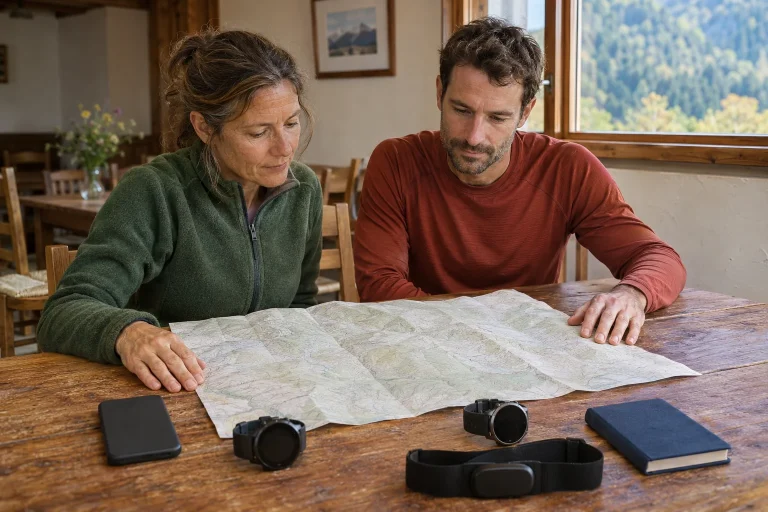
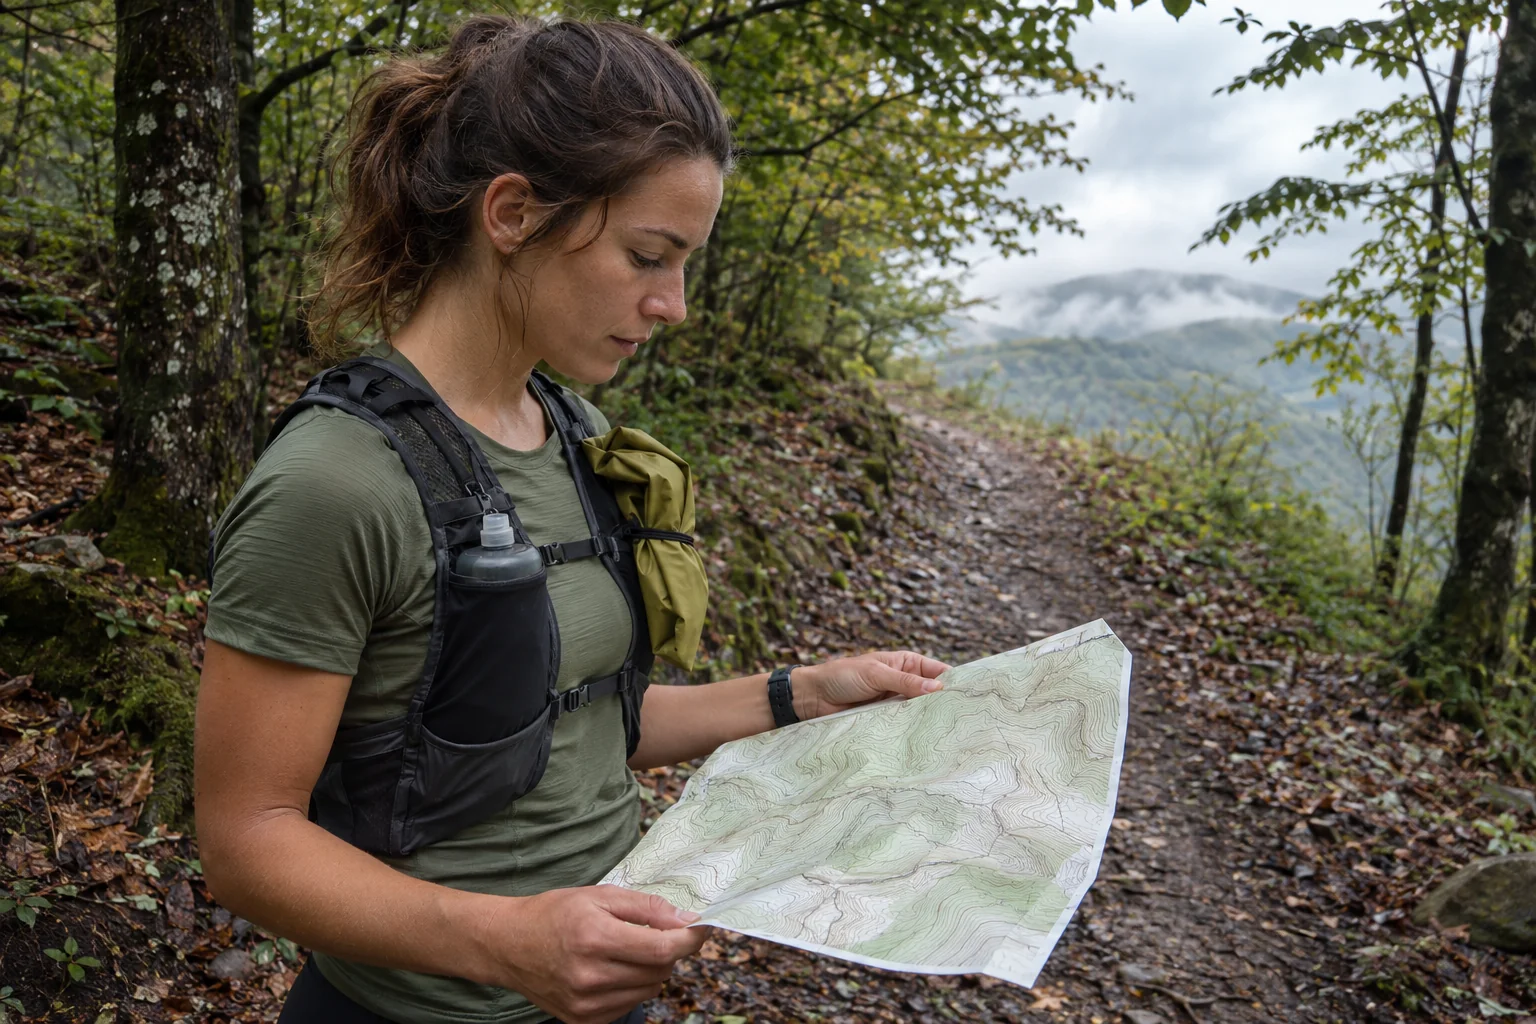
The Vertical 2 offline mapping section requires setting up a wireless network in the Suunto app and downloading the chosen area to the watch. You receive notification when complete. Setting Map to Off shows only the route trace; separately check that the actual map background appears. Physical buttons can zoom too: a short and long press of the upper button perform different zoom operations in map view.
Choose a wider region than the start area alone. Consider possible return routes, the hut and exit points. The download boundary becomes important when you deviate from the planned loop. A good home test checks more than the file name: find several distinctive points and view them at a scale you would use on the trail. This checks layout and coverage together.
The route to follow and the map are separate content. A background may show several possible paths without telling you which that day’s race uses. Check the current organiser route or your own fresh plan separately. A similarly named loop from the previous weekend can easily remain in the list. A clear name, known starting point and several checked intermediate locations reduce confusion far more effectively than another general ‘trail’ folder.
Route, recording and the decision to turn back
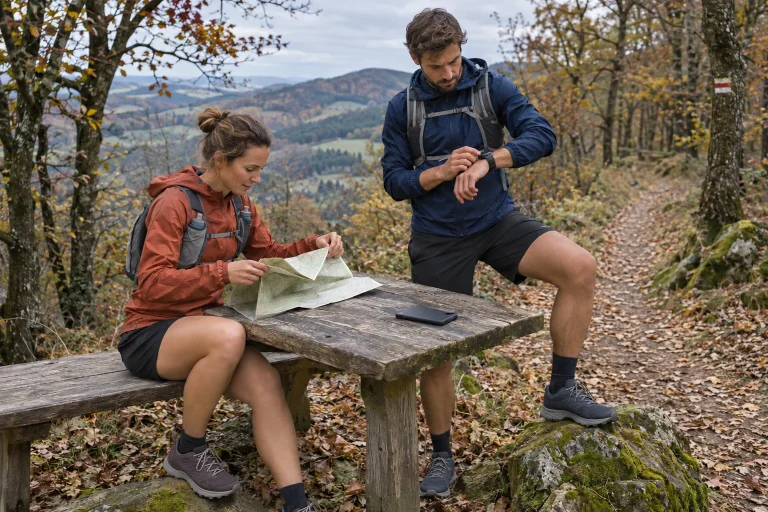
The Routes section offers Start exercise and Navigate only separately. The latter navigates but does not save a workout to the Suunto app. Choose the appropriate start if you also want to analyse the day. Syncing the planned route, displaying the map background and starting recording are three separate checks; seeing a route on screen does not prove the entire day will enter the log.
Do not base turning back exclusively on watch battery life. There may be enough charge while daylight, warm clothing or your personal time allowance is running short. Choose decision points beforehand: from here, the original loop; from there, the shortened return. Associate points with accessible, known exits. A seemingly faster map connection may not be passable, and straight-line proximity is not a complete route plan.
For an illustrative plan, a fifteen-kilometre loop might have its last convenient shortcut around kilometre six. Being substantially behind schedule there would call for different consideration from being one kilometre past the start. These are imagined distances, not recommended general thresholds. The watch’s position and distance data help locate you relative to the plan; make personal and group decision rules understandable beforehand yourself.
LED light: nearby illumination and separate communication
The light section lists red and white light, adjustable brightness and SOS, Breathing and Alert modes. Access the Flashlight screen through the Control panel. This is a physical light function, rather than simply AMOLED backlighting. SOS, however, names a light-signalling mode; it does not imply automatic emergency calling, satellite messaging or notification of rescue services. Lighting a nearby object and communicating a request for help are separate tasks.
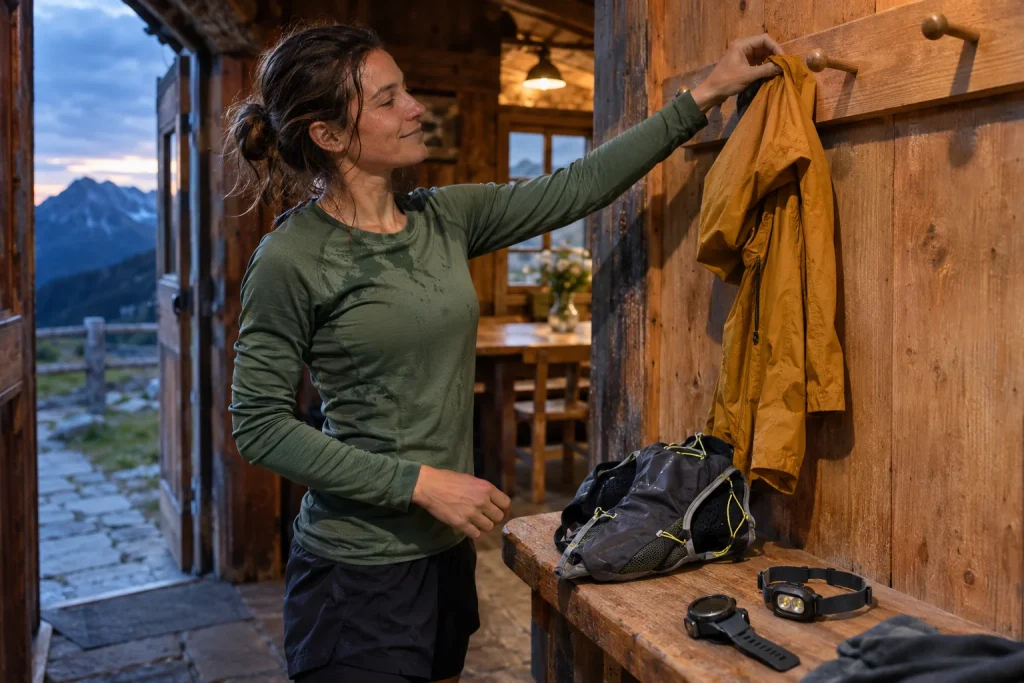
Try the wrist light in situations where you would actually use it: tying shoes, searching a backpack pocket or at the hut door. Arm swing and clothing cover also matter for seeing the ground while running. If returning in darkness, check your separate running light and its reserves too. We claim no independent brightness or illumination-distance test for the watch; having a light does not replace a trial suited to your route.
Agree signals beforehand in a group. What does stopping mean, whom do you wait for at a junction and whom do you tell if someone heads back early? Having several flashing options does not solve these questions. Build the shared plan from understandable human rules; the watch light can supplement them. Keep the headlamp somewhere you can reach in darkness without unpacking the whole bag.
 Enlarge image
Sunset and pressure alerts: how should you read them?
The alerts guide describes location-dependent sunrise and sunset alerts requiring a GPS position. The storm alert sounds for a barometric pressure drop of at least 4 hPa within three hours. This is an alert tied to a specified sensor condition, not a complete weather forecast. No alert does not establish favourable weather over your entire route, and an alert alone does not identify the correct return route.
Make your own schedule for using the sunset alert. If you allow two hours for a harder trail section, for example, requesting a warning only at sunset is insufficient. Alert timing needs to connect to your return plan. Sunset information on a screen and the light actually experienced in a forest are not identical decision contexts: valleys, foliage and clouds can create different conditions.
Before setting off, check the area’s current forecast and any route restrictions, then observe changes on the trail. A watch alert can add another information channel. If conditions make you shorten the route, note the reason afterwards. An apparently incomplete loop then becomes an understandable decision rather than an unexplained deviation. Outdoor equipment supports running well when used alongside real observations.
The updated map and the end-of-day routine
The latest entry in the current release notes is 2.56.30, whose rollout began on 12 November 2026, with general stability improvements. July’s 2.56.18 described map labels, layer handling and increasing stored routes to 200; April’s 2.53.42 brought track-back and navigation developments. Phased rollout means you should check your own watch version too. An old launch review and today’s software do not necessarily show the same things.
Update during a calm time window and follow it with a short test. Check your favourite sport mode, route list, map view and sensors used. Successful installation does not prove you remember every personal setting. Useful confidence at departure comes from having tested the few operations you actually use, rather than simply reaching the version number in the menu.
After returning, separate saving, organising equipment and charging. Check that the recording exists, put away the backup route for next time and ensure a clean, dry connection according to your manual. The Vertical 2’s long battery life, map and light have value when they fit an understood trail-day process. This guide uses manufacturer documentation, not our own product test; at the end of a well-organised day, both the run and your decisions can be reviewed.
Sources
- Vertical 2 All Black technical specifications
- Manufacturer product introduction
- Vertical 2 and Race 2
- LED light
- Offline maps
- Route guidance
- Battery modes
- Sunrise, sunset and storm alerts
- Software updates
How Futószív articles are prepared: our editorial guidelines.