Finding a new running route is easy today: a few points create a line on a map, and another runner’s track can be downloaded. The harder part is deciding whether that line is actually usable today, for your programme and under local rules. This requires understanding the different roles of maps, a walk-through and current local information.
A route plan is not one piece of data. It includes approach, distance, terrain, access, time window and return options. Some parts may be verified while others remain unknown. The following method helps name gaps and take on only as many new elements as you can manage clearly in the situation. It does not replace navigation training for remote or complex routes.
Begin with one question: what do you want from the new route?
The aim may be a nearby alternative, exploring a park, new terrain or a short outing while travelling. Each gives different selection criteria. If you want a programme fitting half an hour on a weekday, distant attractions matter less than access. If exploring new surroundings, allow more time for familiarisation.
Write no more than three genuine conditions. For example: easily reached, possible to shorten and learnable in daylight. Narrow options using them. Without conditions, it is easy to draw an impressive loop whose organisation is a much larger task than you originally wanted.
Include your own experience among the conditions. A technical trail, many junctions or unfamiliar elevation change is a task in its own right. If you have little practice with these, do not treat them as minor additions to the mapped distance. The whole route determines programme complexity.
The map first provides an overview
Look at start, finish and connections to surrounding streets or marked paths. At a wider scale, you may see that the drawn loop depends on one passage, bridge or gate. If that point is unusable, the entire shape may change. Recognise such dependencies in initial planning.
Then zoom into decision points. Where do you change path type, turn or encounter junctions and transport links? Look beyond the middle of the line. Approach and getting home are equally part of your programme. An awkward first kilometre leading to a comfortable park loop may justify another route.
The Hungarian Hiking Association’s trail-marking leader training syllabus separately covers mapped relief, matching landmarks and GPS use. This illustrates that following a trace is only part of navigation. A line on the screen needs interpretation of the surroundings alongside it.
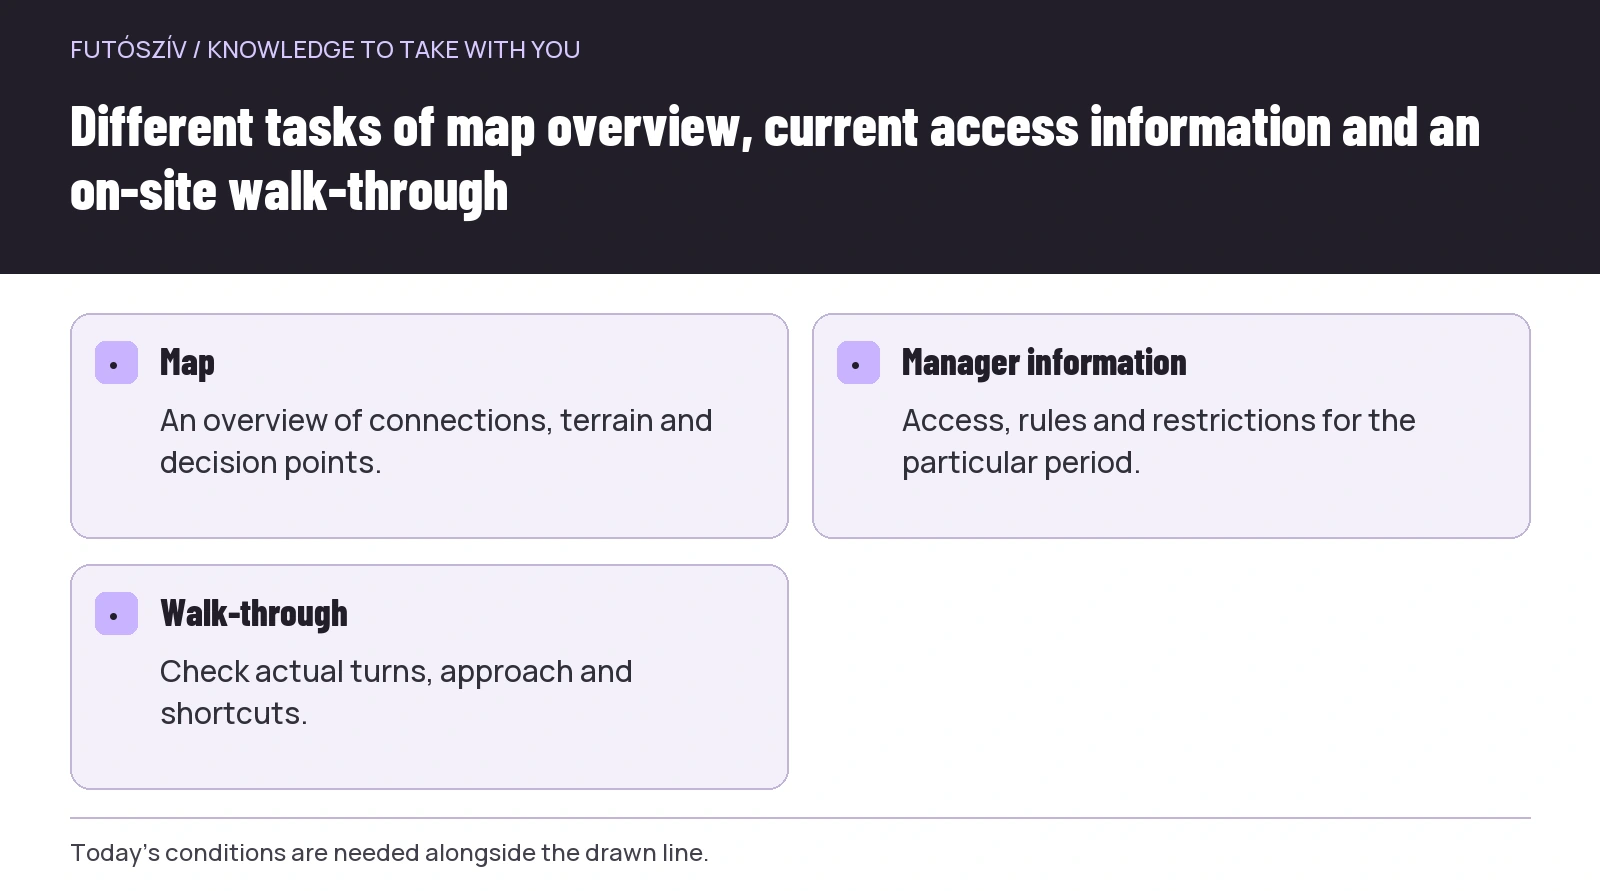 Enlarge diagram
Text version of the diagram
- Map
- An overview of connections, terrain and decision points.
- Manager information
- Access, rules and restrictions for the particular period.
- Walk-through
- Check actual turns, approach and shortcuts.
List the tasks alongside distance
Routes with the same kilometre total can differ greatly. Surface changes, climbs, steps, narrow sections, crossings and many direction changes can alter the programme. Note these separately when choosing. One map-summary number does not replace learning the route’s details.
If the planner gives elevation data, look at where climbs and descents occur. Total gain is not all that matters: one longer climb and many small undulations can create different experiences. The data’s source and accuracy may impose limitations too. An on-site walk-through adds information.
For urban routes, count interruptions too. A short section with many junctions needs different attention from a continuous park path. Neither type is automatically unsuitable; match it to today’s aim. If seeking a calm outing with little navigation, retain that condition while drawing the line.
Check access using the appropriate source
A road or path appearing on a map is not automatic confirmation of use today. Parks, sports areas, private sections or protected land may have their own conditions. Identify the manager or operator and where current information is issued. Local signs and fresh announcements may matter more than a community track recorded years ago.
The Duna–Ipoly National Park Directorate’s visitor information , for example, covers designated hiking paths and protecting the environment. In your own planning, a shorter drawn line does not justify creating a new path or circumventing designated arrangements. Resolve access early in planning.
Forest routes may have temporary restrictions too. SEFAG’s forest-visit information explains local restrictions and hiking warning channels. Do not treat the specific period in that article as valid for every later day. For your own departure, find the announcement for the relevant area and date.
Make a certainty table
| Detail | What do you know? | What is still missing? |
|---|---|---|
| Approach | A pedestrian connection appears on the map | Recognising the entrance on site |
| Access | You found the operator | Current arrangements for the particular day |
| Route | A description and a clear line exist | Inspecting an uncertain junction |
| Shortcut | A familiar way back can be planned | Actual passability of the link |
| Facility | There is a map marker | Checking operation today |
The table is an illustrative example. Every route does not need a formal sheet, but the questions are useful mentally too. Naming “unknown” helps decide what still needs time. A missing part does not become certain because the rest of the loop looks appealing.
If too many important details remain unclear, simplify. Choose a shorter section, familiar starting point or route you walk through first. Planning’s value is not preserving the first idea in every circumstance. An appropriate modification is an outcome too.
Give the walk-through a specific task
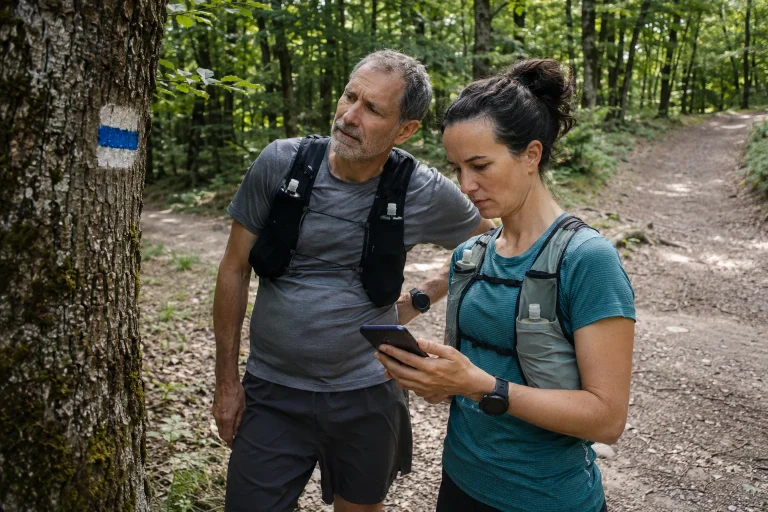
On an urban or nearby route, inspect the entrance, important turns and return journey while walking. You do not need photographs every metre. A few recognisable points and checking uncertain links can help substantially. The finished note should answer where decisions will be needed.
Note options for leaving the route. If time becomes shorter or the place differs from expectations, how can you return along a known way? A shortcut looking simple on the map may be a locked gate or uncertain passage. Walking through makes precisely these differences visible.
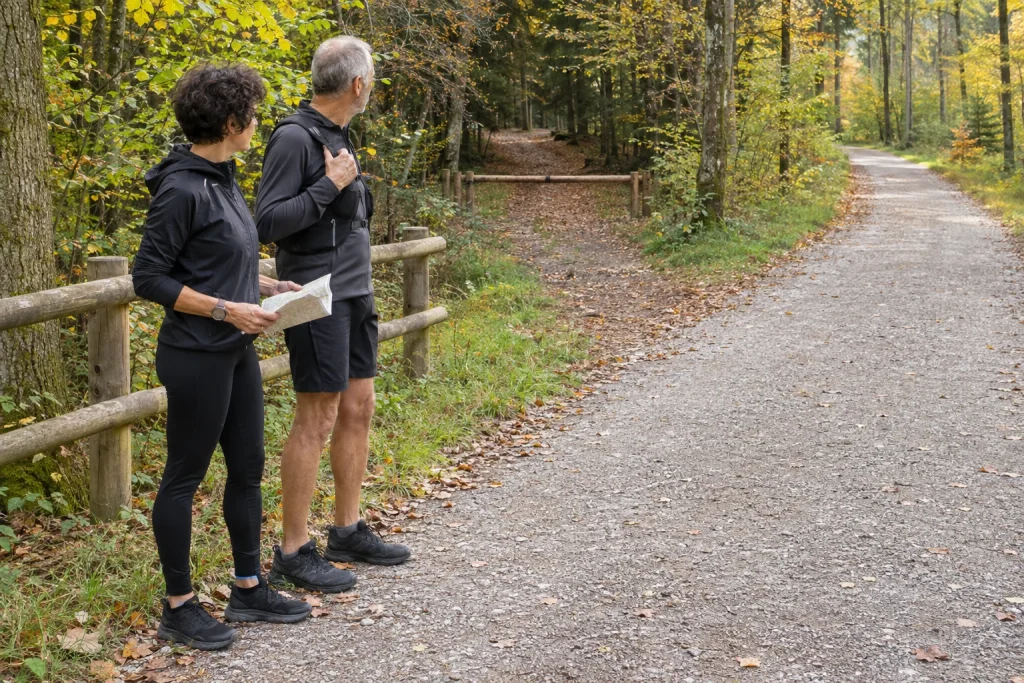
On trails, familiarisation may be more complex. Choose a format suited to your skills and circumstances, with appropriate company or guidance if needed. A route plan for an easy run does not replace gaining navigation skills. If a location requires knowledge you do not yet have, change the route choice.
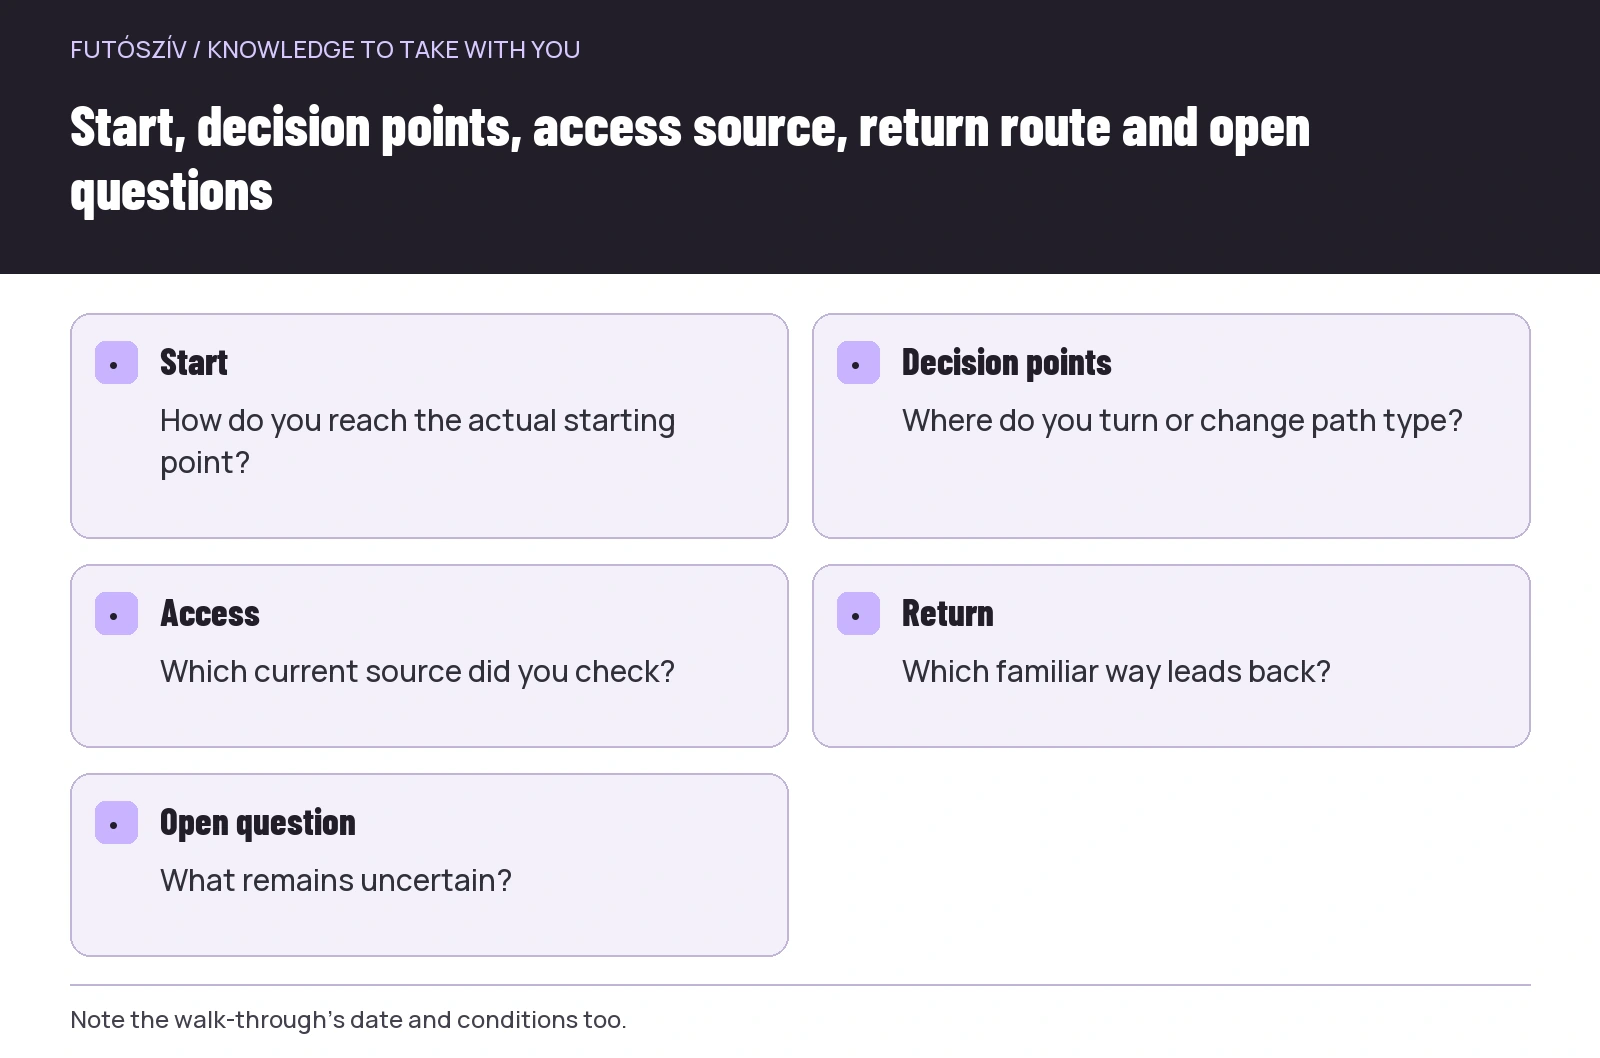 Enlarge diagram
Text version of the diagram
- Start
- How do you reach the actual starting point?
- Decision points
- Where do you turn or change path type?
- Access
- Which current source did you check?
- Return
- Which familiar way leads back?
- Open question
- What remains uncertain?
Use clarifying questions with local recommendations
If someone says “this is a good running loop”, ask when they last visited and how they used it. A route called short, easy or straightforward reflects personal experience. Your starting point and purpose may differ. Specific details say more than general enthusiasm.
Ask about access, time of day, important junctions and shortening. If the person does not know one, treat it as an open question. Honest uncertainty is useful information. Every recommendation need not be regarded as a complete route description.
Check the date of an online comment or uploaded picture too. An old photograph may show the landscape’s character without proving today’s gate opening or surface condition. High popularity likewise does not guarantee every detail suits your programme. A local recommendation offers an idea; checks remain necessary.
Saving a track and understanding a route are separate tasks
If using a digital line, check before leaving that the correct version is actually on the device. Short and long variants with the same name, an earlier event route or a different starting point can easily be confused. Check the mapped route itself rather than only the filename. Learn your device’s operation beforehand.
Know which background map is available under the intended conditions. Interpreting surrounding paths can help when following a line, particularly if a change is needed. A displayed trace alone does not explain why you turn somewhere or which connection leads back. Describe main decision points in your own words too.
Stop somewhere appropriate to check on the way. If a discrepancy or uncertainty appears, clarify it before continuing randomly near the line. At a closure, the planner’s original suggestion does not justify going through. An adjustment suited to current surroundings and a familiar return can take priority.
Make the first run an occasion to learn the route too
Allow time for navigation and unexpected stops. At a new location, do not tie every minute to a tight pace task while still looking for turns. Choose today’s programme to accommodate learning the surroundings. If you have a fixed training task, coordinate its route separately with your own plan.
Do not extend simply because the first part is easy to follow. The unknown section may introduce new conditions. Completing the chosen short version can provide enough experience for the next decision. Build your route library gradually; one outing does not need to teach the whole area.
At home, note corrections: another entrance was suitable, a turn less clear, the shortcut unusable or the whole outing longer than expected. These become your own route description. The next outing can rely on information gained at the location.
Five lines for your own route card
Start and approach. Main decision points. The current access source. A familiar return option. What still needs checking. These five lines can be enough for many everyday routes when backed by real checks. A remote, complex programme may naturally need more detailed preparation.
Include the walk-through’s date and circumstances on the card too. Later, this shows what the experience refers to. A summer daylight visit is not the same as understanding winter evening use. Route knowledge is valuable but comes from a particular situation.
By the end of choosing a new route, you have more than a mapped line. You have a manageable programme in which you know what is certain, where information comes from and where to ask more or simplify. That distinction turns exploration into considered personal experience useful again later.
How Futószív articles are prepared: our editorial guidelines.