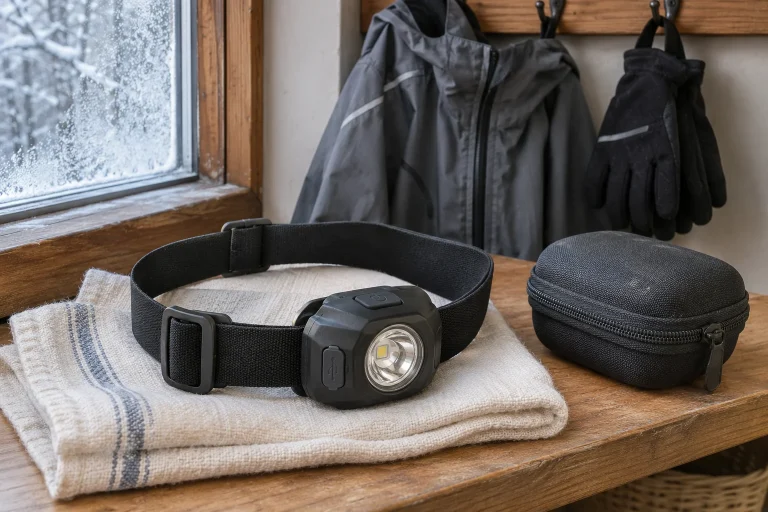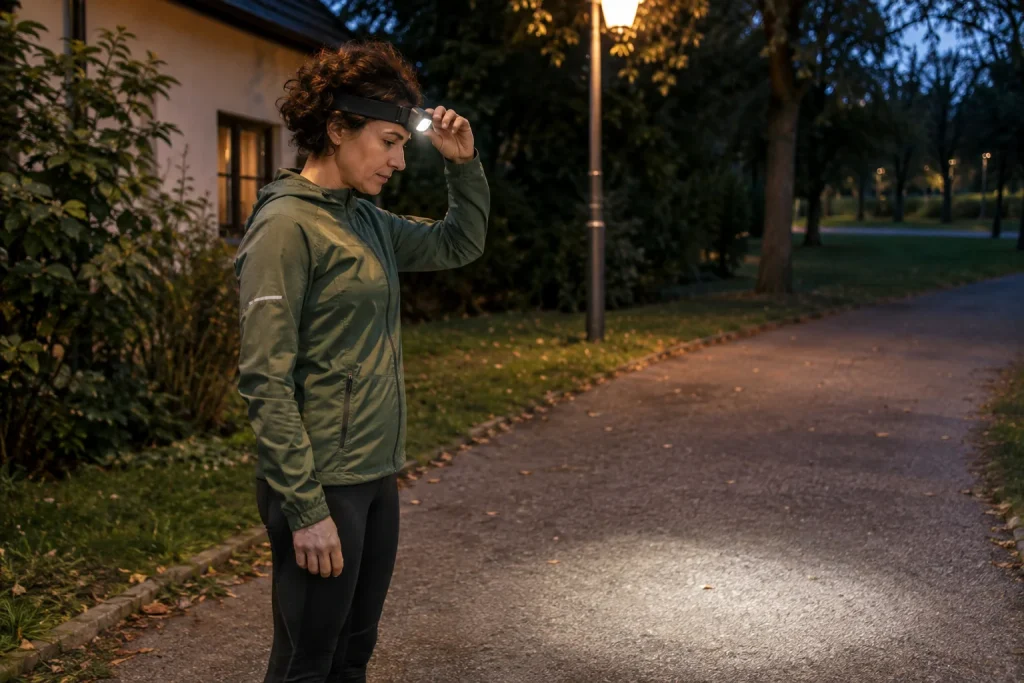
Switching on a new running light is easy; using it well takes some familiarisation. The strongest mode may be impressive in the living room, yet on your first outdoor run a narrow spot, bouncing strap or awkward switch may become distracting. A light is not simply a source of illumination, but a moving system on your head or another carrying position. The task is to keep the ground readable on your chosen route, wear it comfortably and understand how it operates. Break the initial setup into short, safe trials rather than leaving it to a long night session straight away.
First decide what needs illuminating
A different beam pattern may feel comfortable on a smooth, partly lit urban loop than on a winding forest trail in complete darkness. Nearby ground and the route farther ahead can both matter. The Petzl technical explanation of beam patterns treats the roles of wider and more focused illumination separately. Examine your own light’s design, not just its light output. A powerful beam that feels uncomfortably narrow to you does not necessarily make terrain easier to interpret than appropriately distributed light.
Describe the first intended use: for example, a short, familiar urban run or an evening park trail at an easy pace. An unfamiliar technical route mixes too many questions for a first trial. When learning about the light, the aim is not to maintain your daylight pace at all costs. Adapt movement to visibility and terrain. If illumination is insufficient to interpret the surroundings, slow down, stop or modify the route. Device specifications do not oblige you to keep running in an uncertain situation. What you actually see is the primary feedback.
Look for an operating story alongside the lumen figure
Lumens describe luminous flux, but do not by themselves explain beam distribution or how long the light remains useful to you. Examine the data for individual modes and the measurement conditions. The Petzl explanation of ANSI/PLATO FL1 testing also shows why it matters to understand definitions behind published performance figures. A light still shining at the end of the manufacturer’s stated runtime does not necessarily provide the same light as at departure.
In your planning, allow for a mode usable on your route. Maximum brightness and longest runtime often do not belong to the same setting. You do not need to calculate every detail, but keep this basic relationship clear. Get to know reserve mode, and do not plan the whole run solely around it “somehow still shining”. A detour, slower section or longer stop changes timing too. Backup and the ability to cut an outing short are practical questions in choosing a light, not merely a contest between numbers on boxes.
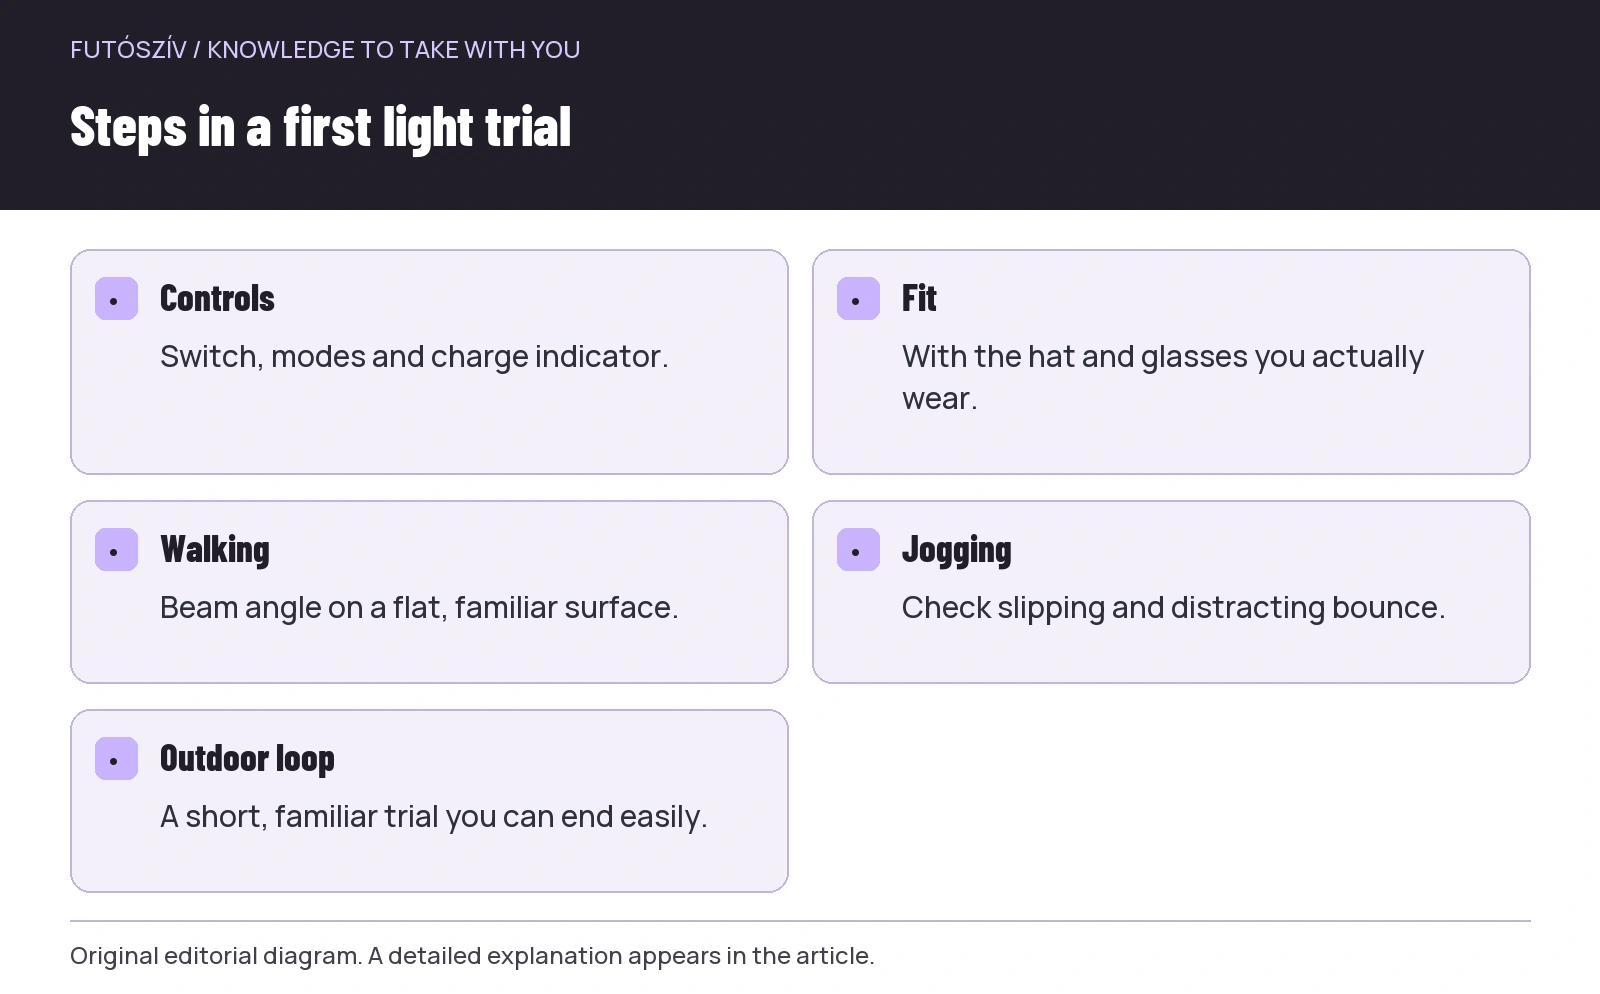 Enlarge diagram
Text version of the diagram
- Controls
- Switch, modes and charge indicator.
- Fit
- With the hat and glasses you actually wear.
- Walking
- Beam angle on a flat, familiar surface.
- Jogging
- Check slipping and distracting bounce.
- Outdoor loop
- A short, familiar trial you can end easily.
First steps at home: components and indicators
Before wearing it, read your model’s quick-start instructions. Identify the switch, charge indicator, lock function, adjusters and charging method. Find out which parts can be adjusted, removed or cleaned, and which must not be touched. If the power source is replaceable, learn the manufacturer-supported type and replacement procedure. A similar connector or size does not always mean compatibility. Do not begin dismantling the device without documentation on your first evening run. A few minutes of familiarisation beforehand frees attention later.
Practise switch actions without shining into anyone’s eyes. Know how to reach your frequently used mode, switch off and check status. Use automatic brightness adjustment or other smart functions according to their own instructions. A name does not mean the device selects the best light for you in every situation. Learn the manual options beforehand too. A good control routine is brief: important actions should not require prolonged guessing between different presses while you also need to attend to your surroundings.
Adjust the headband with your actual outfit
Hairstyle, hat, glasses and hood can make the light sit differently from directly on your head. Put on your intended setup and adjust gradually. The fastening should hold without uncomfortable pressure. If only excessive tightening stops movement, examine position and shape too. Headband width, the device’s weight distribution and the location of adjustment all matter together. Start with a manufacturer-supported way of wearing it, rather than an online trick devised for another device. Check stability during your own movement.
Watch the placement of a rear battery or cable too if your model has one. It should not catch on the jacket or create a distracting point near your neck. Manage surplus strap ends or cable in the supported way. If using it with a helmet or other specialist equipment, check compatibility separately. An arrangement that works on a running hat does not prove suitability in every carrying position. The light’s attachment is part of safe operation; improvised mounting can only be considered if the particular product’s intended use supports it.
Do not finalise beam direction on a stationary wall
A wall shows beam shape easily, but the useful angle while running develops together with your head position and terrain. First adjust it on a safe, flat, familiar surface, then walk and jog gently. Check whether you can see the ground in front of your feet and the next section without forcing your head down. Light directed too far ahead may miss nearby information, while a beam tilted too close can make the next part of the route harder to read. The appropriate angle becomes clear in your own use situation.
At bends, observe where the light goes when your head turns before your feet change direction. You do not need a complex movement analysis, but understanding your system is useful. A narrower beam may require different attention from a wider one. The Silva guide to choosing a running light also emphasises the relationship between surroundings and beam pattern. This is manufacturer information, not a ranking applicable to every model. Evaluate the visible result against your own terrain and comfort.
Movement trial: bouncing, slipping and adjusting
During the first few minutes, notice whether shaking light comes from the mounting or natural movement. If the device slips, stop and adjust according to the manufacturer. Do not start holding the light and pulling the strap together while running over uneven ground. Keep the trial short and easy to reverse. If hat material or a hood pushes it out of place, change the whole setup rather than repeatedly tightening it back. Illumination is usable when its mounting does not require constant manual supervision.
Name the sensation associated with weight on your head precisely too. Forehead pressure, rear buckle, the area around your ear or glasses arm: different locations raise different questions. If one point is persistently uncomfortable, you do not automatically need to treat it as something to “get used to”. Another setting, hat or design may be appropriate. Separate experience of sensor or automatic functions from mechanical wear comfort. A light with an excellent beam pattern may still be uncomfortable for you, while a device with a pleasant strap may provide too little light for your route. Both tasks need to be met.
| First trial | What are you looking for? | A useful next step |
|---|---|---|
| Controls at home | Familiar switching and status indication | Reach the frequent mode in a few confident actions |
| Fit while stationary | A comfortable strap and managed cable | Natural head turns |
| Walking on flat ground | Interpreting nearby and farther ground | Refine the beam angle |
| Easy jogging | Slipping and distracting bounce | Stop to change one setting |
| A familiar outdoor loop | How the whole system works | A precise note for the next use |
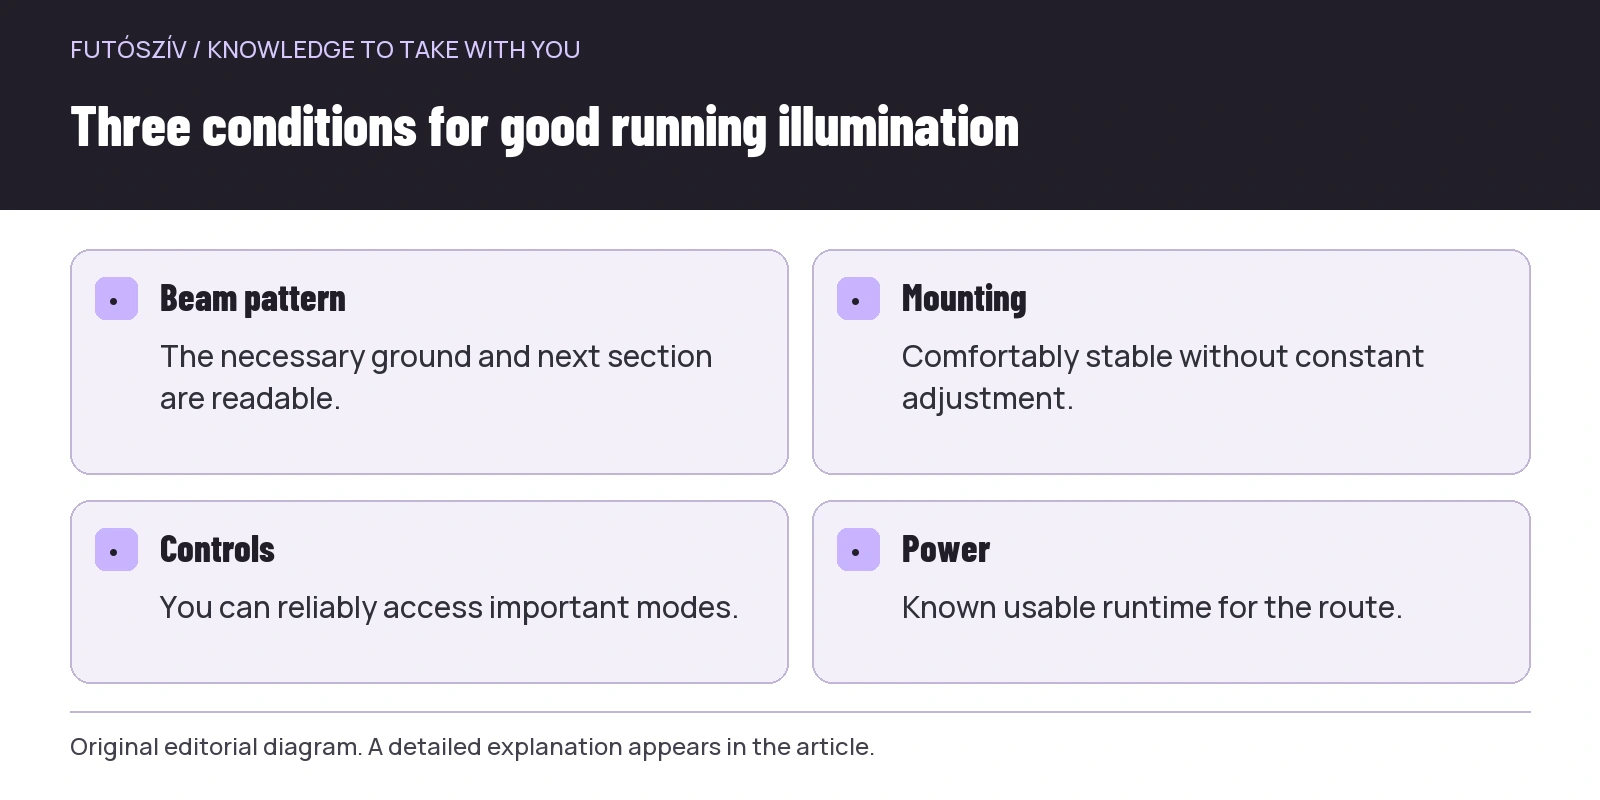 Enlarge diagram
Text version of the diagram
- Beam pattern
- The necessary ground and next section are readable.
- Mounting
- Comfortably stable without constant adjustment.
- Controls
- You can reliably access important modes.
- Power
- Known usable runtime for the route.
Do not make your light the main experience for others
Keep the eye level of people approaching and running companions in mind. When talking, do not turn a strong beam directly into another person’s face. An appropriate angle and a mode sufficient for the surroundings can prevent considerable discomfort. The strongest possible setting is not always best for a social run. In a group, agree on stopping and positioning, and do not assume one runner’s powerful light serves everyone equally. At the back, on bends and at different paces, people may see different things. Starting together does not mean sharing the same lighting conditions.
In urban running, seeing the ground and making yourself noticeable are different tasks. Alongside the headlamp, consider how your setup appears from the front, rear and sides. A vest or jacket hung over it should not cover reflective surfaces. This article focuses on light setup, rather than a complete list of traffic rules. Adapt the route and crossings to the surroundings, and do not expect any light to create a protective bubble. A usable light gives more information for movement, but you still make decisions in the real situation.
Power and backup: address uncertainty in advance
Learn the operating time to expect in the chosen mode according to manufacturer data, and what may affect it. Check the charge indicator before departure. A longer night route or one difficult to cut short may require a working backup and a plan for getting home too. The situation and device determine the specific solution. Every short urban loop does not need expedition kit, but neither is it wise to calculate all time in complete darkness to the nominal maximum without reserve. Detours and slowing down can be part of a real run.
Practise replacing the power source or retrieving a spare light at home if either is in your plan. Know where it is, how it works and the condition in which you store it. Searching among unfamiliar connectors in darkness is a different task from doing so on a table in daylight. Do not count a damaged power source or uncertain closure as a sound backup. Follow your own manufacturer’s charging, storage and replacement instructions. A light does not only require attention while shining. Care and the check before your next departure are part of the same system.
Understand a good setup and be able to reproduce it
After the first few uses, note which clothing, mode and strap setting worked. You do not need millimetre-level documentation, but make the main experience retrievable. A different hat or route may require another check. Clean and inspect the light’s condition, strap and lens according to its instructions, then store it appropriately. A good setup eventually becomes barely noticeable: you see the necessary surface, wearing it does not distract you, and you know the important operations. This comes from testing light, mounting, controls and route together, rather than a single lumen figure.
Sources and further reading
- Petzl: beam patterns and usage tasks
- Petzl: measuring lighting performance under ANSI/PLATO FL1
- Silva: choosing a running light for the surroundings
How Futószív articles are prepared: our editorial guidelines.