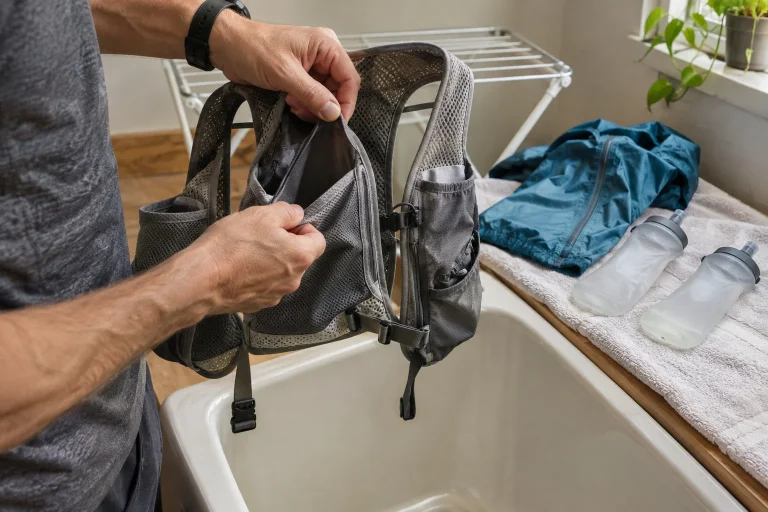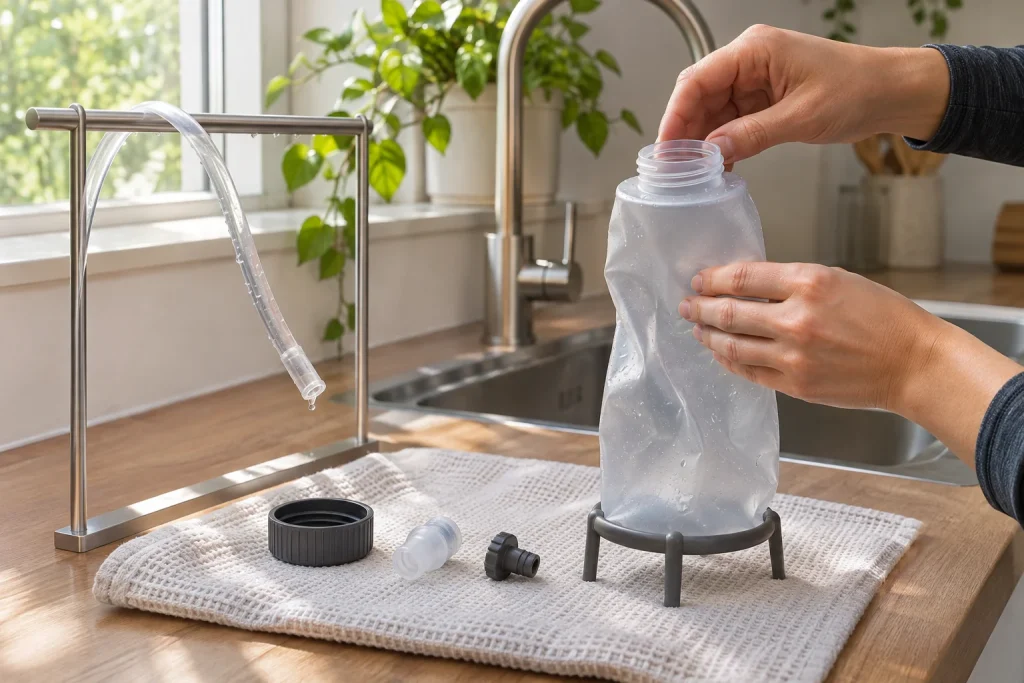
Rinsing a flask after running easily becomes routine. Drying is less visible: the reservoir looks dry outside, the cap goes on, and the tube coils back into the vest. At the next use, droplets or an unpleasant smell reveal that the inside has not reached the same state as the outside. A new cleaning product is not necessarily the answer. First understand where water collects, which component is designed to open and how to check that drying is complete. This guide concerns the stage after cleaning: following the liquid’s path from an open reservoir to a dry system ready to use again.
Not one item, but several components drying separately
Lay the system’s pieces on a clean surface and name them. A soft flask may have a body, cap, drinking spout and removable cover. A hydration bladder may also have a tube, quick connector, top closure and internal stiffener or baffle. Not every part can be dismantled further, and apparently identical components may differ. Your own model’s diagram is worth more than a video about another brand. A photograph taken with everything open the first time can also help with later assembly.
Distinguishing components matters because the slowest-drying part determines when the whole set can be put away. An open bladder wall and the inside of a narrow tube do not receive the same ventilation. A cap-thread groove or valve-housing recess may hide its own droplet. You need not conduct a laboratory examination: the home aim is a clear process in which you inspect every accessible area and do not close a still-wet part away with the others. A dry outer surface alone provides little information.
The boundary between finishing washing and starting drying
Drying begins with clean, thoroughly rinsed equipment. If foam or apparent cleaner residue remains in the rinse water, address it first according to the manufacturer’s instructions. Dirt left to dry does not disappear when it loses moisture. After flavoured drinks, pay particular attention to corners where deposits may remain. This is not a general disinfection recipe: choose cleaner, concentration and contact time solely from the appropriate product’s instructions, and do not experimentally mix household chemicals.
The CamelBak care guide for the complete system treats the tube and valve as part of the process alongside the reservoir, and places complete drying before storage. In practice, treat finishing the washing and putting equipment away as two different states. You need not stand beside it continuously, but provide a place where still-open pieces cannot accidentally return to your running bag. Their location can indicate the system’s state too.
First let free water drain away
Hold the reservoir over the sink and turn it in several directions to release remaining water. A corner below a wide opening empties in a different position from a narrow flask neck. The aim is not vigorous shaking or stretching seams, but letting gravity help. If soft walls touch inside, gently separate them where the construction permits. Do not force a hard object into a thin-walled reservoir simply to prop it open.
Draining droplets does not replace further ventilation. A thin wet film or hidden drop can remain after the larger quantity runs out. Two questions help explain this: could the water flow out, and can air reach the still-wet surface? The first concerns positioning and the opening’s location; the second concerns separating walls and waiting before storage. For a narrow-necked flask, the second is especially important because only a small part of the interior is visible from outside.
 Enlarge diagram
Text version of the illustration
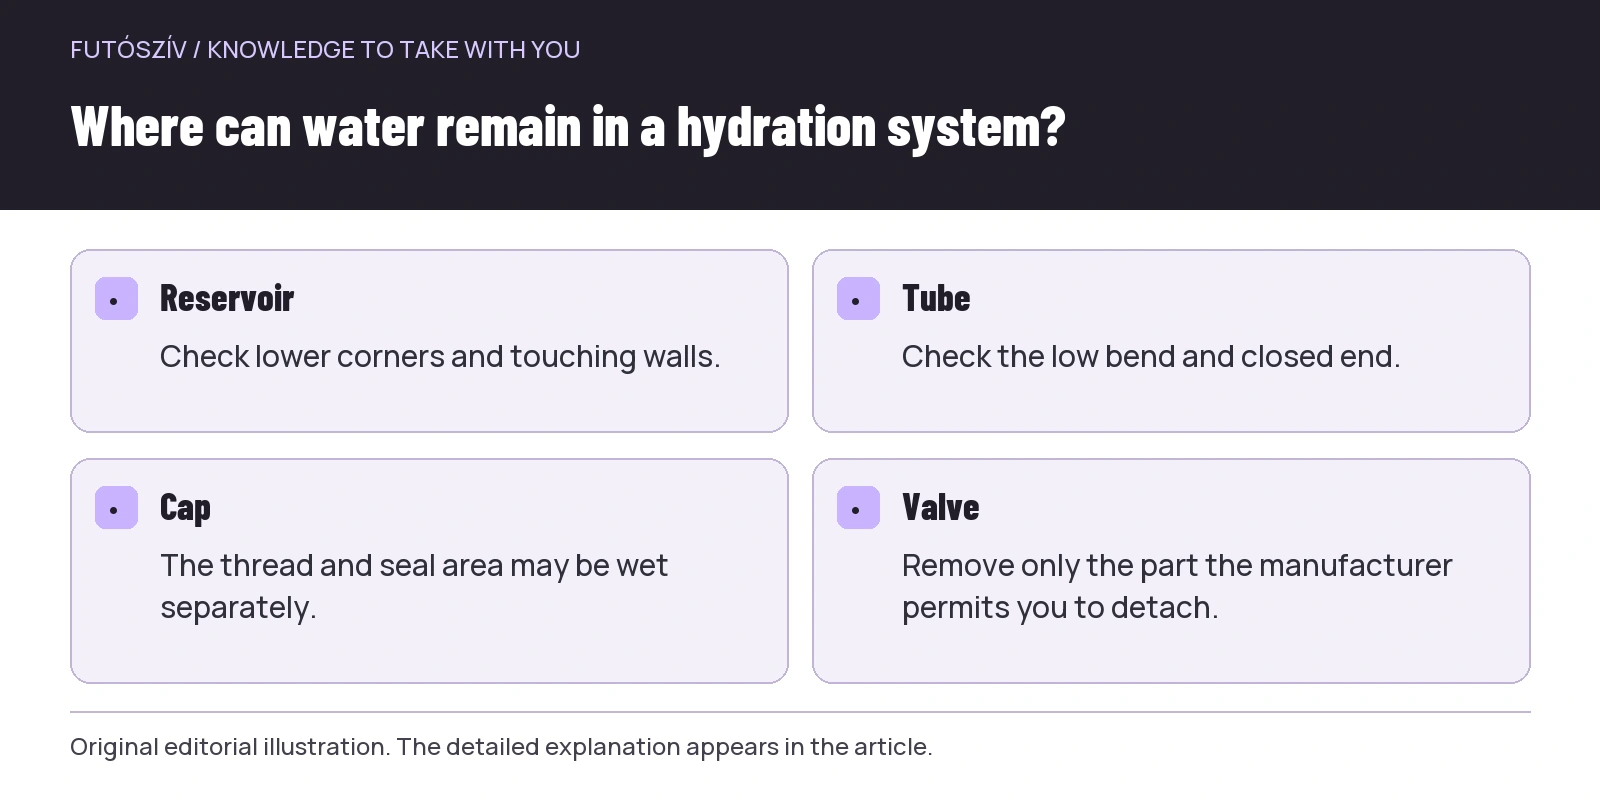
- Reservoir
- Check lower corners and touching walls.
- Tube
- Check the low bend and closed end.
- Cap
- The thread and seal area may be wet separately.
- Valve
- Remove only the part the manufacturer permits you to detach.
Turning inside out is model-specific
The HydraPak reservoir care guide describes turning several of its models inside out, but discusses internal dividers separately for different constructions. This illustrates why prescribing the same movement for every soft flask or bladder is wrong. Turning a wide-opening reservoir designed for it inside out can improve access to internal surfaces; forcing the same action through another product’s narrow neck would be inappropriate. First identify the permitted handling for your own item.
If the manufacturer allows turning inside out, follow the direction and sequence shown. Do not tear apart an internal baffle attachment because another version releases there. If the reservoir cannot be inverted, find a suitable dryer or manufacturer-recommended open position. An appropriate accessory does not jam, scratch or continuously strain the opening. Protecting material and providing access determine the value of a home solution here, not how dramatically it spreads the reservoir apart.
Trace the water’s path through the tube too
Remaining water can become clearly visible at the lowest point of a tube that hangs down and curves back up. Leaving the reservoir open does not solve this; the tube needs its own arrangement. Detach a removable tube at the appropriate connector and open its ends according to manufacturer guidance. CamelBak describes hanging the tube with open ends, providing ventilation through its accessible interior. For a fixed or differently designed system, its own instructions remain the guide.
Look along the tube from the side. Is there a deep U-shaped section, tight coil, pinch or end still closed by a valve? If so, rearrange it so water has a route out. The tube is not an accessory sitting beside the reservoir: it is a separate drying task. Do not hang it with its end touching a dirty part of the sink, or blow through it with an arbitrary workshop compressor. A clean accessory approved for the product and an open air path are more predictable than a forcefully accelerated method.
Valve, cover and connector
The bite valve’s slit can seem too small to need separate attention, yet moisture may remain where the internal passage meets the cover. Remove only parts designed to detach and remember their position. Do not stretch silicone to hold it more widely open, widen the slit with a toothpick or pierce it with a needle. Follow any specific cleaning or drying method in your own instructions. Small damage to a valve may later appear as a leak.
Around the quick connector, observe where the tube ends and what remains on the reservoir. Detaching it does not automatically open every passage: some constructions contain a shut-off component. Do not pry these open by hand for ventilation. Clean accessible outer recesses as directed and leave them to dry; consult manufacturer guidance for the internal mechanism. The aim is preserving a working component. A sticking, leaking or apparently damaged connector is a separate fault-handling question.
| Part | Typical checking location | Positioning question |
|---|---|---|
| Reservoir | Corner, meeting of internal walls | Can water escape, and are the walls separated? |
| Tube | Low bend, end | Is there an open drainage and ventilation path? |
| Cap | Thread and seal area | Is it separate, or closing the opening again? |
| Valve | Removable cover, accessible passage | Have you dismantled it only in the permitted way? |
A drying area in a small home
Choose somewhere pieces stay clean, are not pressed together and can drip without causing trouble. A separate part of a dish rack or an appropriate manufacturer stand may be convenient. Do not hang a freshly rinsed tube over used running clothes or put an open reservoir above dusty shoes. An orderly work surface is useful in itself: a separate tray for the cap, stable place for the reservoir and an organised line for the tube. You need no large equipment collection, just a clear place protected from other household activities.
Do not speed things up by putting the reservoir on a hot radiator, in an oven or directly beside a strong heat source unless your manufacturer permits it. The Osprey care page emphasises complete drying and open storage for its hydration reservoirs. Air-drying appropriate to the use environment is more transparent than a high-temperature home experiment. The next run being a week away is no good reason to close the equipment while damp: this stage needs completing before storage.
 Enlarge diagram
Text version of the illustration
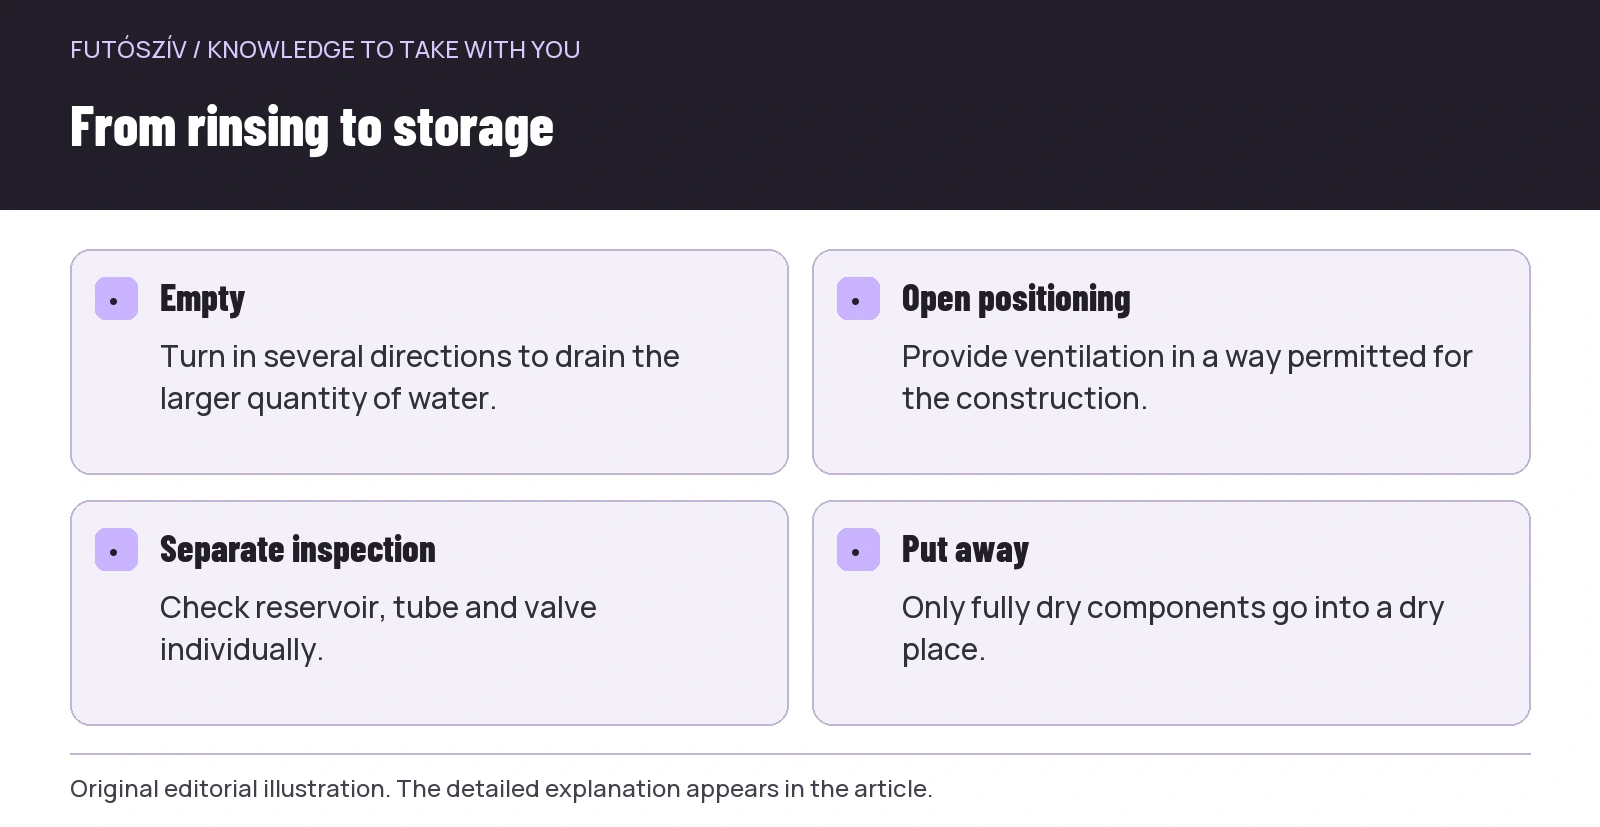
- Empty
- Turn in several directions to drain the larger quantity of water.
- Open positioning
- Provide ventilation in a way permitted for the construction.
- Separate inspection
- Check reservoir, tube and valve individually.
- Put away
- Only fully dry components go into a dry place.
When can you call it dry?
No number of hours applies to every home, material and construction. Opening size, component arrangement and room conditions may differ. Examine the actual state: are droplets, damp sticking surfaces or a misted interior visible? Move accessible parts into another position to reveal water left in a corner. A droplet appearing after straightening the tube shows that work remains there. This is simple observation, not proof that the equipment is sterile or risk-free under every circumstance.
Use sufficient light for the check rather than hurriedly closing everything in front of the cupboard. If you cannot assess an opaque component, rely on the manufacturer’s drying process and prescribed disassembly. Do not consider it done simply because as much time has elapsed as last time. A larger system may hide more places than your previous simple flask. A second checkpoint in your routine before accessories return to place can help.
Check operation after reassembly
Reassemble fully dry components in the documented order. Check that the valve cover is seated, the tube is not twisted at the connector and the cap fits properly. Before the next use, you can check normal operation with clean water as the manufacturer directs, somewhere dripping will not soak your phone or clothing. If you still intend to store the system afterwards, the trial has introduced moisture again: empty and dry it again. It therefore makes sense to time this test as part of pre-use preparation.
Protect soft material from sharp objects and equipment pressing on it during storage. Provide clean, dry storage for open, separately placed pieces, and keep the small valve cover from getting lost. A labelled accessory tray is often more useful than tightly bundling the entire system. Do not mix parts of different types merely because they look alike. Small differences in thread, diameter or closure can matter. Always match a replacement part to the exact product.
Three situations, three fixable routine errors
You rinse a bladder in the evening; by morning the reservoir looks dry, but water sits at the bottom of the coiled tube. The answer is not opening the reservoir further, but arranging and checking the tube separately. In another situation, a flask’s walls stick together, leaving it dry near the neck but damp at the bottom. Ventilation or a dryer permitted for that specific model may help. In the third case, every piece dries properly, then goes into a damp vest pocket. Here, the storage environment reintroduces the problem.
These are editorial examples, not product-test results. Their shared lesson is to think component by component: seek a change suited to the problem’s location and alter one thing at a time so you can see what helped. If an unknown deposit, smell, crack or malfunction persists after cleaning and drying, do not try to hide it with fragrance. Follow the manufacturer’s fault-handling and replacement-part guidance. A good routine ends with more than a flask that looks dry: it ends with a checked, complete system.
Sources and further reading
- HydraPak: How do I clean my reservoir?
- CamelBak: How to Clean, Dry and Store a Hydration Reservoir
- Osprey: Product Care
How Futószív articles are prepared: our editorial guidelines.