Your on-screen runner starts moving while you remain in place on a treadmill. Zwift Run is easy to understand, but connection brings together several roles: something must send speed, a device must run the virtual world, and the real belt’s speed must be managed. The same device need not perform all three tasks. A suitable sensor can bring an older treadmill into the system, while even an expensive Bluetooth model does not automatically do everything.
This article uses primary support information checked on 21 November 2026 to help assemble a sensible configuration you can test. It contains no independent device test. A good first question is: which device will supply running speed to Zwift? Naming it precisely puts you much closer to a working first run than a general shopping list headed “smart treadmill”.
The basic requirement is a speed source
Zwift’s running-pairing guide requires at least one device sending speed. RUN SPEED serves that role; cadence and heart rate are separate supplementary connections. CONTROLLABLE concerns supported control. The app therefore does not infer your virtual runner’s speed from your heart rate. Running-pairing roles.
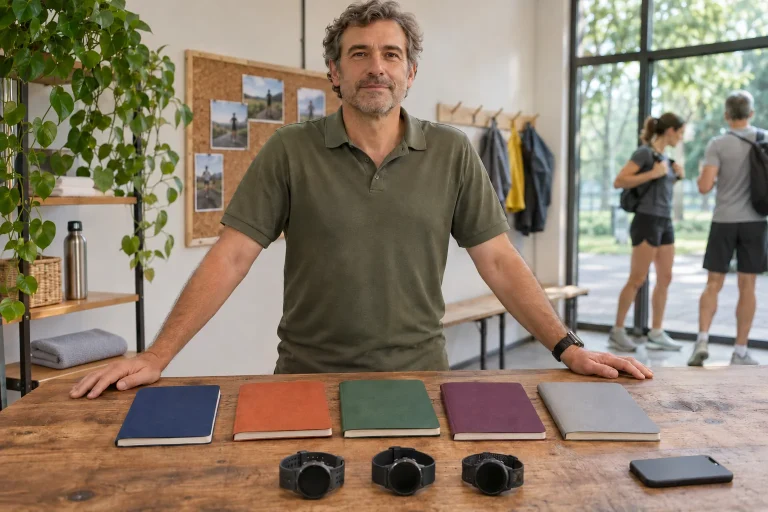
Distinguish three typical setups. In the first, a compatible treadmill sends speed itself. In the second, a shoe-mounted foot sensor supplies data. In the third, a suitable watch forwards running data. A treadmill-mounted optical sensor is another option. Check support for the exact model and production year; a brand appearing in a list does not promise compatibility with every earlier model. Hardware paths listed by Zwift.
Make a two-column list: existing equipment on the left, its role on the right. For example, “treadmill: moving the belt; foot sensor: speed; tablet: Zwift; chest strap: heart rate”. This helps even if one treadmill ultimately performs two tasks. It reveals missing roles and unnecessary duplication.
Old treadmill, new sensor: RunPod and Runn
Zwift RunPod is no longer available new from Zwift because the manufacturer discontinued sales. Its support FAQ says existing units continue to work with the system. It also recommends calibration at first use and after moving to another shoe. With used equipment, check condition and pairing as well as the advertisement’s “Zwift compatible” claim. Current RunPod status.
Runn works differently: an optical sensor attached to the treadmill observes markers passing on the belt and, according to Zwift, supports BLE or ANT+ connectivity. The treadmill need not already transmit data. Follow mounting and calibration instructions precisely; never adjust anything by reaching towards a moving belt. How Runn works and is set up.
The two solutions are sensitive to different questions. With a shoe sensor, changing shoes and placement form part of comparison. For a belt-observing device, attachment and marker position matter. Neither gains automatic motor control merely because the virtual runner follows your speed. Before buying, also ask where the sensor can safely mount on your treadmill.
A watch can also send speed with a suitable profile
Zwift’s Garmin guide provides setup steps for watches supporting Virtual Run. Use the appropriate watch profile and connect the device to Zwift. This is model-dependent; the name of a conventional indoor-running profile alone does not establish live transmission of the required speed. Setting up Virtual Run on a Garmin watch.
Separate the watch’s two roles in practice too: it may save a run independently while Zwift creates its own file. If both automatically reach the same external log, one workout can create two entries. After the first test, decide which supplies daily totals and which file you retain for comparison.
Do not add every available device merely because it appears on the pairing screen. If both watch and treadmill send speed, name the one in use. Later, when distances differ, you will know the origin of the Zwift value. Consistent source selection matters more than displaying as many active connections as possible.
 Enlarge image
Pace and distance: interpreting a discrepancy
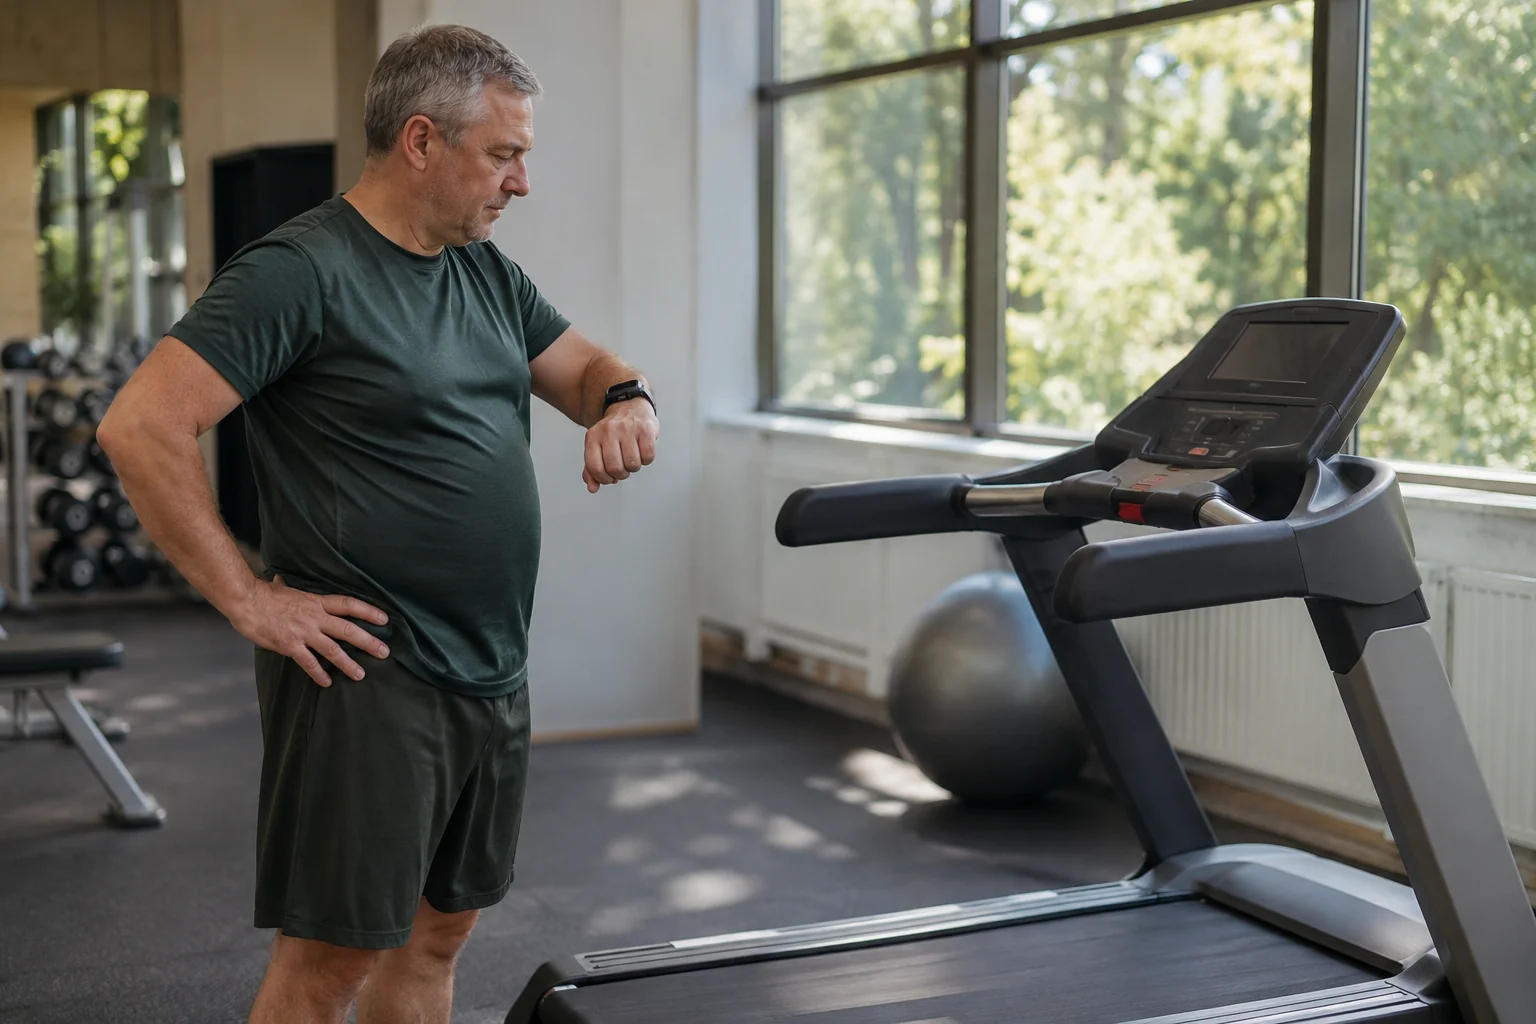
Zwift’s calibration guide recommends calibration before first use and when foot-sensor data seems inaccurate. The process asks you to choose a speed comfortably sustainable for much of the run. This configures the sensor for the usage situation, rather than fully certifying the treadmill’s mechanics. The foot-sensor calibration process.
Our calculation: at 10 km/h, pace is 6 minutes per kilometre because 60 is divided by ten. If one display shows 10 and another 10.5 km/h, the latter is approximately 5:43 min/km. Over thirty minutes, one gives 5 kilometres and the other 5.25. Data-source selection alone can produce this discrepancy without assuming changed endurance.
Observe displays at a steady, familiar speed, then note setting and source. Do not randomly change calibration values while moving. If discrepancies are large or unpredictable, sensor and treadmill manufacturer support can guide the next step. Matching displays alone is not independent measurement evidence: both can have been configured to the same reference.
Bluetooth, ANT+ and the phone as a data bridge
A sensor transmitting only ANT+ requires a compatible receiver; a Bluetooth laptop does not thereby become an ANT+ receiver. Zwift’s pairing guide shows such connections in the All category and separately discusses BLE connection limits. Another app already using a sensor can prevent connection. Connection types and pairing faults.
As a bridge, Companion relays the phone’s BLE connection to a computer or Apple TV; phone and Zwift device must share a network. The current manufacturer guide lists up to three simultaneous BLE devices on Apple TV, including its remote. A conventional direct setup therefore allows two additional devices; for more, investigate bridging. Companion bridge and the Apple TV limit.
Troubleshoot at home from the simplest working setup. Connect only the speed source first. Add heart rate once that works, then another accessory. Failure at the third connection now corresponds to a specific change. At a gym, also select your own equipment among nearby names and avoid occupying a connection someone else needs after use.
Zwift and Companion have different system requirements
The main Zwift app’s support table lists Android 9 or newer, 64-bit Arm64-v8a architecture and at least 3 GB memory among mobile requirements. It specifies iOS 15 for iPhone and tvOS 15 for Apple TV. A listed operating system does not promise smooth operation on every device; graphics performance and free storage matter too. Support explicitly excludes Windows ARM computers. Current Zwift device requirements.
Companion is a separate app: its support lists iOS 16 and at least iPhone 8 or second-generation SE, with a separate minimum 2 GB memory requirement on Android. An older phone can therefore suit one role but not the other. One shared minimum should not be given for both. Separate Companion requirements.
Screen placement is just as practical a decision. Zwift’s running FAQ discourages AirPlay and Chromecast because of game-image delay. With a separate display, think through both the data-receiving and image-showing devices’ paths. Aim for a height and distance that avoid sustained downward looking or adjusting a handheld phone on a moving belt. Manufacturer note on image transmission.
What is free, and what needs paid access?
The current pricing FAQ explicitly calls running in Zwift free. Automatic incline on supported treadmills such as Wahoo KICKR RUN, however, requires paid membership or an active trial. Monthly membership lists a fourteen-day trial; annual membership has a different refund rule. Check regional checkout prices and subsequent billing dates before providing payment details. Different pricing conditions for running and automatic incline.
These are separate decisions. If you simply want to run in the virtual environment, try the free data-transmitting setup first. For automatic incline, supported specific hardware and subscription together form the service. Buying membership does not give motor control to an unsupported treadmill.
Automatic incline and RunFree: keep them separate
Zwift’s incline-control page describes a range from minus three to plus fifteen per cent on KICKR RUN. The function works in free running, not structured workouts. Manual incline adjustment disables automation. Incline changes move the real machine too, so do not dismiss the permission request as a mere pop-up. Detailed automatic-incline conditions.
Wahoo’s guide dated 24 October 2026 says structured Zwift workouts do not control KICKR RUN belt speed and disable incline control in that mode. Manage speed manually or through the treadmill’s own RunFree function. RunFree is therefore independent treadmill operation; it does not establish that Zwift interval target pace automatically controls the motor. Wahoo’s own Zwift-integration guide.
Consider the start of a faster two-minute section. A new target pace may appear while the belt still moves at its previous speed. Actual movement is what the machine really does. Practise operation in an easy situation first; do not rush for the console for a virtual score. Interpret every function within the current workout mode.
 Enlarge image
Room layout is part of the system
Do not squeeze rear treadmill clearance into whatever corridor remains between furniture. For example, KICKR RUN’s separate space guidance asks for approximately two metres directly behind it and specifies additional side, front and vertical clearance. This is a particular model example; your treadmill manual governs your setup. Do not mix US and EU electrical-version requirements either. Manufacturer space requirements and regional versions.
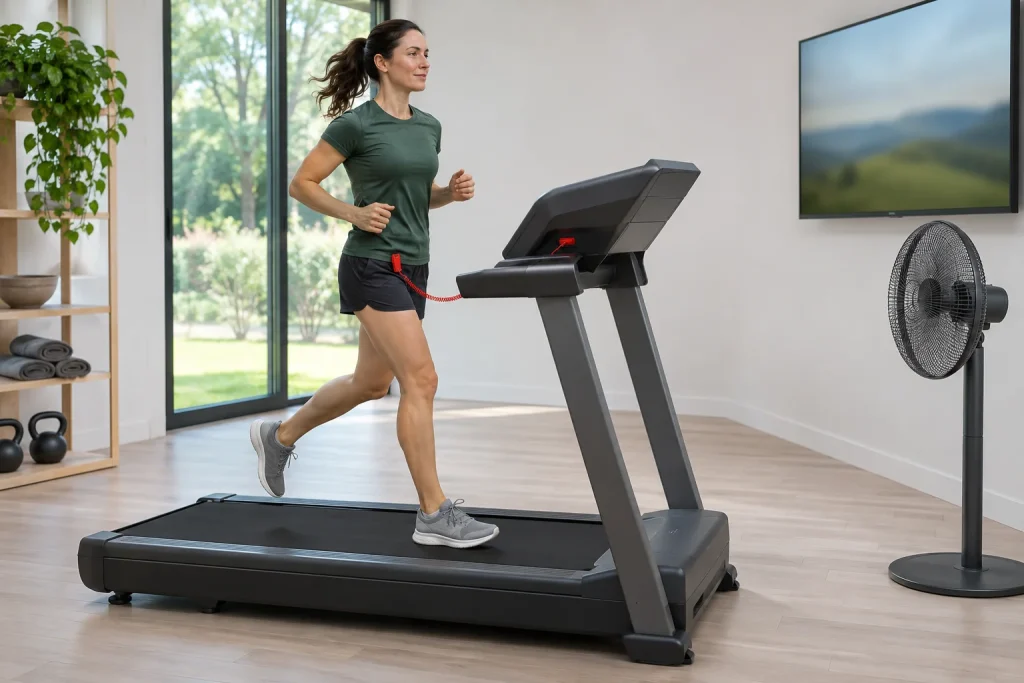
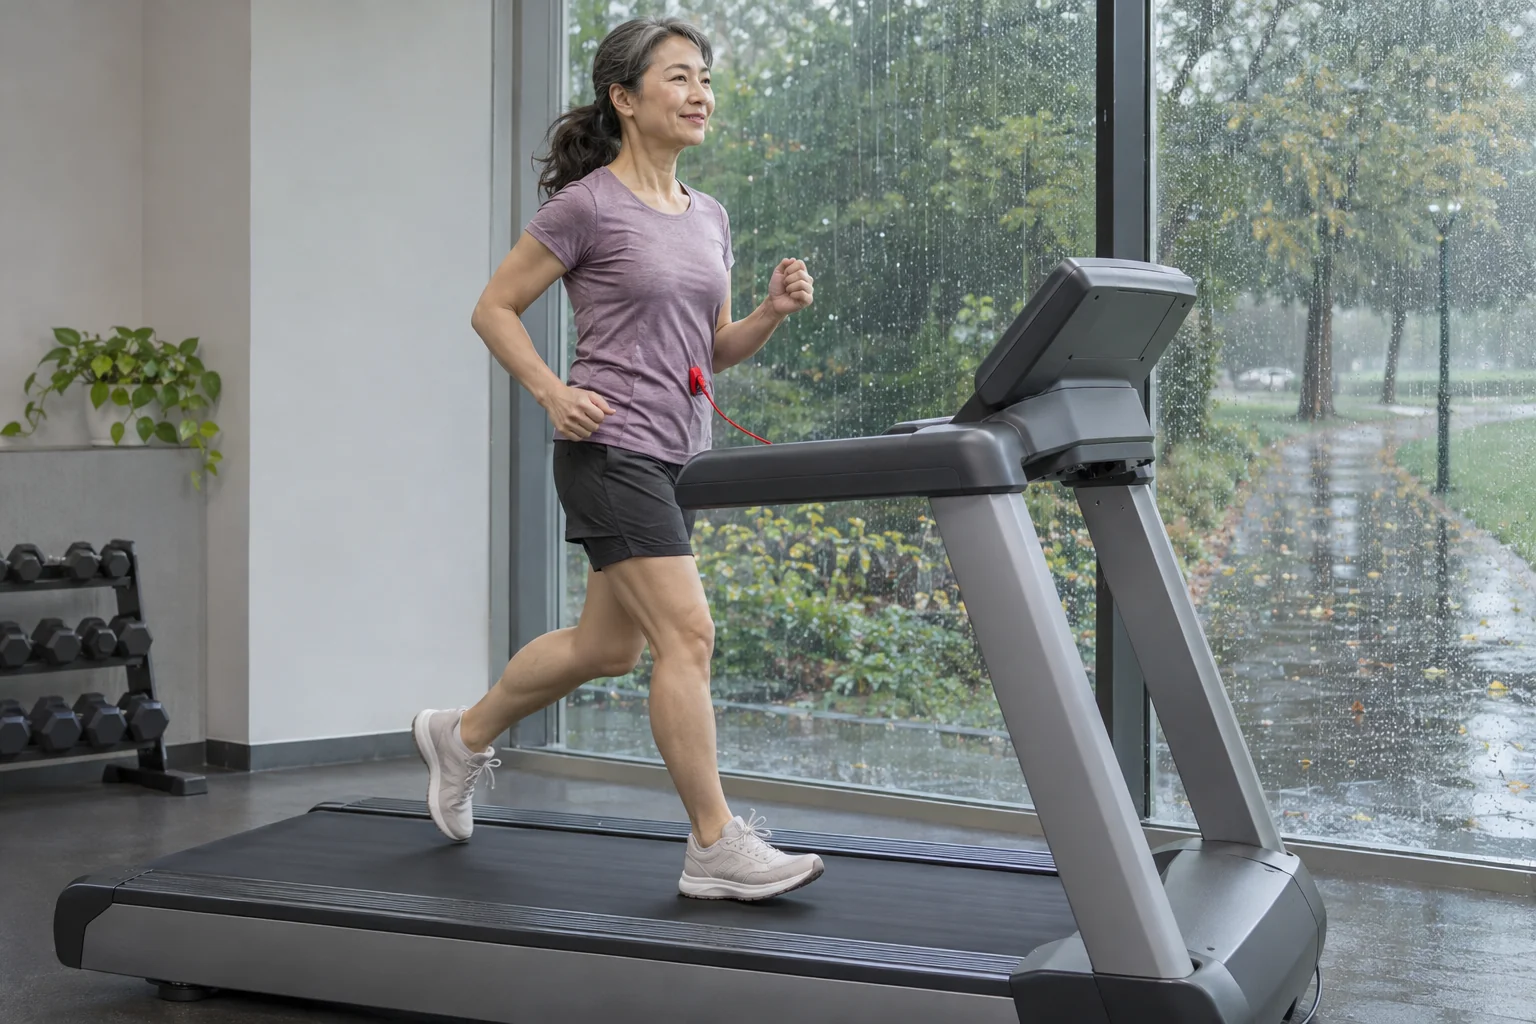
Display holders, fans and charging cables should not reduce the safe area. Use the safety clip according to your treadmill instructions and keep controls accessible. Keep children’s toys, loose towels and pet beds away from the belt area. A connected system’s visuals can capture attention, so arrange the space before starting the app.
Check the file after your first test run too
Zwift’s saving guide provides separate visibility choices: public, followers or private. Support says a network interruption leaves the save stored locally for upload when connectivity returns. Do not immediately repeat the whole workout because it has not appeared everywhere. Check the saved activity’s state first. Saving, visibility and connection interruptions.
After your test, note four things: which device sent speed, how Zwift received it, who controlled the belt and where the file went. With these clear, next time you can focus on running. Add one new element later, such as a heart-rate strap or group event. Development stays traceable, and you know which real task each new function solves.
Sources
- Zwift running hardware
- Connecting running devices
- Pricing and free running
- Zwift RunPod FAQ
- Garmin Virtual Run and Zwift
- Foot-sensor calibration
- Companion as a data bridge
- Zwift system requirements
- Companion system requirements
- Automatic incline in Zwift
- Wahoo: KICKR RUN in Zwift
- Wahoo: space and regional requirements
- Saving a run
- General running FAQ and image transmission
- Runn optical belt sensor
How Futószív articles are prepared: our editorial guidelines.