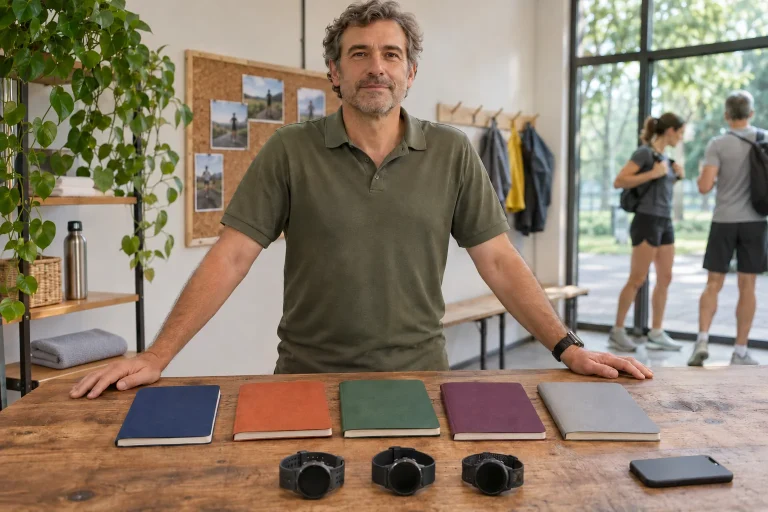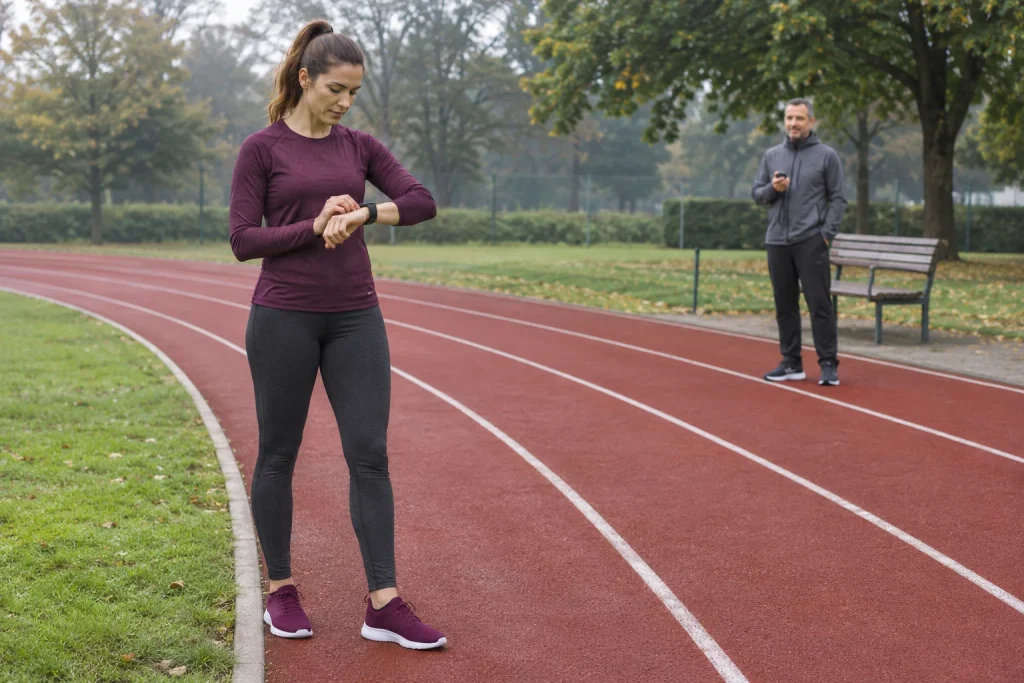
Apple’s Workout app is most useful to a runner when you give it one clear task before setting off. A timed interval workout, a target pace calculated for a whole distance and tracking your result against a previously completed route serve different purposes. The display may show pace and distance in all three cases, yet it answers a different question.
This guide is based on Apple’s information available on 21 November 2026, with our own examples of settings and calculations. The examples are not personalised running programmes. The aim is to understand which feature you are choosing, what you configure and which data are worth evaluating after your run.
1. Workout, Fitness and Fitness+: get the names straight
On your watch, you start recording activity and select its goal in the Workout app. The Fitness app on your phone helps you review your log and, on newer systems, also edit workouts. Apple Fitness+, by contrast, is a separate subscription service offering workout and meditation content. The Fitness+ overview lists separate packages and trial offers; that does not mean you need such a subscription to configure the watch’s own running workouts.
The current SE 3 and Ultra 4 product specifications require an iPhone 11 or later, including the second-generation or later iPhone SE, and iOS 27 or later. These are the requirements on the current product pages. An older watch and operating system may offer different options; a new editor appearing on your phone does not imply identical support on all earlier hardware.
Note your watch model, watchOS version and your phone’s iOS version. If a menu item mentioned in a guide is missing, check these three details first. An app having the same name does not mean that a system from several years ago has the same menus as today’s version. It is much easier to clarify this before a run than to search for the editor you saw on your phone while standing beside the track wearing gloves.
2. Custom intervals: build the sequence first
The Apple Watch guide to custom workouts describes creating one through the sport’s Goals menu, selecting Custom and adding a workout. You can set a warm-up, work and recovery intervals, and a cooldown using time, distance or an open goal. You can also give intervals their own names. Adding a work or recovery interval is necessary to enable the creation button; simply having a warm-up in mind is not the same as a complete custom workout.
First write the sequence on paper or in your own notes, and only then fill in the fields. For example, a demonstration of the controls could use 7 minutes to start, four repetitions of 90 seconds of work and 2 minutes of recovery, and finally 6 minutes to finish. Here, “work” is the app’s interval name, not a requirement to exert yourself maximally. A menu label does not determine the intensity appropriate for you.
The example totals 7 + 4 × (1.5 + 2) + 6 = 27 minutes. If you omit the final two-minute recovery and move straight to the cooldown, it becomes 25 minutes. This small structural difference often explains why the total on your watch differs from your mental calculation. When editing, therefore, decide whether you really want to keep the last recovery interval in the repeating group.
3. Editing on your phone and checking the fields
The Fitness guide for iPhone requires a paired Apple Watch running watchOS 26 or later for custom workouts created on the phone. A saved workout automatically syncs to the watch. The editor also includes repeating blocks, reordering and interval deletion. This makes a longer workout easier to review, but check the version actually available on your watch before setting off.
Check the distance and time fields separately. Four hundred metres and 400 seconds are entirely different tasks; the latter is 6 minutes 40 seconds. Confusing kilometres and miles also makes a substantial difference. A workout called simply “four repetitions” does not reveal the selected unit. Give it a name you immediately understand, such as “timed intervals – Tuesday”.
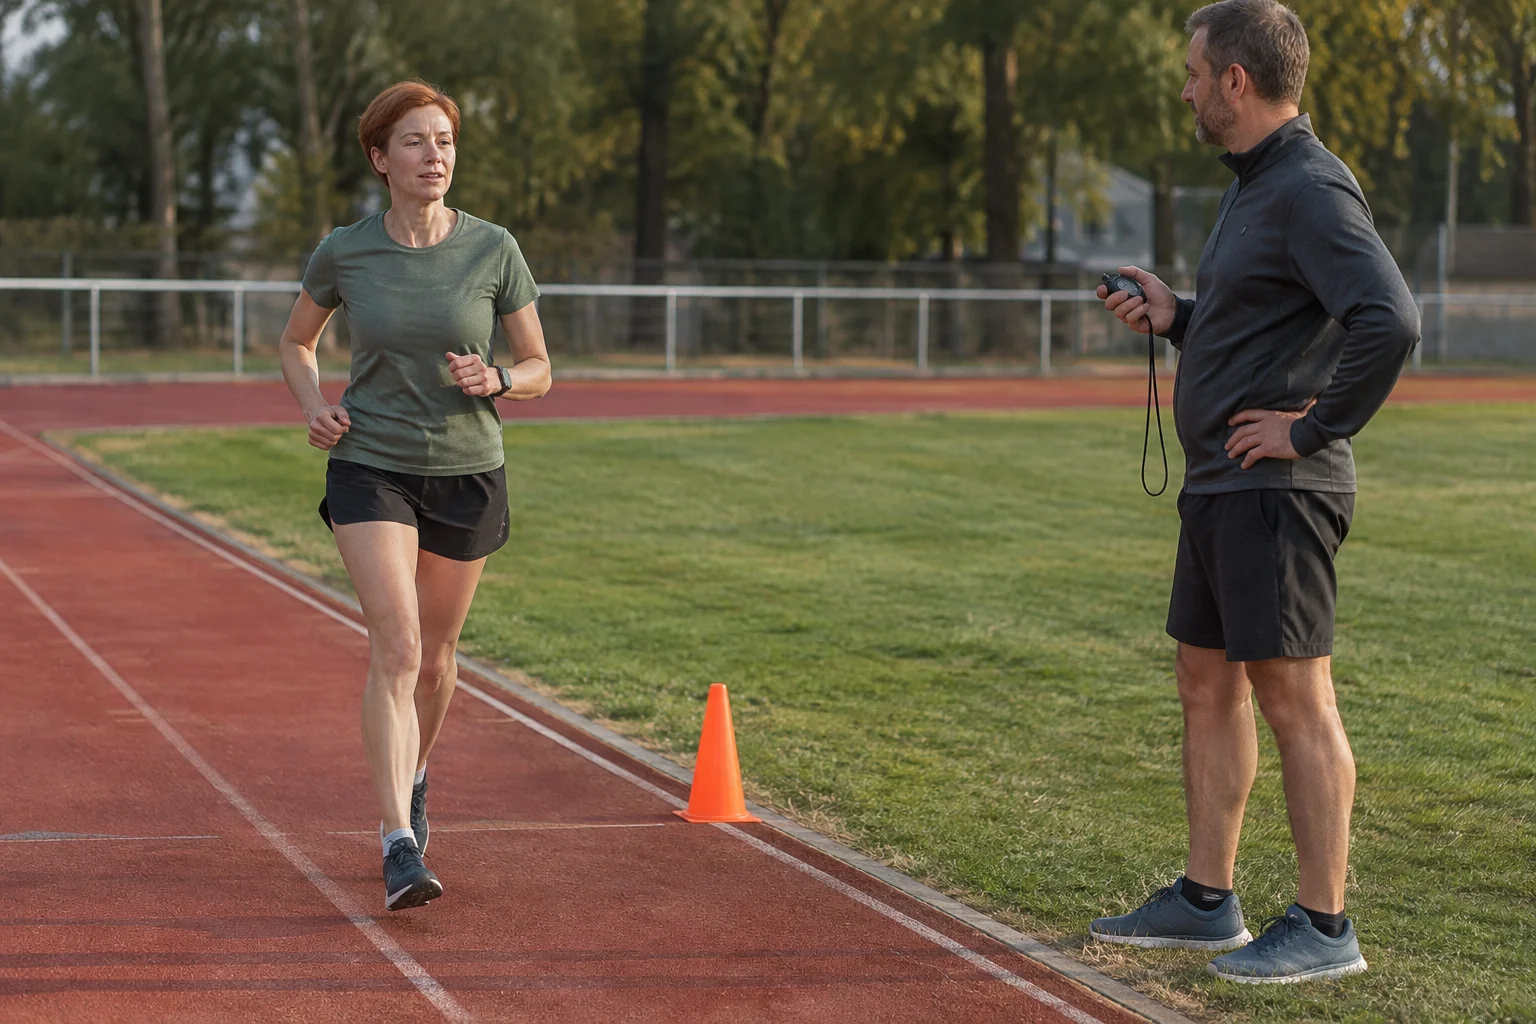
Make your first functional check a simple, short workout. Notice how it signals a change, which interval you see and how to stop recording. This is a test of your familiarity with the device: you do not need to run harder to find out whether you can hear the alert. If you are transferring a coach’s workout, check that the specified work, recovery, units and repetition count match before assigning your own target pace.
 Enlarge image
4. Pacer: a reference for your whole-distance time goal
According to the official Pacer description, you set a distance and target time, and the watch shows whether you are ahead of or behind the chosen pace. It also displays current and average pace. The current guide includes this feature for outdoor and indoor running, as well as outdoor cycling. Change a remembered previous goal in the Pacer editor.
Our calculation example: you want to cover 8 kilometres in 52 minutes. The corresponding average is 6 minutes 30 seconds per kilometre. If 19 minutes have elapsed at 3 kilometres, you are 30 seconds ahead of the even-paced split of 19 minutes 30 seconds. This is only the difference relative to your time goal; it does not tell you whether the pace suits your condition that day, the climb or a headwind.
Pacer’s useful question is therefore, “How is the timing of the selected whole distance working out?” In an interval workout, however, work and recovery alternate according to a different logic. If today’s task is to follow interval changes, a custom workout’s structure may provide clearer guidance. Choose between the two according to your run’s purpose, rather than which screen looks more impressive.
5. Race Route: comparison with your own previous route
Race Route compares you with your last or best time on a regularly repeated route. Apple describes a route being created automatically after at least two outings repeated with little or no deviation. During the run, it shows your lead or deficit and the distance remaining; if you leave the route, it prompts you to return. This is the fundamental difference between Race Route and Pacer: one refers to your own past recording, while the other refers to a specified time goal.
Do not therefore assume you automatically have usable Race Route history for a race you are running for the first time. Even on your usual loop, consider which recording you are comparing yourself with. Your previous best time may have involved cool weather, feeling rested and different route conditions. A displayed deficit is not an instruction to reproduce that performance now. Decide from your own goal whether you need a time comparison at all that day.
On a figure-of-eight park run, the two loops may follow similar sections but in a different order. If you change your usual route because of a closure, note the detour. Later, your comparison will show not only that you reached a point half a minute later, but also why. A digital opponent cannot decide for you whether the run’s actual task was the same.
6. Choose a small number of genuinely useful running metrics
The Workout guide to running metrics lists heart rate, pace, interval data, elevation and power as separate views. Technical metrics include stride length, ground contact time and vertical oscillation; the last is shown in centimetres, and ground contact in milliseconds. These are estimates of observable characteristics of running. Their inclusion does not imply that every older watch model and workout mode offers the same data.
For a first screen that is easy to follow, choose one main question: how much time has elapsed, which interval are you in, or how are you keeping to your time goal? If interval changes matter, most running-form metrics can wait until you review the log. If you turn to another page with every movement, extra information becomes less useful to your running. A good display makes clear what you need at that moment.
Look for comparable situations when making your own comparisons. A difference in ground contact time between a slow climb and a faster flat section does not, on its own, prove a technical fault. First look at the appropriate sections of the same run and their pace, then formulate a question. For example: “Is my rhythm similar at the end of the longer straight?” That is a useful observation task; treating an isolated millisecond figure as a personal verdict is less helpful.
7. Heart rate zones: know where the settings came from
The Apple description of zones presents five estimated intensity ranges, with boundaries calculated from health data. Your date of birth must be entered for the calculation. You can also edit the boundaries manually in the watch’s Workout settings or in the iPhone Watch app. Two people seeing the same zone number does not necessarily mean they are running at the same physiological load.
If you change your manual boundaries, note the date and reason. That way, a later report will not confuse an actual training change with a different classification rule. For example, the same heart rate trace can produce different amounts of time in each zone under different boundaries. A claim of “more time in zone two” is meaningful only if you know whether the same boundaries applied in both weeks.
The Apple information on measurement accuracy mentions cold, skin characteristics and movement among the factors affecting heart rate sensing; a Bluetooth chest strap can also be connected if necessary. Check consistency of measurement and fit first, rather than changing an entire plan on the basis of a single unusual graph. Here too, a heart rate trace is no substitute for an ECG or an individual health assessment.
 Enlarge image
8. Training load and effort: read the data over time
The Training Load guide compares the duration and intensity of workouts over the last seven days with the previous twenty-eight days. The result appears as a relative category and can also be filtered by sport. This is a measure relative to your own recent past. A week after a long break and a week following months of a similar schedule therefore appear against different backgrounds.
The Apple effort rating can provide an estimated rating after cardio workouts, which you can adjust; the Effort field can also be edited in the iPhone Fitness app. Do not tailor your own feedback to the graph you would like to see. If circumstances made a run harder, record that honestly and note what happened. The aim is to preserve your experience, not earn rewarding feedback from the app.
Our illustration: you ran for 120 minutes in each of two weeks, but in one week every outing felt similarly easy, while in the other two days felt surprisingly hard. Total time alone does not reveal that difference. Alongside the load view, therefore, look at the distribution of days and your written notes. A relative category provides no certainty that your next workout will be safe or effective.
9. Indoor estimates, calibration and your first checked outing
The calibration guide describes about twenty minutes of outdoor walking or running at your normal pace in a flat, open area with good GPS reception. This can be accumulated over several outings. The iPhone’s location settings and Motion Calibration & Distance setting also matter. Calibration helps it learn your stride length, so it can improve the basis for distance and pace estimates without GPS; it does not turn indoor running into satellite distance measurement.
If the treadmill display and watch disagree, preserve the origin of both readings. Do not automatically choose the more favourable number. Labels in your log such as “distance from treadmill display” and “watch estimate” make the comparison understandable later too. The point is to track similar outings consistently, without unknowingly combining different measurement systems into a single apparently precise average.
For your first well-prepared run, one checked goal, a few clearly readable metrics and a familiar way to stop recording are enough. For intervals, check the sequence; for Pacer, the distance–time pair; for Race Route, the previous route. In the log, distinguish recorded facts, your own effort and the algorithm’s summary. This lets the Workout app’s controls serve your run and leaves you with more understandable information when reviewing the data.
Sources
- Apple – custom workouts on the watch
- Apple – custom workouts in Fitness on iPhone
- Apple – Pacer and Race Route
- Apple – running views and technical metrics
- Apple – heart rate zones
- Apple – training load
- Apple – editing effort
- Apple – calibration
- Apple – measurement accuracy
- Apple Watch SE 3 – current specifications
- Apple Watch Ultra 4 – current specifications
- Apple Fitness+ – content service
How Futószív articles are prepared: our editorial guidelines.